
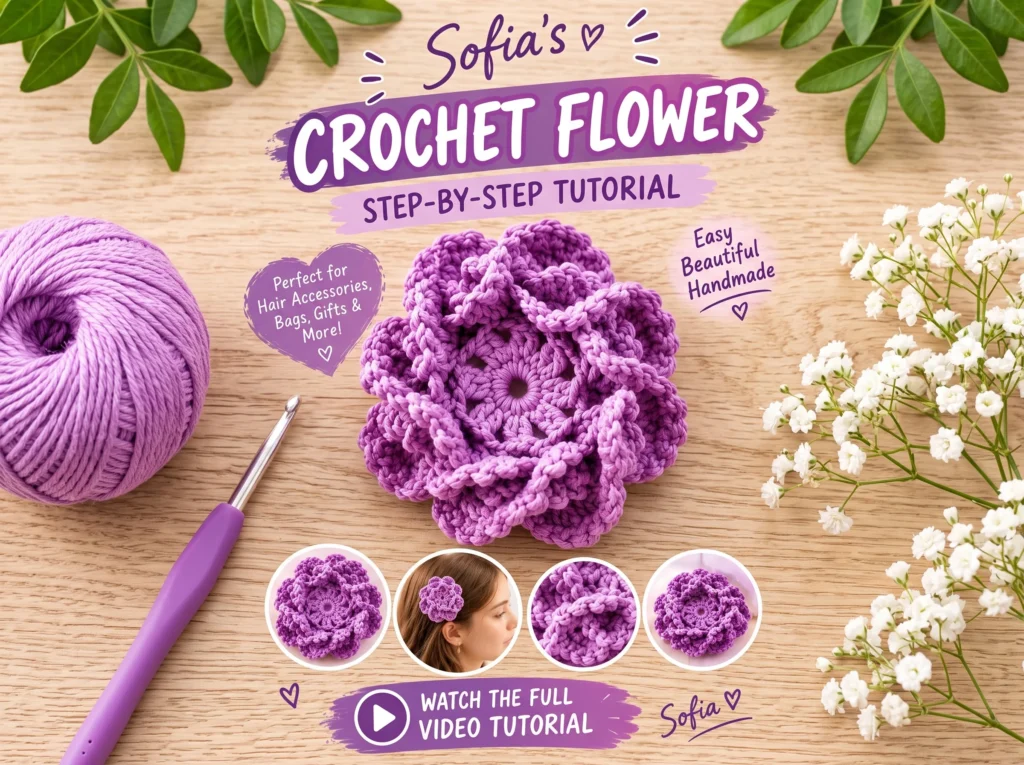
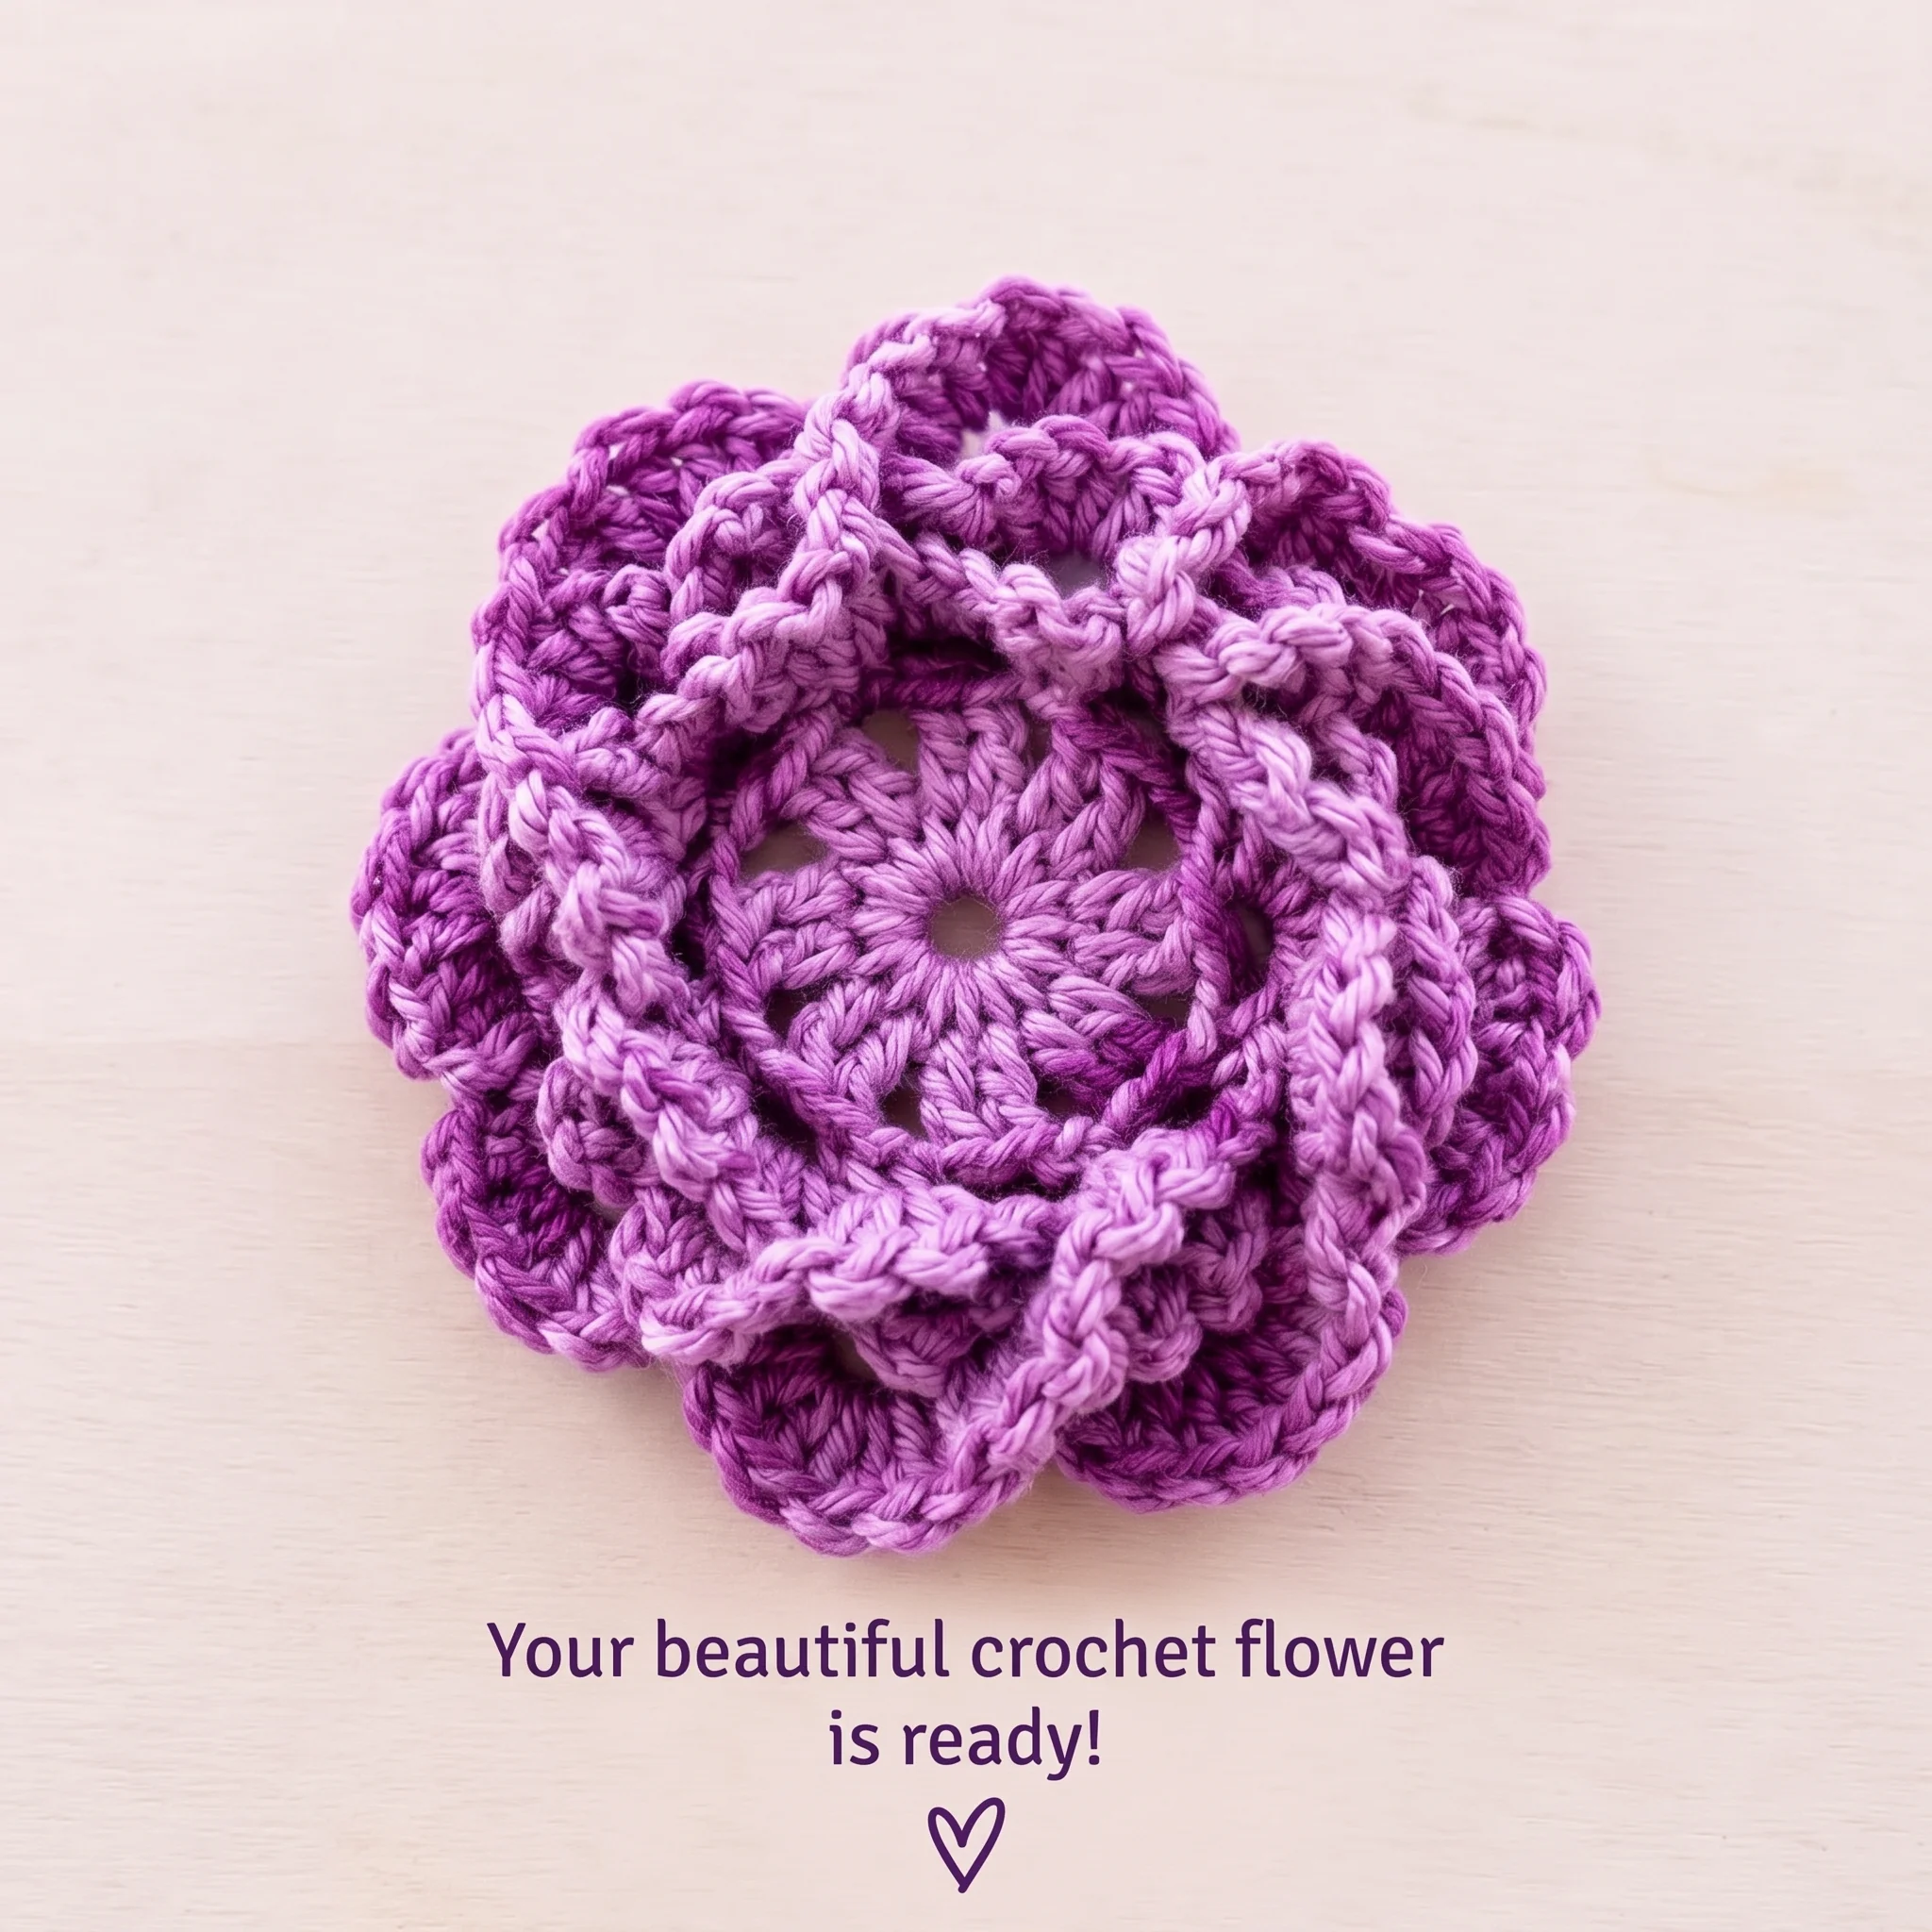
Hi everyone, it’s Sofia! This layered crochet flower pattern is one of my favorite quick makes — a raised, textured bloom that starts from a simple ring and builds up through two full layers of petals in a purple-to-dark-purple color change. It’s perfect as a hair accessory, pinned to a bag, or sewn onto a hat, and it works up in well under an hour once you’ve got the rhythm of the petal rounds.
This flower starts with a magic ring — if you haven’t made one before, check that quick tutorial first.
Skill Level & What You’ll Need
- Skill level: Beginner to easy intermediate (comfortable with chains, basic stitches, and color changes)
- Time: About 30-45 minutes
- Use it for: Hair clips, bag charms, hat embellishments, or as a stand-alone gift topper
Materials
- Purple crochet yarn
- Dark purple crochet yarn
- Crochet hook (sized to your yarn weight)
- Scissors
- Yarn needle
- Stitch marker, if it helps you keep track of rounds
- Optional: a hair clip or barrette blank, if you want to turn the finished flower into a hair accessory
New to any of the basics? Our crochet basics reference guide and magic ring guide cover chains, stitches, and ring starts with photos, and the Craft Yarn Council’s stitch guide is a solid official reference too.
A quick note on stitch names: a couple of terms in this pattern (like “hook tooth” / “dog tooth” stitch, and “lock pin” stitch) come from a translated source and don’t map cleanly onto a single standard English crochet term. Rather than guess and risk giving you the wrong technique, I’ve kept the original wording below exactly where it appears, so you can work from the stitch shape and chain counts rather than a possibly-mistranslated name. If you’ve seen this exact terminology before and know the standard equivalent, I’d love to hear it in the comments.
Color Change
This crochet flower pattern starts with purple yarn for the center and first petal layer, then switches to dark purple for the outer layered petals. That contrast is what gives the finished flower its raised, two-tone depth.
Step 1: Start the Flower
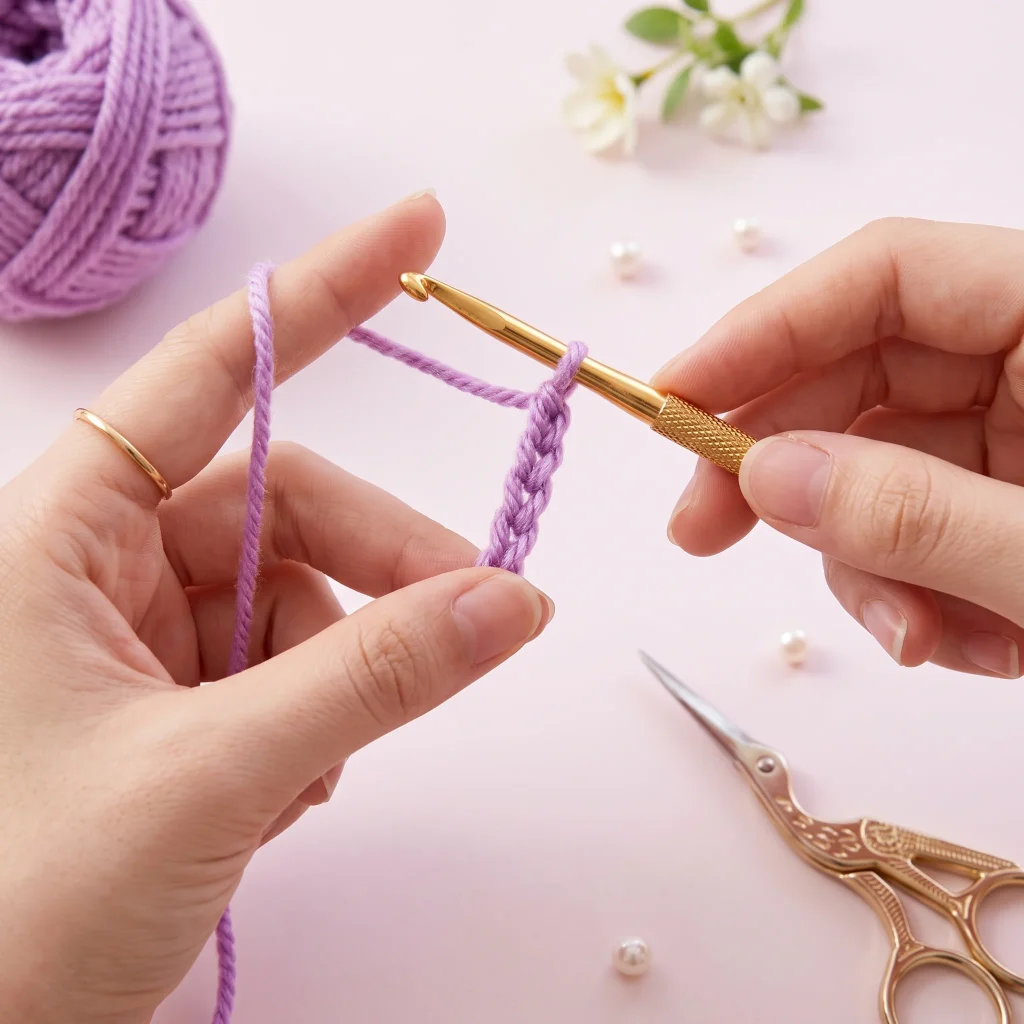
- Tie the yarn in a slipknot.
- Make 6 chain stitches.
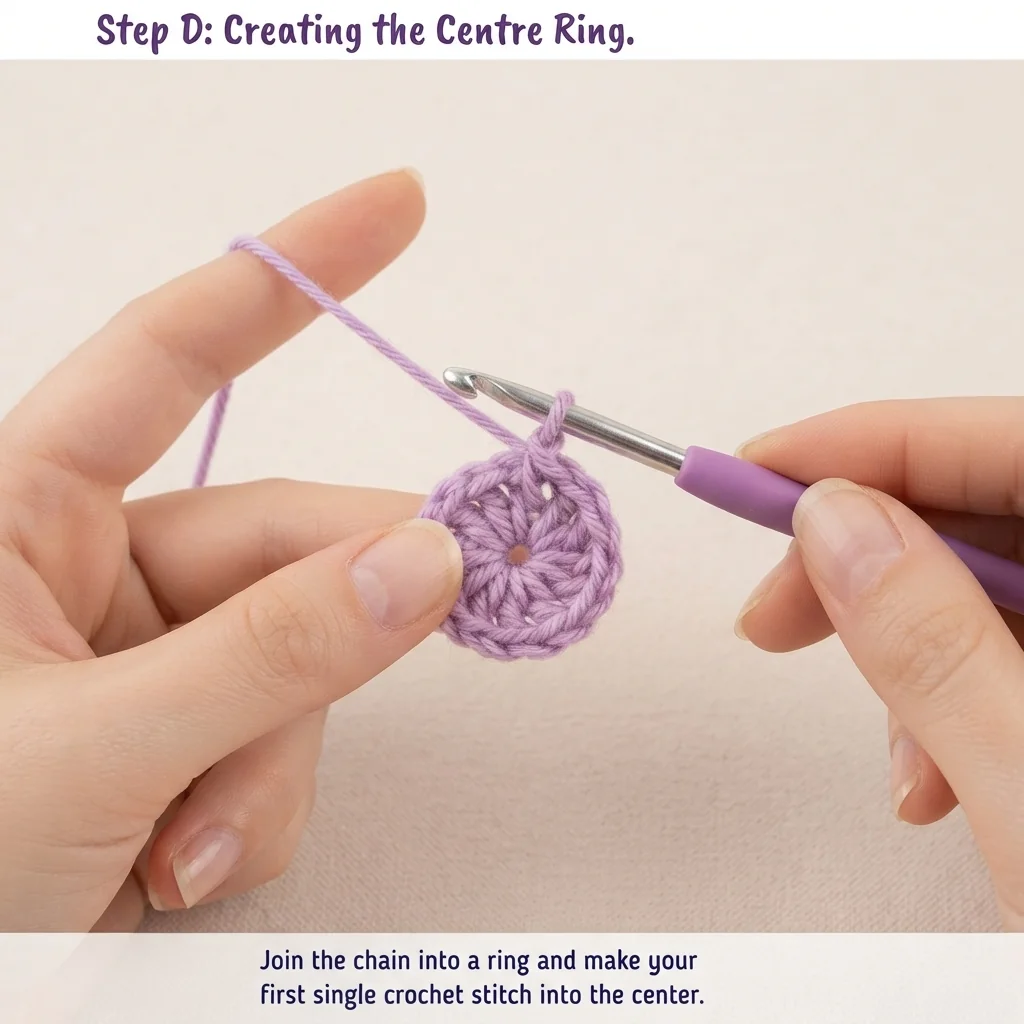
- Work into the first loop to form a ring.
- Make 16 short stitches (single crochet) around the ring.
Step 2: Begin the First Petals
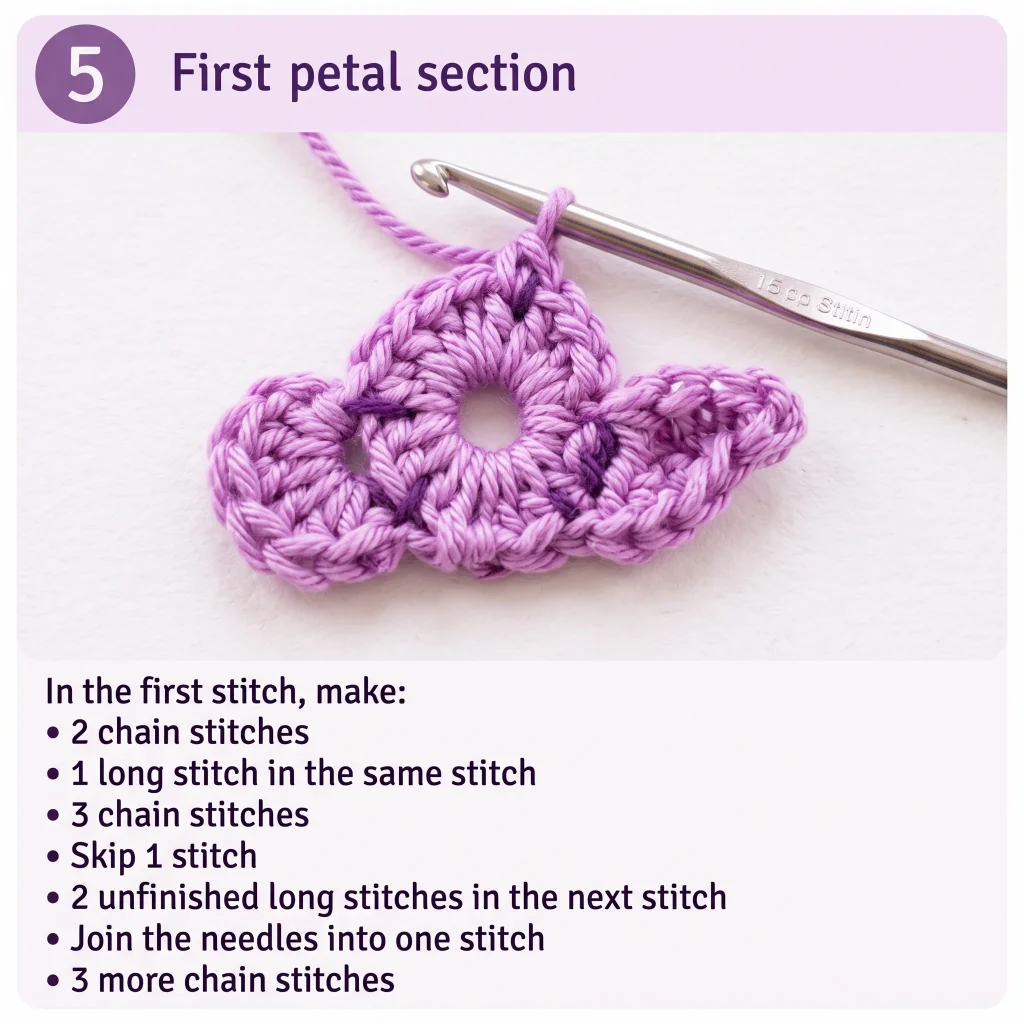
- Work a slip stitch into the first stitch.
- Make 2 chain stitches.
- Work a long stitch (double crochet) into the same stitch.
- Make 3 chain stitches.
- Skip one stitch.
- Work 2 unfinished long stitches into the second stitch, then merge them into one stitch (a standard double-crochet decrease/cluster).
- Make 3 more chain stitches.
- Continue this petal pattern around the ring until you’re back at the start.
Step 3: Finish the First Color
- Work the joining slip stitch to close the round.
- Cut the purple yarn.
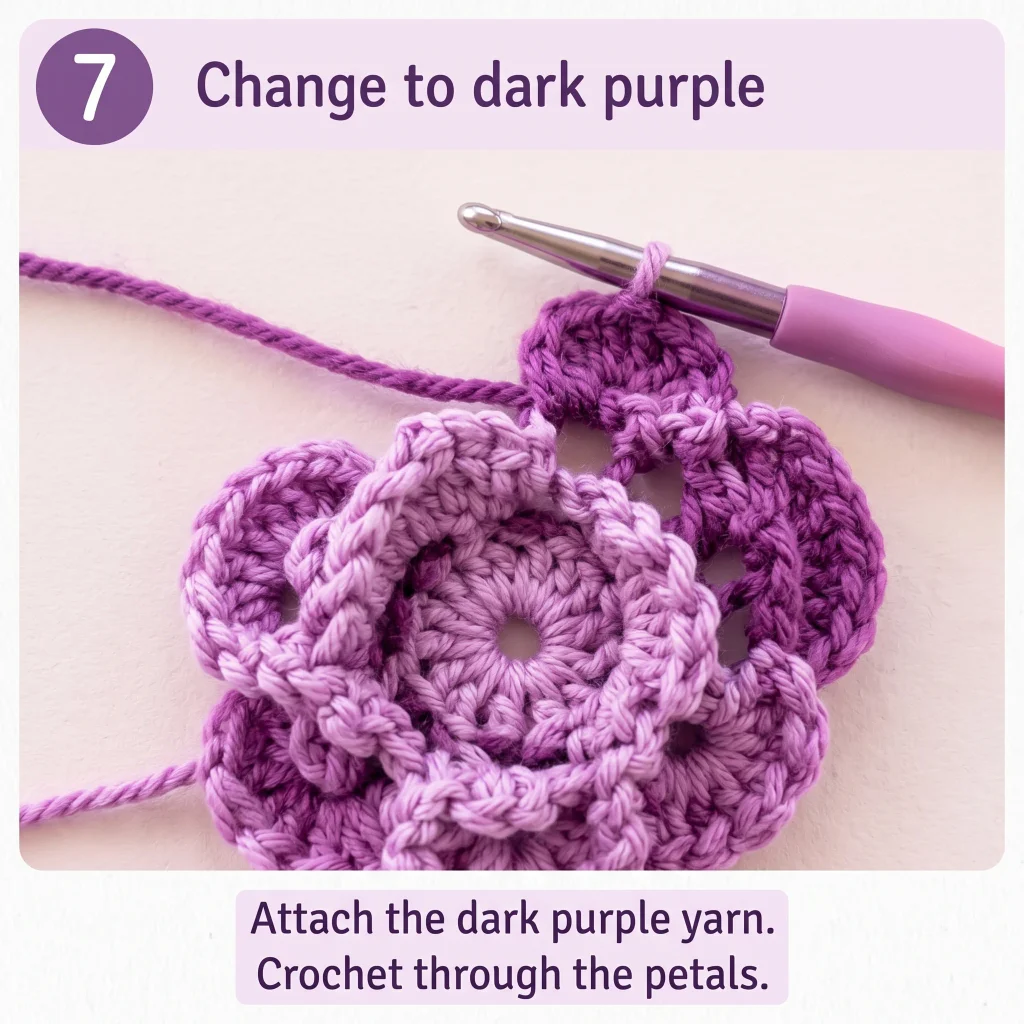
- Join dark purple yarn to begin the next layer.
Step 4: Create the Next Petal Layer
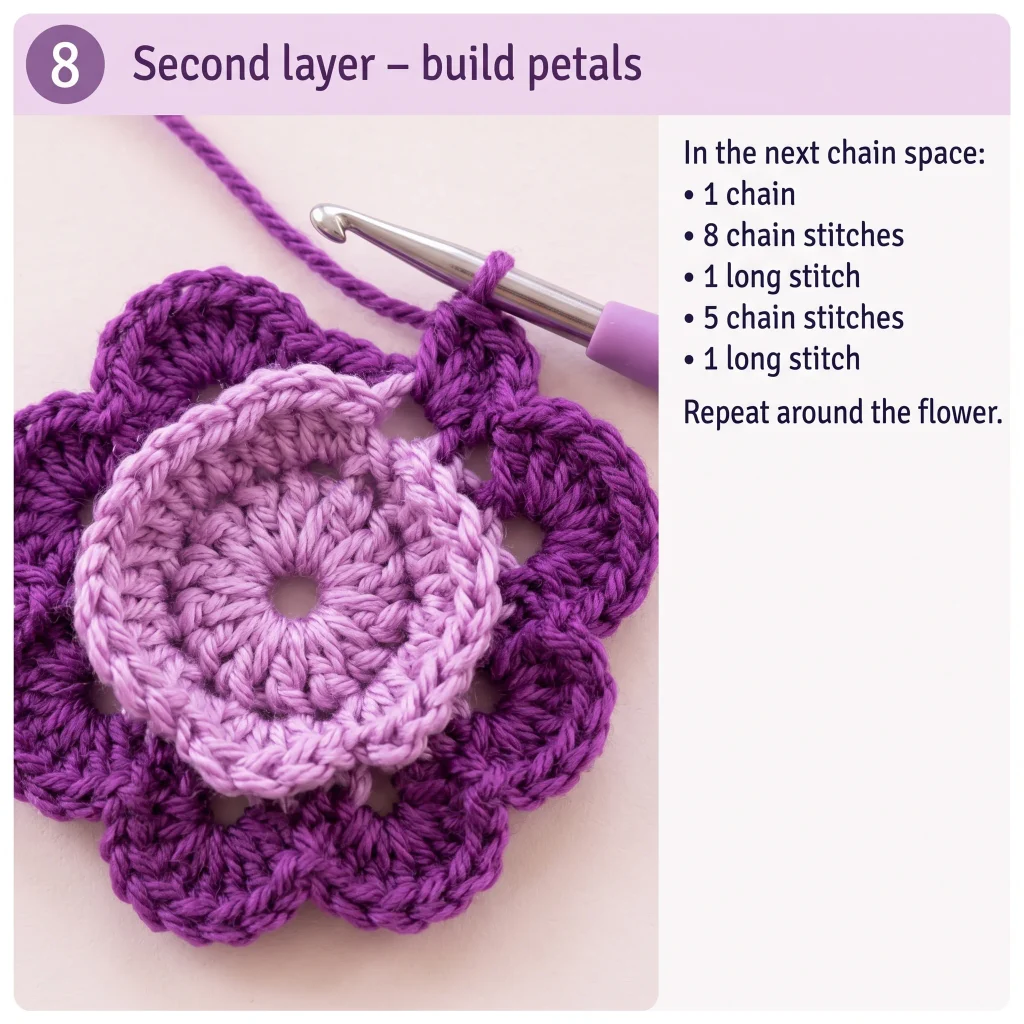
- Crochet behind the existing petals, working into the base ring stitches.
- Make 1 chain stitch.
- In the next chain-space, work the “hook tooth” stitch (see the note above) plus 8 chain stitches.
- Work a long stitch in the next chain-space.
- Make 5 chain stitches.
- Work another long stitch in the next chain-space, then 5 more chain stitches.
- Continue this sequence all the way around the flower.
Step 5-7: Build the Layered Petals
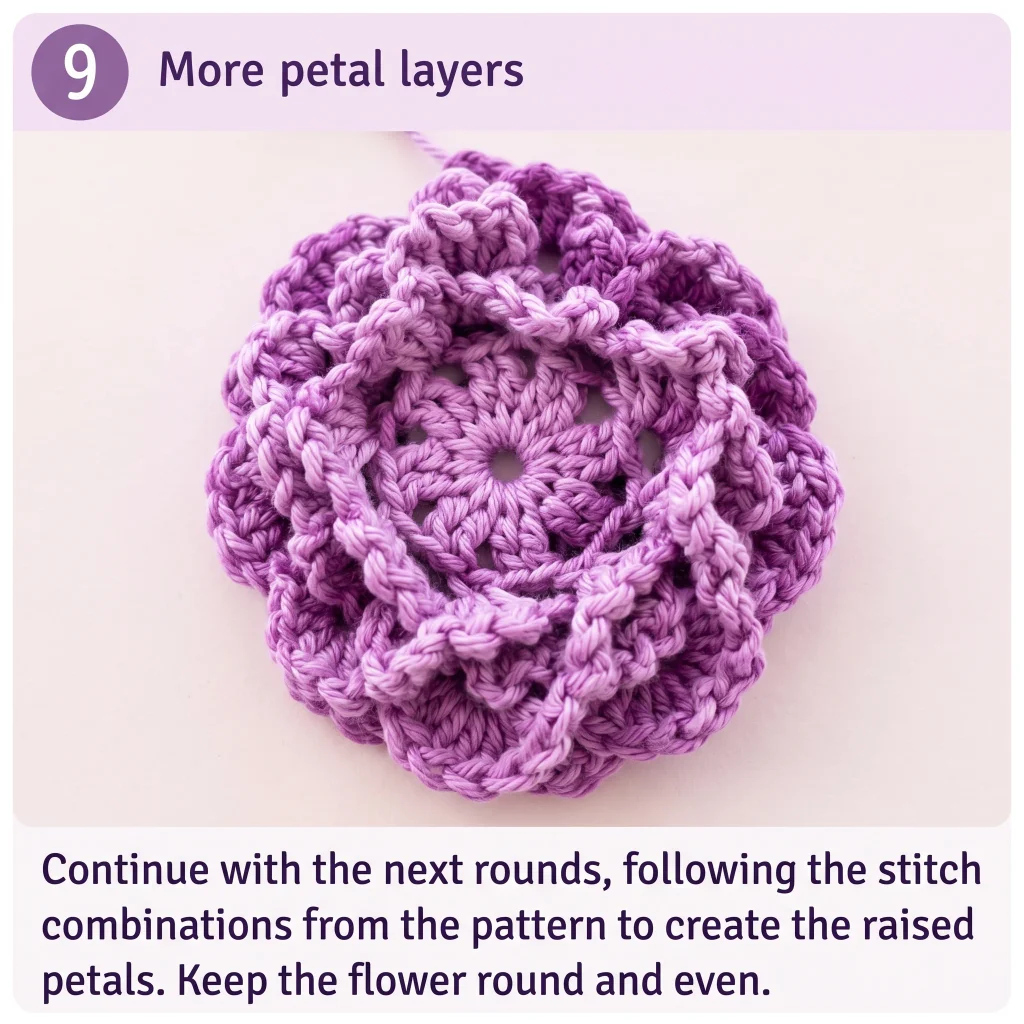
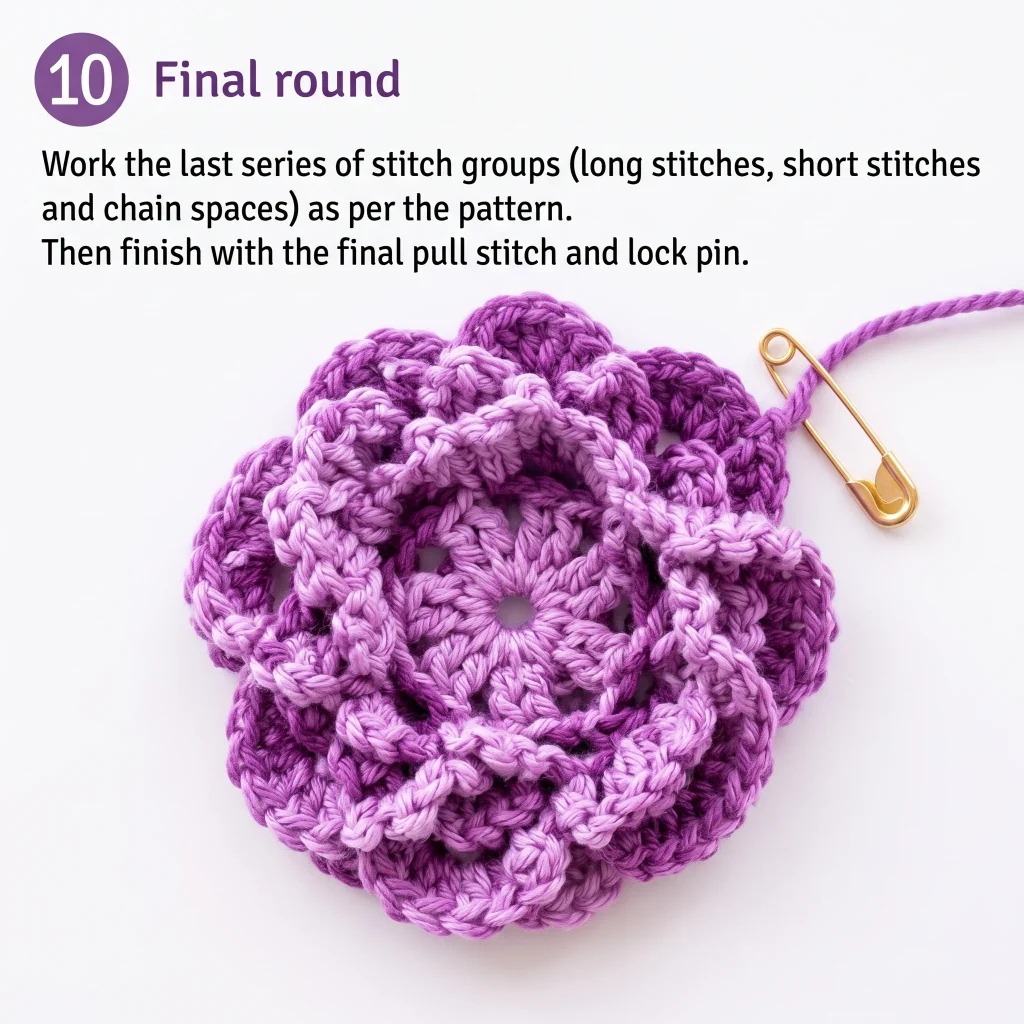
The raised, layered look of this flower comes from repeating a combination of stitches into the chain-spaces you just created: short stitches, long stitches, chain stitches, and the joining “lock pin” stitch, alternating with the “hook tooth” / “dog tooth” stitch from Step 4. Work this sequence around the flower, keeping your tension consistent so the petals sit at an even height.
- Work the specified chain stitches into each space.
- Work the short-stitch groups into the spaces on the opposite side of the round.
- Continue alternating the long-stitch and hook-tooth combinations around the flower.
- Repeat this layer’s sequence until you’ve worked all the way around.
- For the final petal layer, repeat the same long-stitch-plus-hook-tooth combination, followed by chain stitches, until the round is complete.
Step 8: Finish
- Work the final joining slip stitch.
- Make the final chain stitches to close the round.
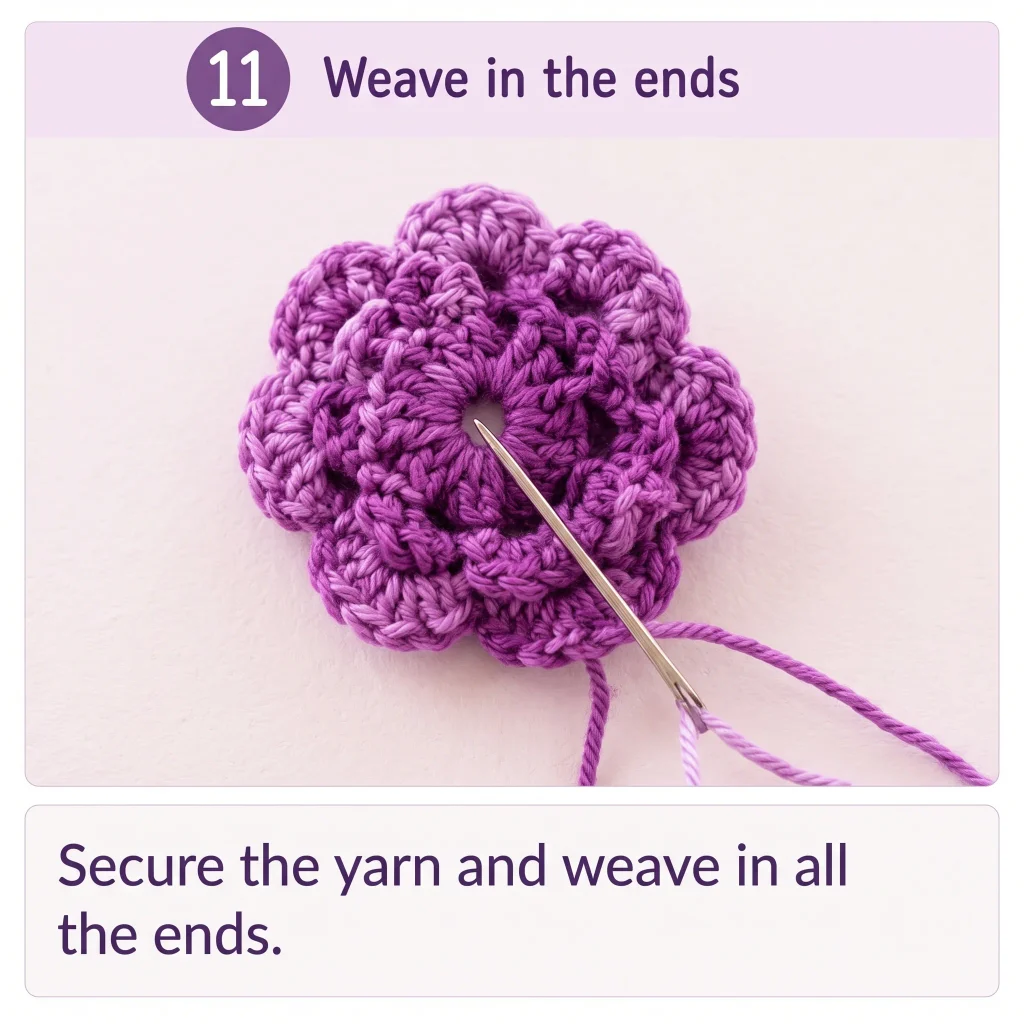
- Secure the yarn and cut the thread.
- Weave in all loose ends with your yarn needle.
- Gently arrange and shape the petals by hand so they sit raised and open.
Using Your Crochet Flower
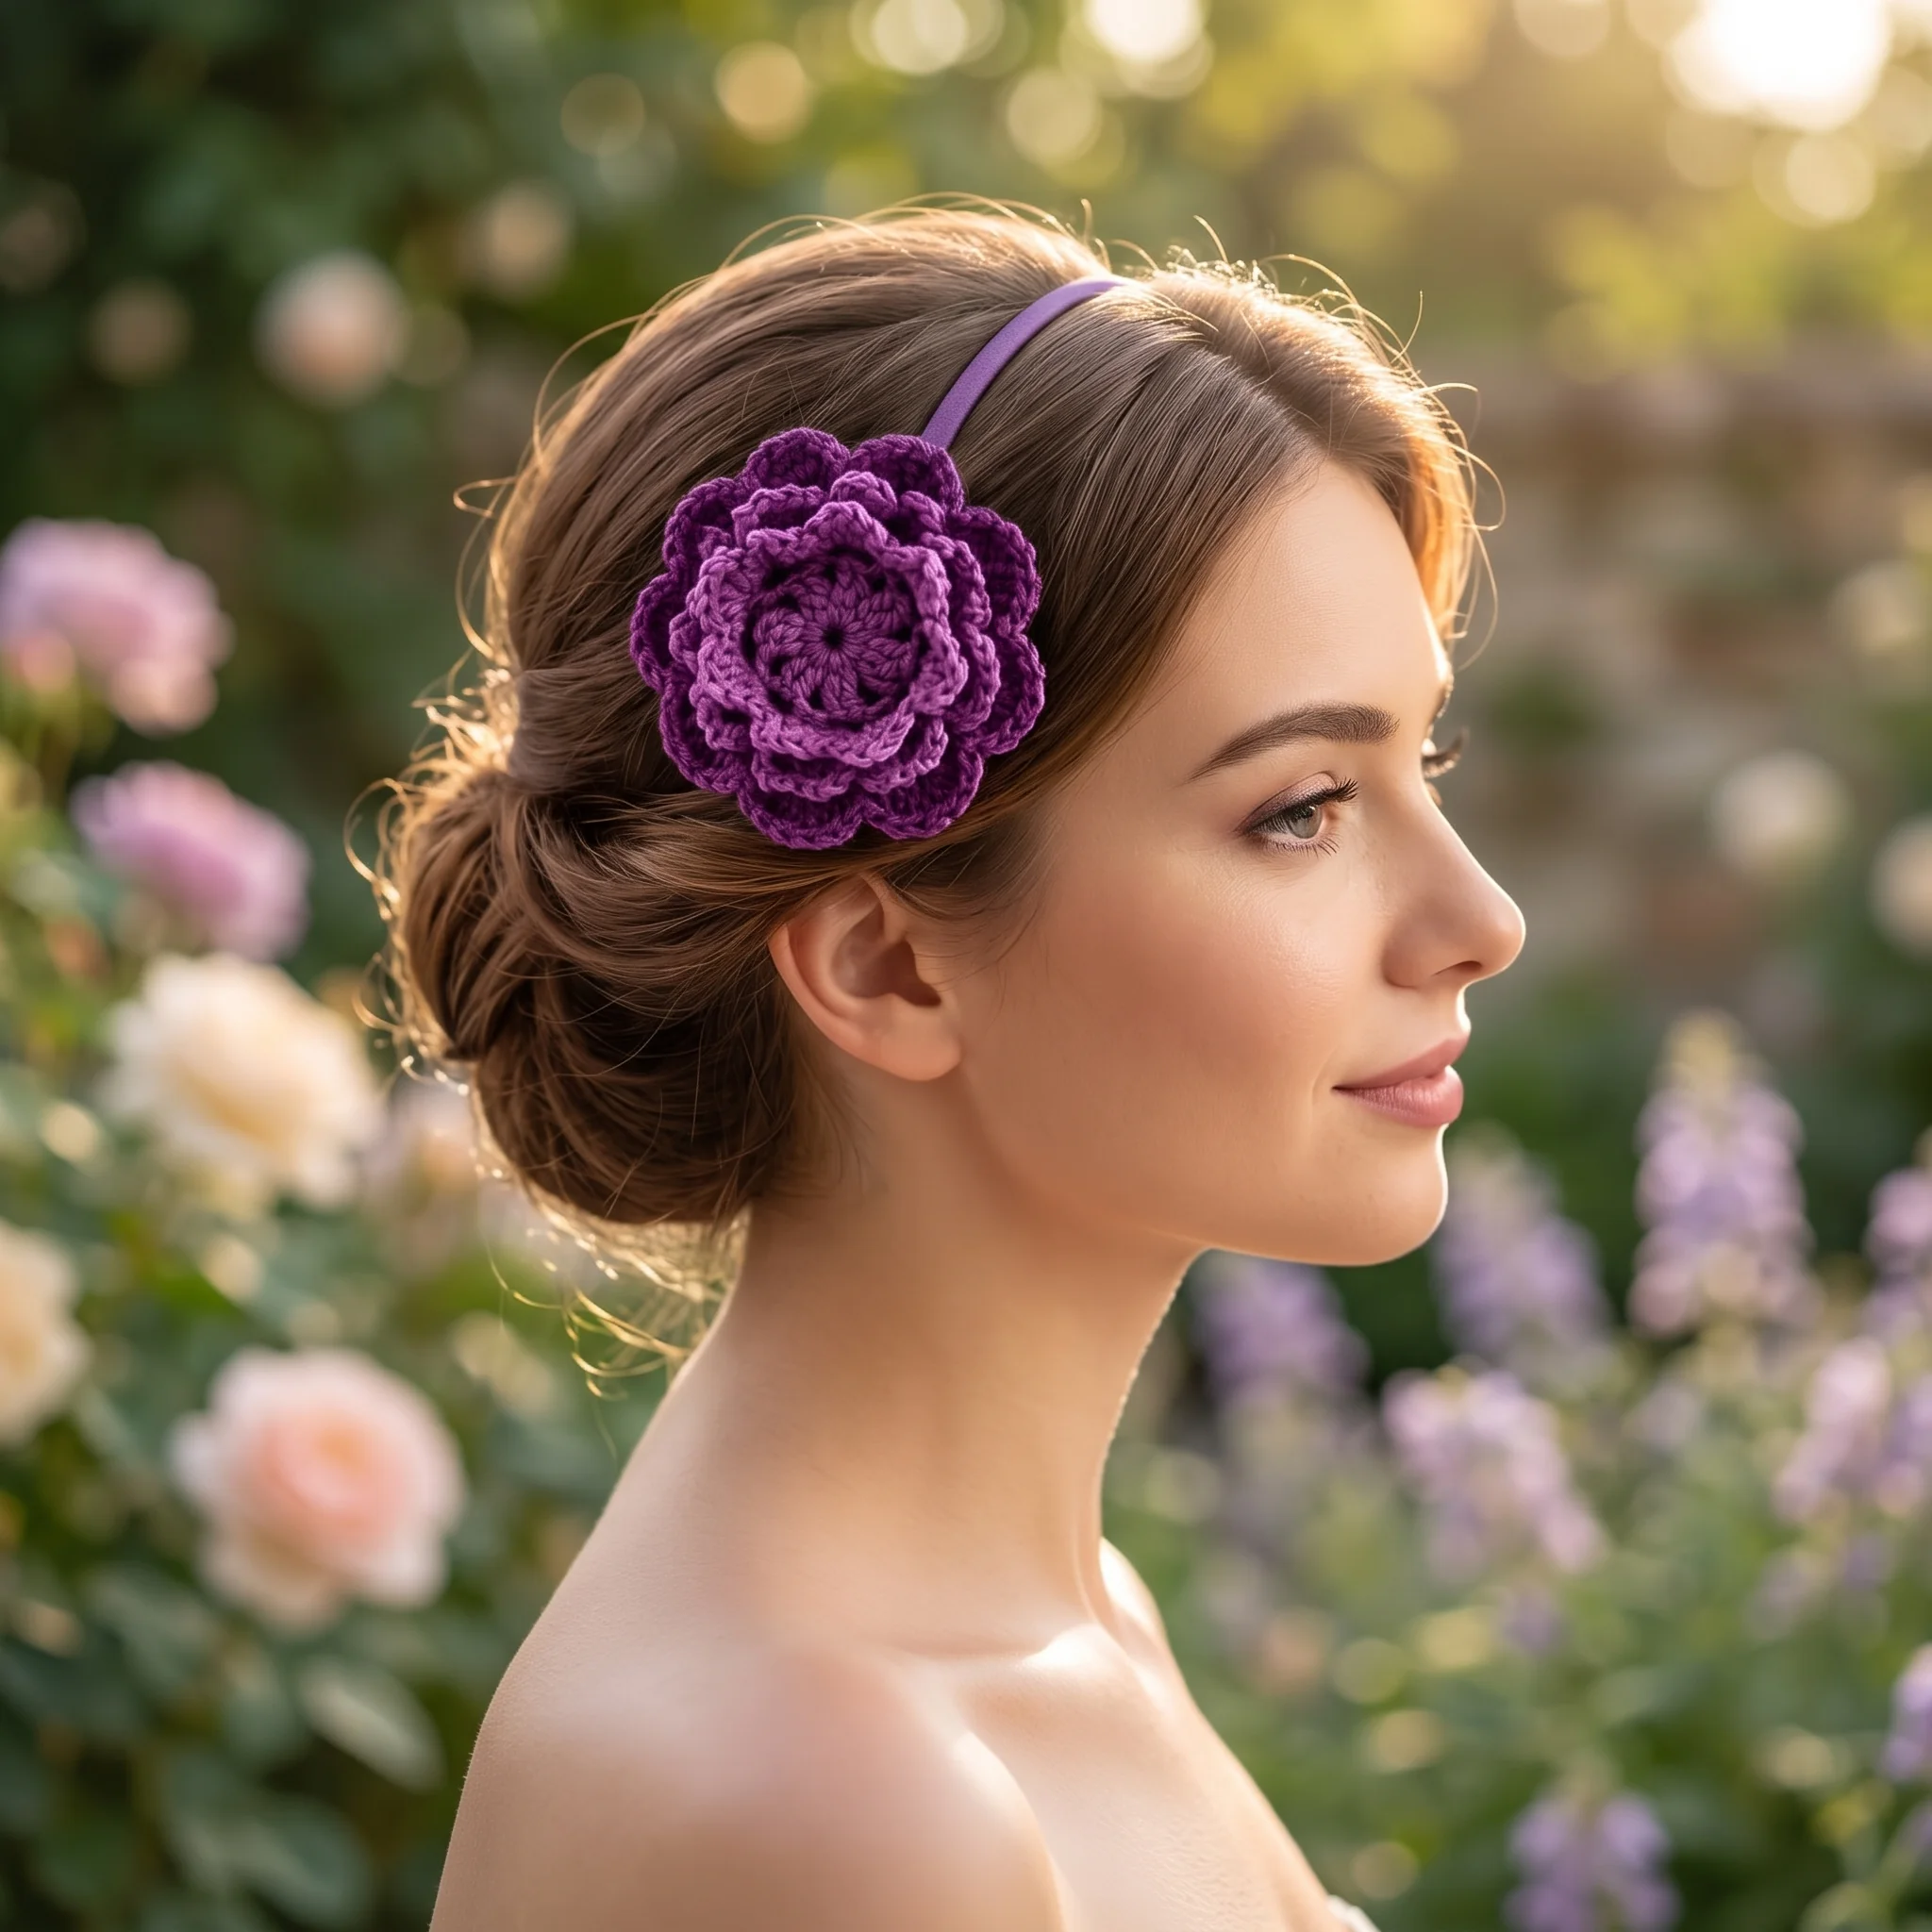
Once it’s finished, this crochet flower pattern works well glued or stitched onto a hair clip, pinned to a bag strap, or added as an accent on a hat or headband. Try making a few in different purple shades for a small matching set.
Watch the Full Video Tutorial
Hi everyone! I’m Sofia, and today I’ll show you how to crochet this beautiful layered flower step by step. Grab your yarn and crochet hook, and let’s make it together!
And that’s it! Your beautiful crochet flower is finished. I hope you enjoyed making it with me. I’m Sofia, and I’ll see you in the next crochet tutorial!
Reviews
There are no reviews yet. Be the first one to write one.
Keep learning: New to a technique used here? See our beginner guide to crochet increases and decreases and the basic crochet stitches.