
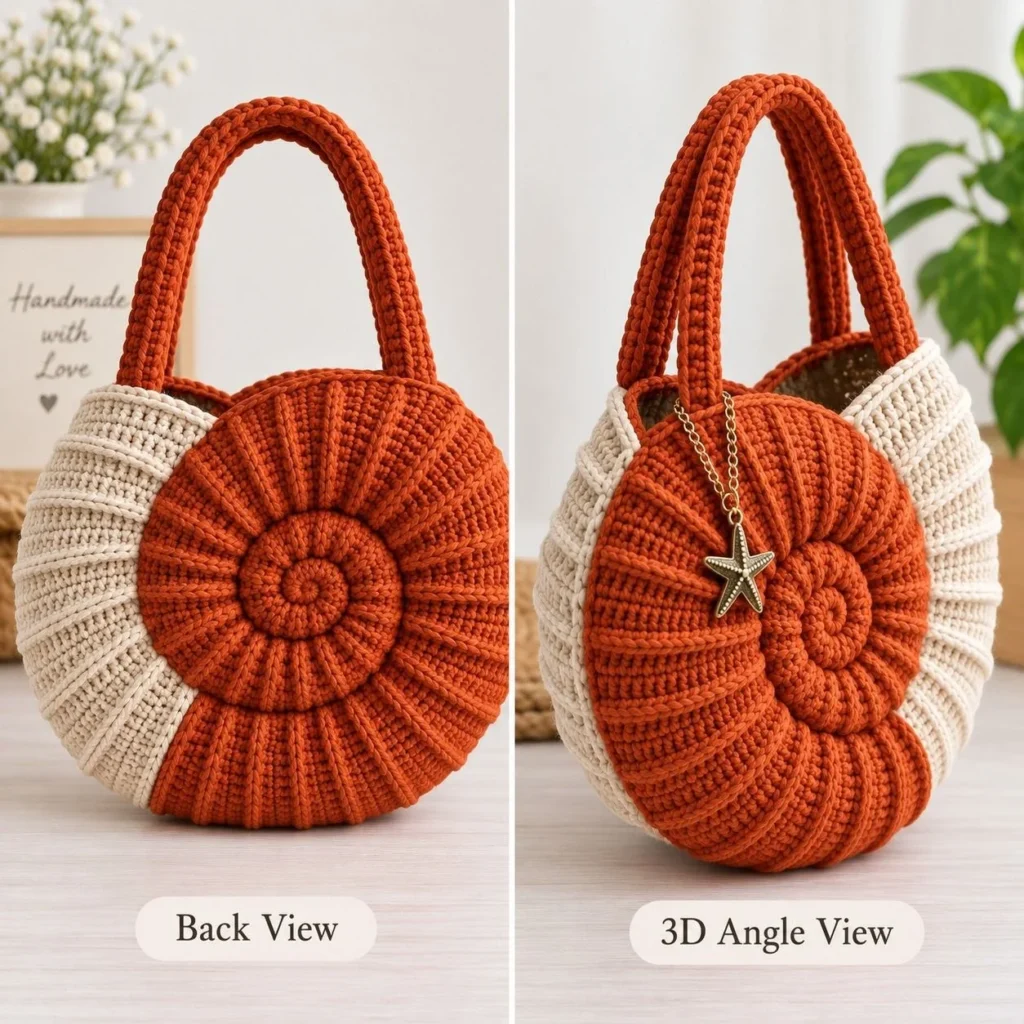
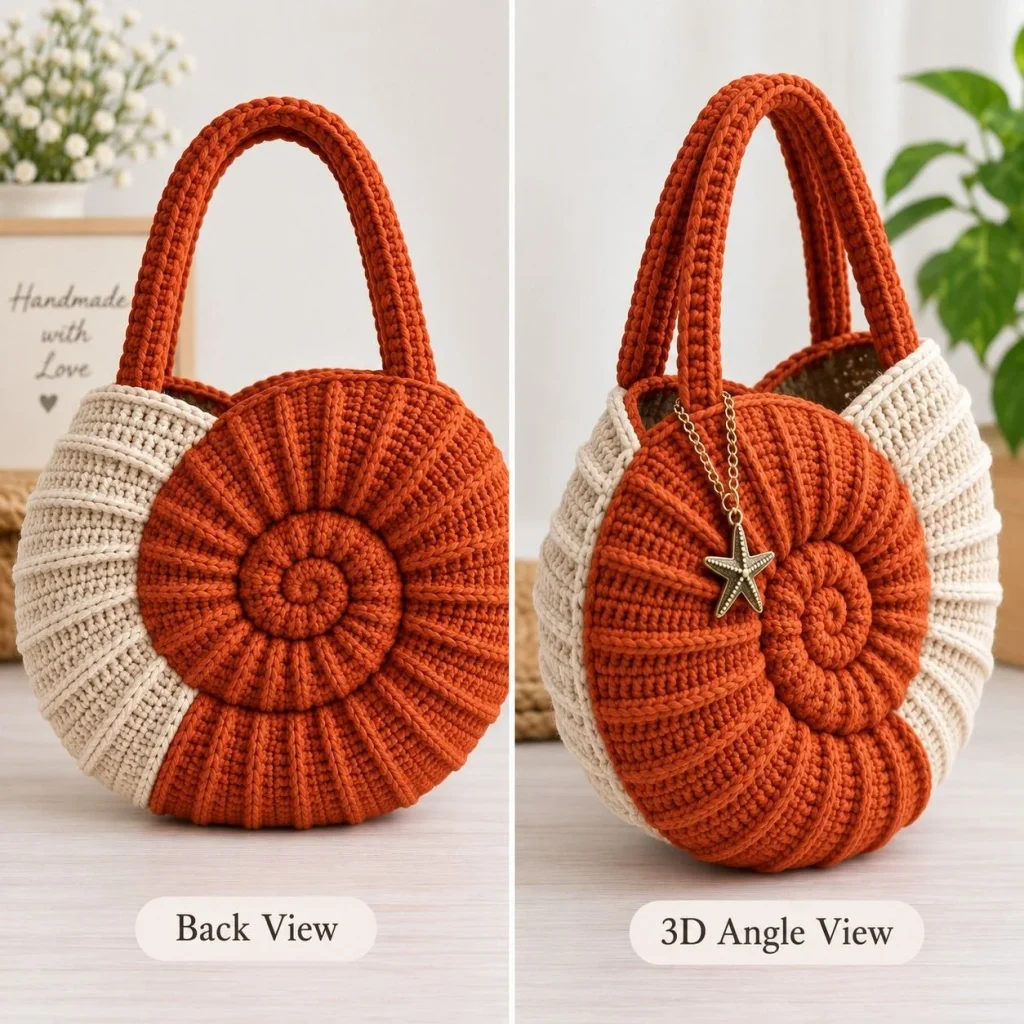
Hey, it’s Sofia from Loop & Twine! This spiral shell crochet handbag is one of the most detailed patterns I’ve put together — a structured round handbag with a raised radial-rib shell face, a coiled spiral cord centerpiece, and a split-color gusset that gives it real shape and depth. It’s an intermediate pattern with a lot of steps, so I’ve kept the full written pattern here exactly as engineered, plus every single photo from the visual tutorial so you can check your work at every stage.
This bag starts with a magic ring and uses only basic stitches throughout — both linked here if you need a refresher.
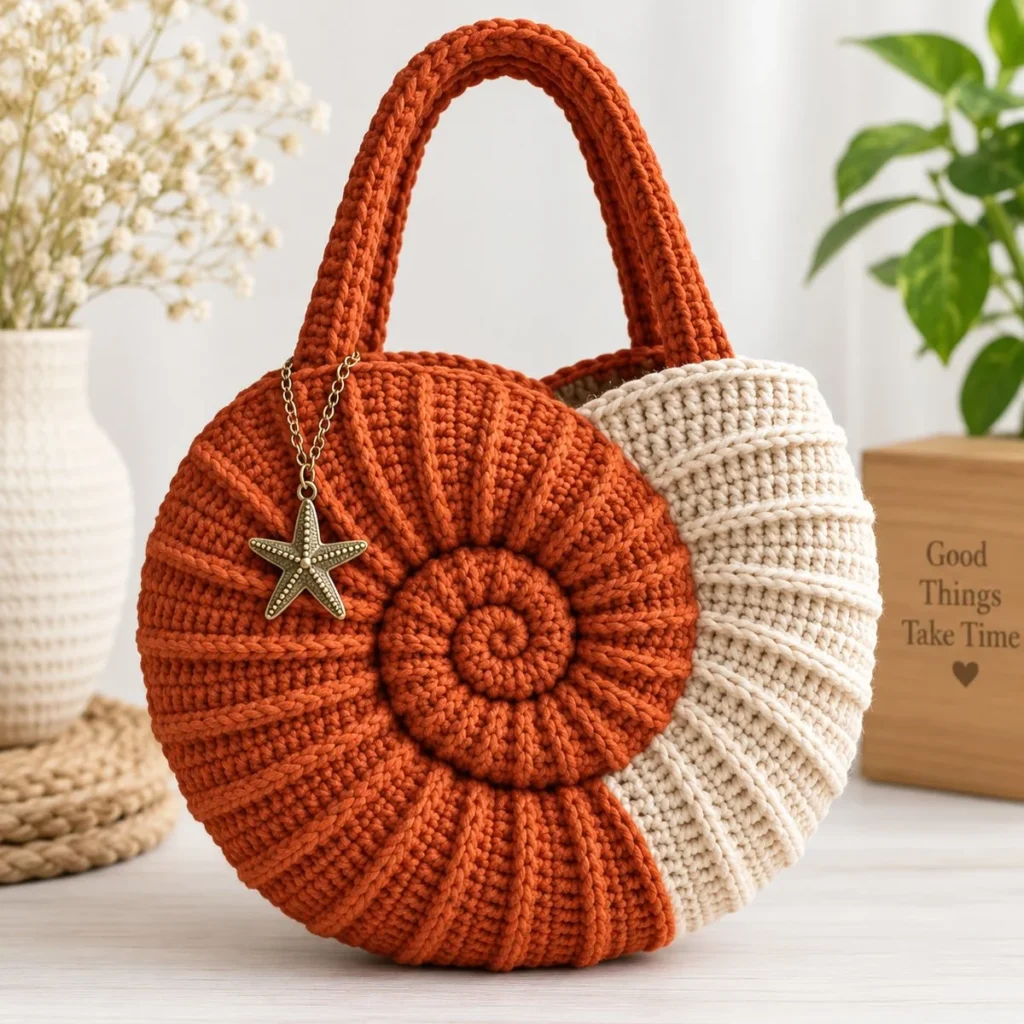
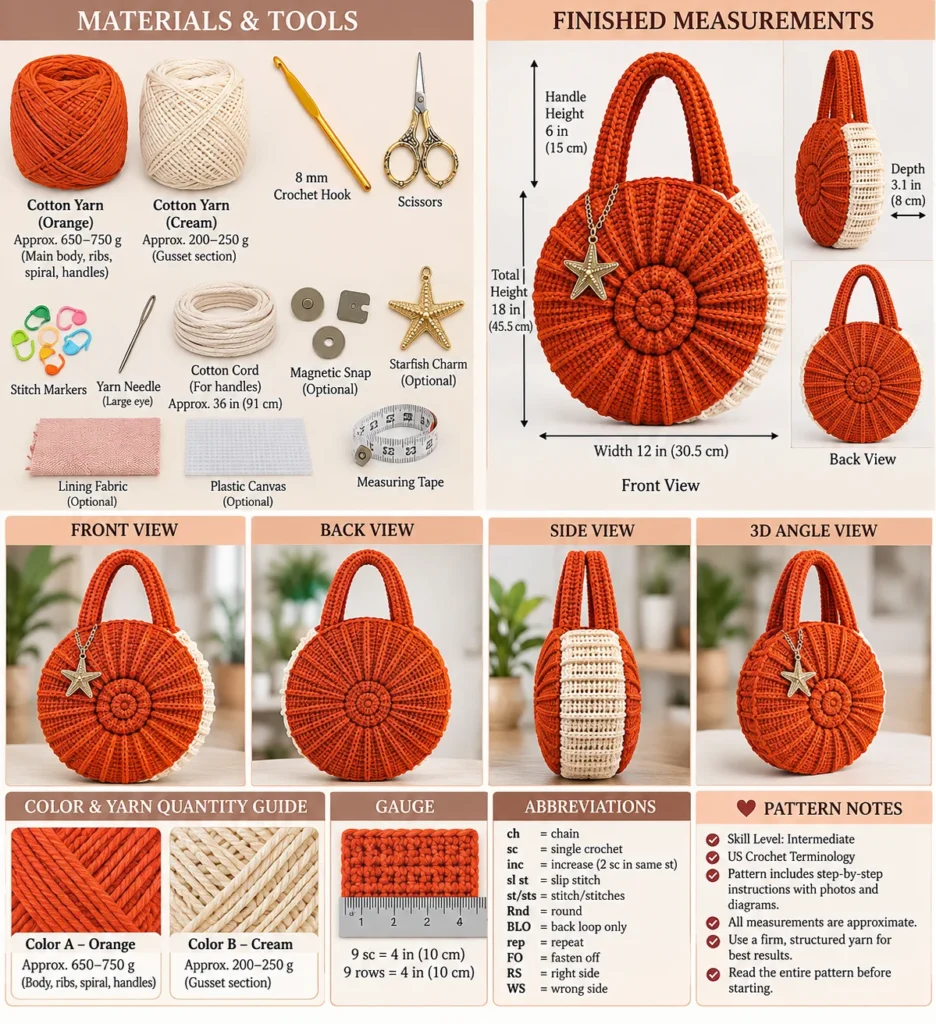
Spiral Shell Crochet Handbag: Product Views
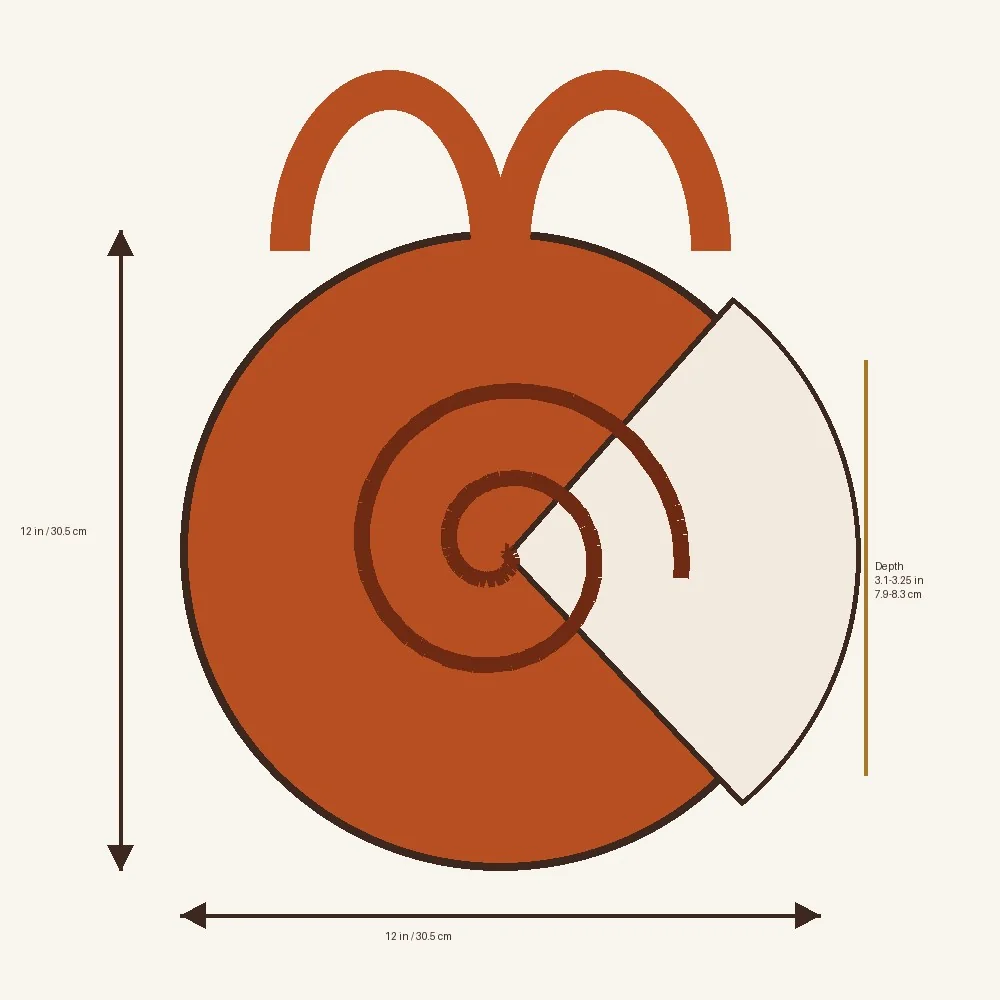
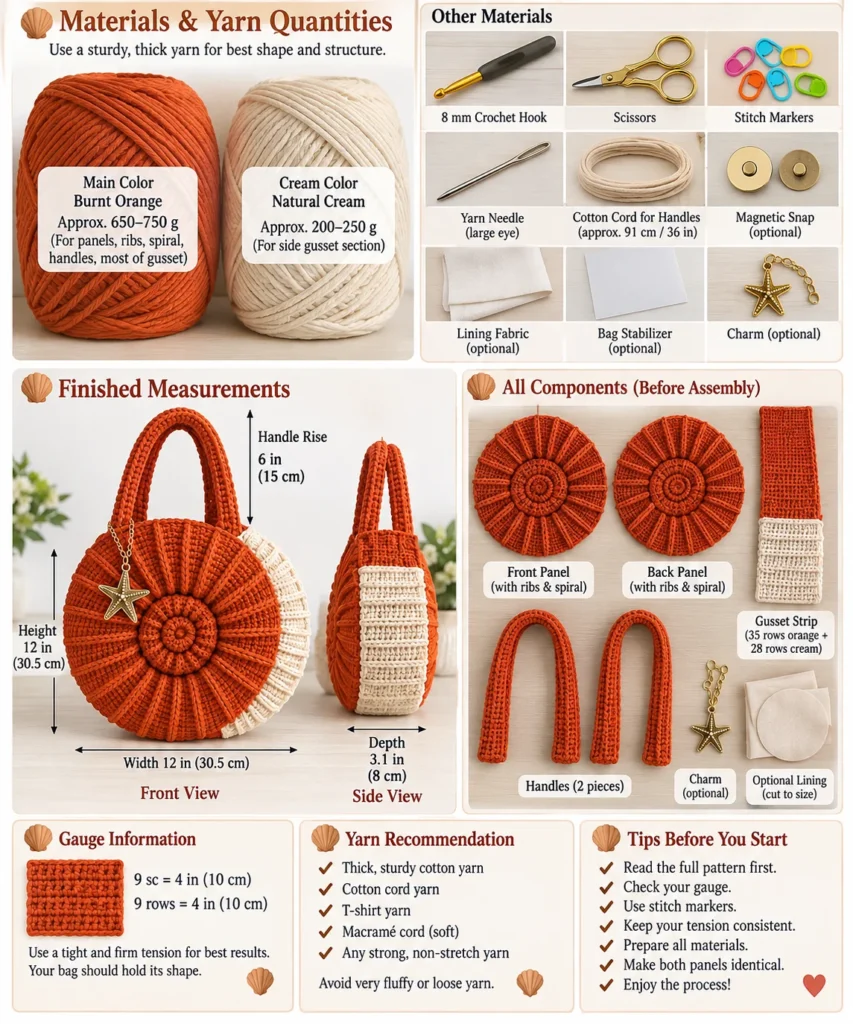
Target finished size: approximately 12 in / 30.5 cm wide and high; 3.1–3.25 in / 7.9–8.3 cm deep; handle rise about 6 in / 15 cm; total height about 18 in / 45.5 cm.
Finished Measurements
- Body: approx. 12 in / 30.5 cm wide and high
- Depth: approx. 3.1–3.25 in / 7.9–8.3 cm
- Handle rise: approx. 6 in / 15 cm
- Total height: approx. 18 in / 45.5 cm
Materials & Tools
| Item | Specification / Quantity |
|---|---|
| Color A | Burnt-orange firm super-bulky tubular cotton / structured bag yarn |
| Color B | Natural cream / ivory matching yarn |
| Hook | 8 mm, or size required to obtain gauge |
| Needle | Large-eye yarn needle |
| Other tools | Scissors, measuring tape, locking stitch markers, pins/clips |
| Handle core | Approx. 36 in / 91 cm flexible cotton cord total |
| Optional | Lining, stabilizer, magnetic snap, gold-tone chain, starfish-style charm |
Approximate yarn allocation: main panels + ribs 420–480 g Color A; two spiral motifs 110–140 g Color A; orange gusset 45–65 g Color A; two handles + joining 90–120 g Color A; cream gusset 170–220 g Color B; reserve 30–50 g total. Quantities are estimates because tubular yarn meterage varies by brand.
Quick Reference Overview
This one-page overview pulls together the views, materials, measurements, gauge, abbreviations, and pattern notes in a single glance — handy to keep open on your phone while you work.
Gauge, Abbreviations & Special Stitches
Gauge: 9 sc = 4 in / 10 cm; approximately 9 rows = 4 in / 10 cm in firm single crochet. Fabric should be dense with no large gaps. New to reading crochet abbreviations? Our crochet basics reference guide covers all the standard ones, and the Craft Yarn Council’s stitch guide is a great official reference too.
| Abbreviation | Meaning |
|---|---|
| ch | chain |
| sc | single crochet |
| inc | 2 sc in one stitch |
| sl st | slip stitch |
| BLO | back loop only |
| FO | fasten off |
| Rnd | round |
| RS / WS | right side / wrong side |
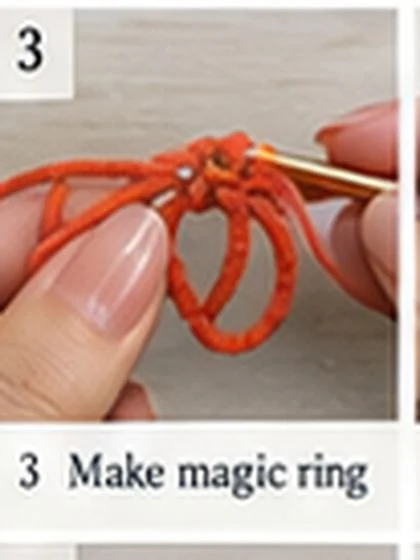
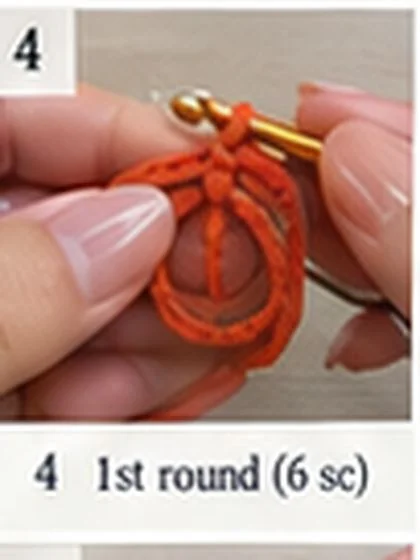
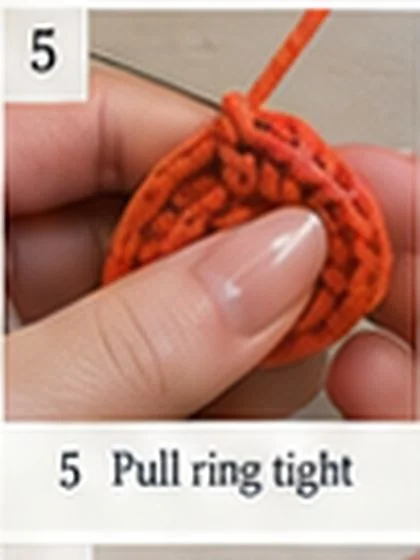
Magic Ring: Form an adjustable loop, work the stated stitches into the loop, then pull the tail firmly to close. See our full magic ring guide for step-by-step photos.
Surface Slip Stitch: Keep yarn behind the panel. Insert hook from the front through the fabric, pull a loop to the front, then pull the next loop through the loop already on the hook. Keep these stitches relaxed.
Invisible Finish: Cut yarn, pull through, pass the tail under both loops of the first stitch, then back through the center of the last stitch so the edge resembles a normal stitch. For a full photo walkthrough of this technique, see our invisible fasten off guide.
Whipstitch Join: Catch equal amounts from both edges. For the gusset, match one gusset row-end to one closed panel-edge position.
Pattern Notes & Construction Order
The main circular faces are worked in continuous spirals. Do not join rounds unless specifically stated. Place a marker in the first stitch and move it after every round. Each main-panel round after Round 1 adds exactly six stitches. Even-numbered shaping rounds are staggered to reduce visible hexagonal corners.
- Make two orange circular faces
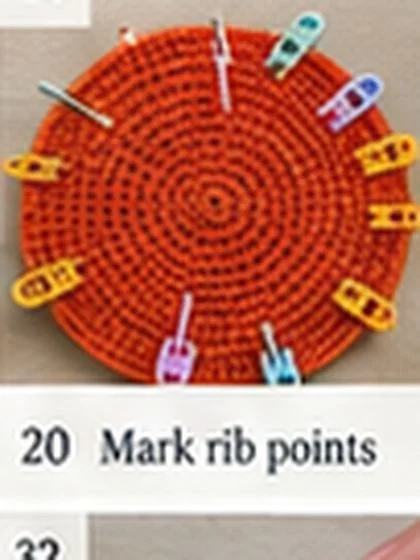
- Mark and add 21 radial ribs to each
- Make two spiral bases and two tubular spiral cords
- Assemble and attach spirals
- Make the 63-row split-color gusset
- Add transverse gusset ribs
- Reserve the 21-position top opening
- Join front and back to gusset
- Edge the opening
- Make and reinforce two handles
- Add optional closure, charm and lining
- Finish and quality-check
Before assembly, both main panels must match in diameter and both spiral motifs must match in size.
The Complete Written Pattern
A. Main Circular Shell Panels — Make 2 in Color A
| Round | Instruction | End Count |
|---|---|---|
| R1 | Magic ring; work 6 sc into ring. | 6 sts |
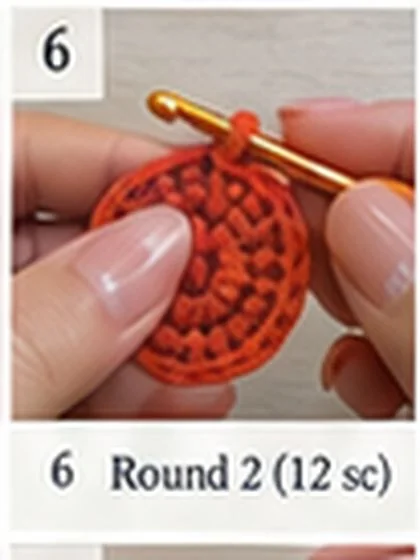
| R2 | Inc in every stitch around. | 12 sts |
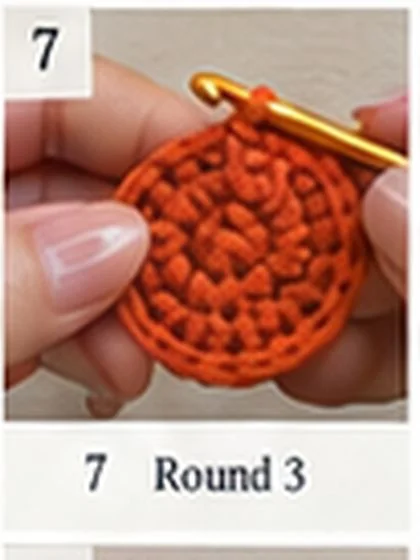
| R3 | (Sc 1, inc) x 6. | 18 sts |
| R4 | Sc 1, inc, (sc 2, inc) x 5, sc 1. | 24 sts |
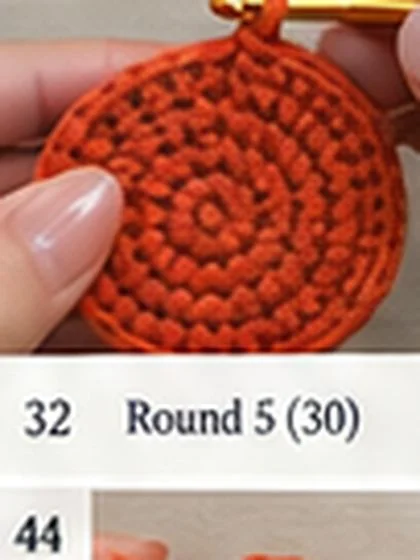
| R5 | (Sc 3, inc) x 6. | 30 sts |
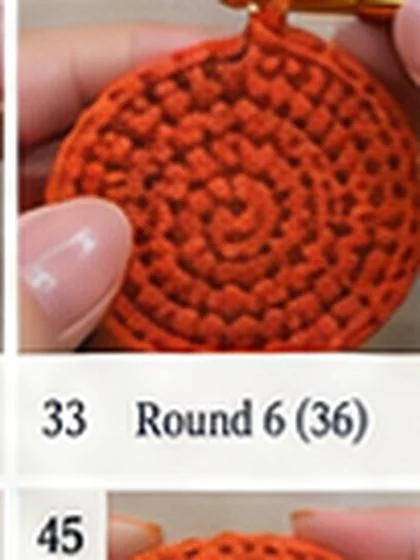
| R6 | Sc 2, inc, (sc 4, inc) x 5, sc 2. | 36 sts |
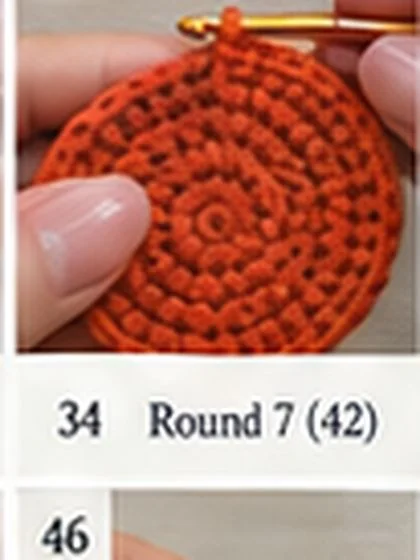
| R7 | (Sc 5, inc) x 6. | 42 sts |
| R8 | Sc 3, inc, (sc 6, inc) x 5, sc 3. | 48 sts |
| R9 | (Sc 7, inc) x 6. | 54 sts |
| R10 | Sc 4, inc, (sc 8, inc) x 5, sc 4. | 60 sts |
| R11 | (Sc 9, inc) x 6. | 66 sts |
| R12 | Sc 5, inc, (sc 10, inc) x 5, sc 5. | 72 sts |
| R13 | (Sc 11, inc) x 6. | 78 sts |
| R14 | Sc 6, inc, (sc 12, inc) x 5, sc 6. | 84 sts |
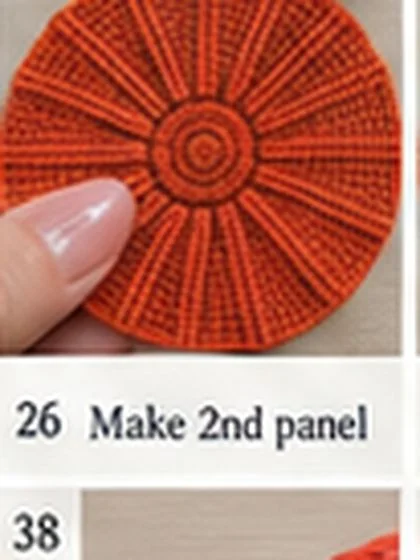
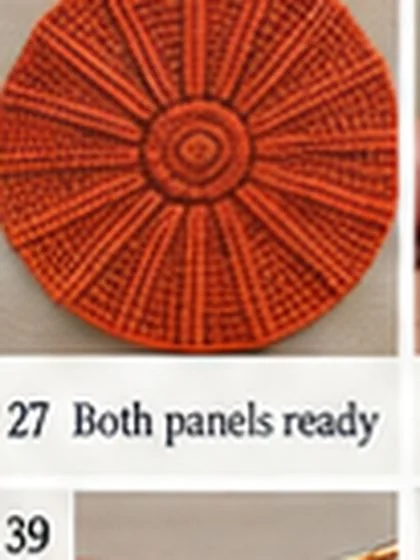
Panel checkpoint: finish invisibly. Each panel should measure about 11.75–12.25 in / 30–31 cm and lie flat. Make the second panel exactly the same.
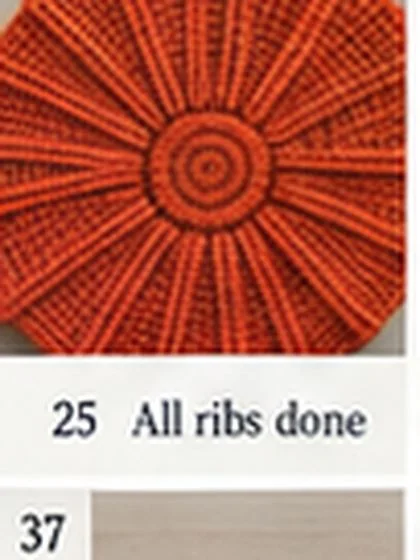
B. Raised Radial Ribs — 21 per Face
Round 14 contains 84 stitches. Mark every 4th outer stitch: 84 / 21 = 4, giving exactly 21 outer rib positions. Use the Round 7 area as the inner reference; Round 7 contains 42 stitches, so 42 / 21 = 2 inner positions per rib interval.
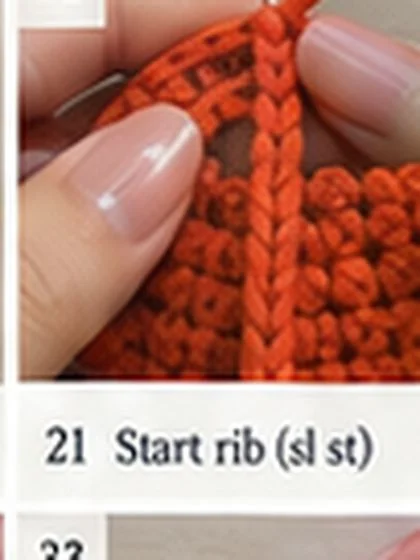
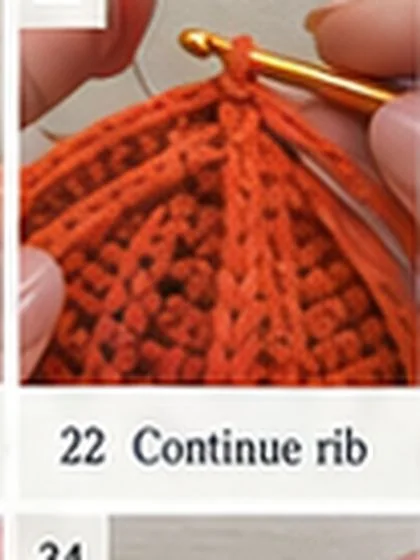
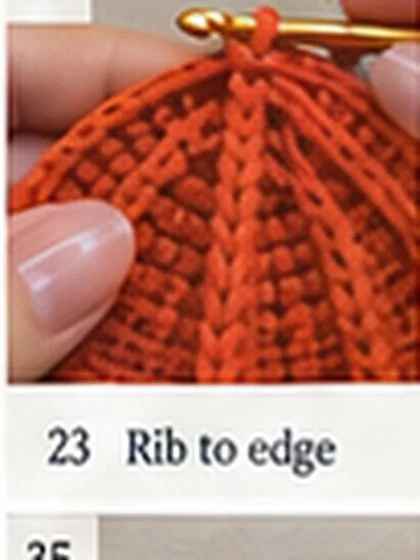
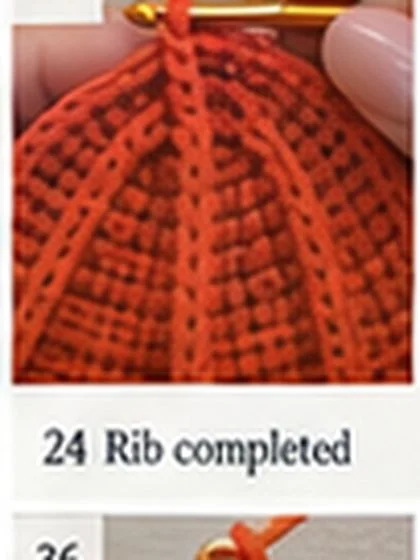
For each rib, use Color A and surface slip stitch from the Round 7 area toward its matching outer marker. Follow the straightest visual radial path rather than forcing the rib through a structural stitch column. Stop about 0.25 in / 6 mm before the outer edge. Secure both tails on the wrong side.
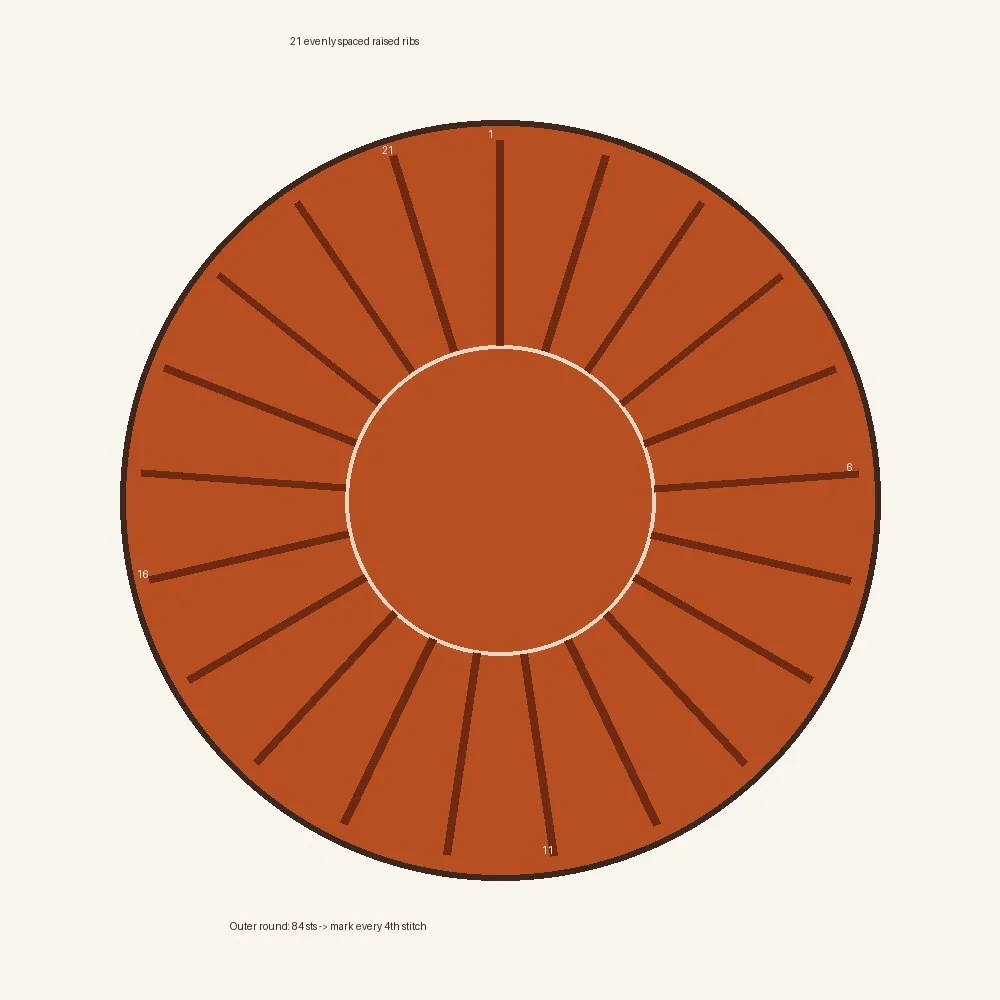
Repeat until each face has exactly 21 ribs. The panel must remain flat. If it cups, the surface stitches are too tight.
C. Spiral Base — Make 2 in Color A
| Round | Instruction | End Count |
|---|---|---|
| R1 | Magic ring; 6 sc. | 6 sts |
| R2 | Inc around. | 12 sts |
| R3 | (Sc 1, inc) x 6. | 18 sts |
| R4 | Sc 1, inc, (sc 2, inc) x 5, sc 1. | 24 sts |
| R5 | (Sc 3, inc) x 6. | 30 sts |
| R6 | Sc 2, inc, (sc 4, inc) x 5, sc 2. | 36 sts |
| R7 | (Sc 5, inc) x 6. | 42 sts |
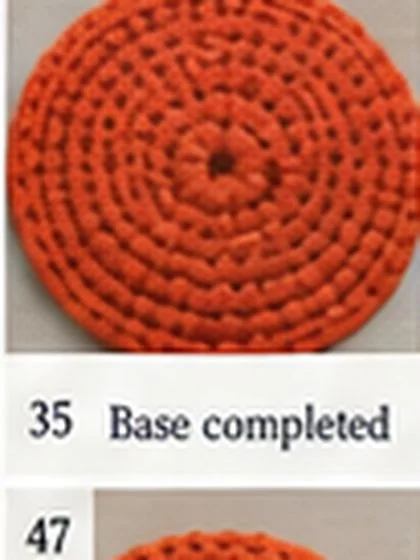
Finish base. Target diameter: approximately 6–6.25 in / 15–16 cm.
D. Spiral Cord & Spiral Assembly — Make 2
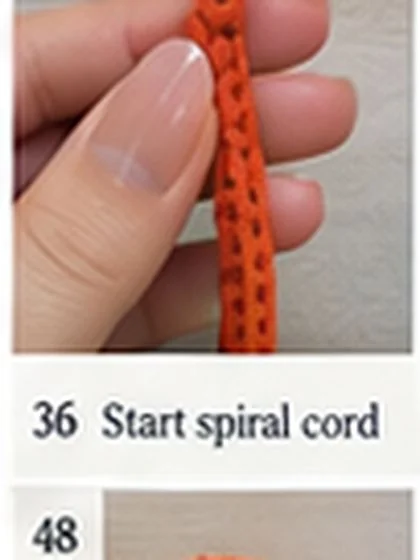
Foundation: Ch 4 and join to form a tiny ring.
Cord Round 1: Work 4 sc around the ring. Do not join. Place marker. Count: 4 sts.
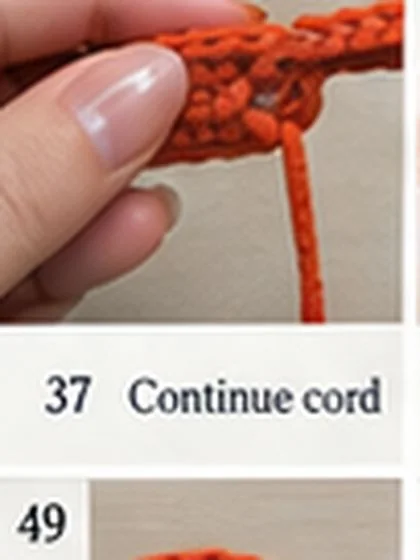
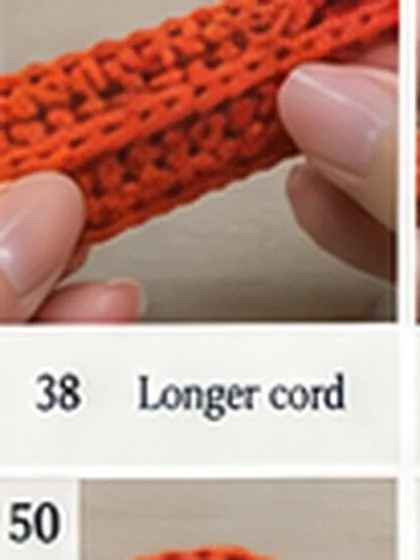
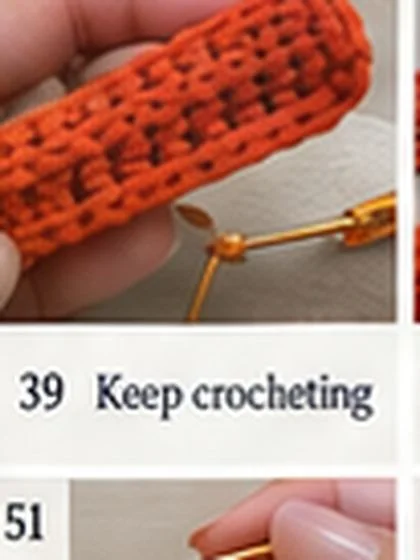
Following rounds: Sc once in each of the 4 stitches continuously. Keep exactly 4 sts every round. Continue until the tube measures approximately 38–42 in / 96.5–107 cm.
Assembly: Place the cord on the spiral-base disc. Coil tightly at the center, then continue outward with adjacent coils touching. Do not overlap. Sew from the wrong side of the base, catching only the underside of the cord. Anchor about every 0.5 in / 1.3 cm in tight curves and every 0.75 in / 2 cm on outer curves.
Finished motif: approximately 6–6.5 in / 15–16.5 cm. Attach one motif to each main face so the outer spiral hides the inner ends of the radial ribs. Sew outer edge first, then add hidden internal anchor points. Do not flatten.
E. Split-Color Gusset
Foundation: With Color A, ch 8.
Row 1: Sc in second ch from hook and across. 7 sc.
Rows 2–35: Ch 1, turn, sc across. 7 sc each row.
Color change: On the final yarn-over of the last sc of Row 35, complete the stitch with Color B.
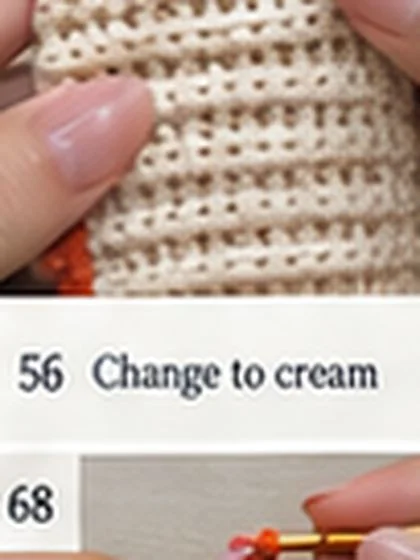
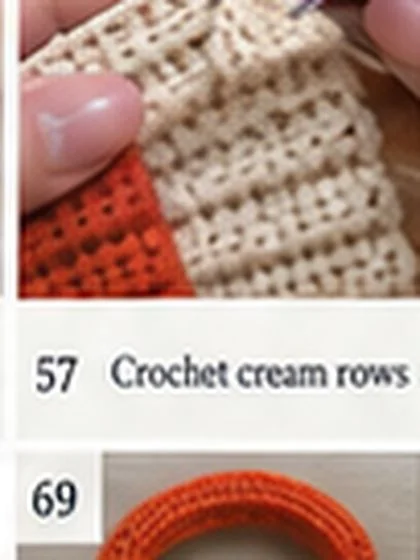
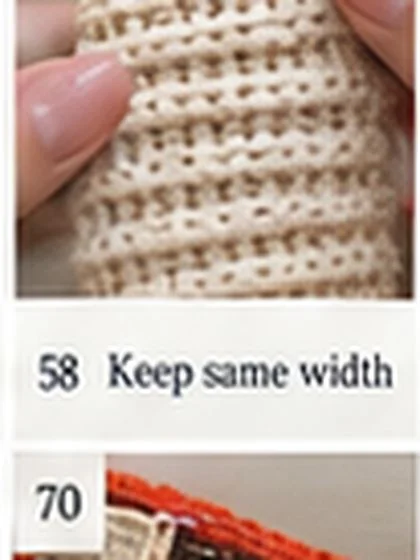
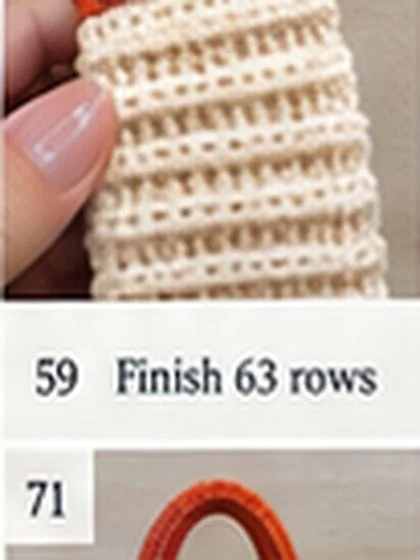
Rows 36–63: Ch 1, turn, sc across in Color B. 7 sc each row. Fasten off after Row 63.
Target gusset: about 3.1 in / 7.9 cm wide and 28 in / 71 cm long. Total = 63 rows: 35 orange + 28 cream.
Transverse ribs: surface slip stitch across the 7-stitch width approximately every 4 rows. Use Color A over orange rows and Color B over cream rows.
F. Top Opening & Assembly
Each main face has 84 outer stitch positions. Reserve 21 consecutive positions centered at 12 o’clock for the top opening. The remaining 63 positions form the closed body edge.
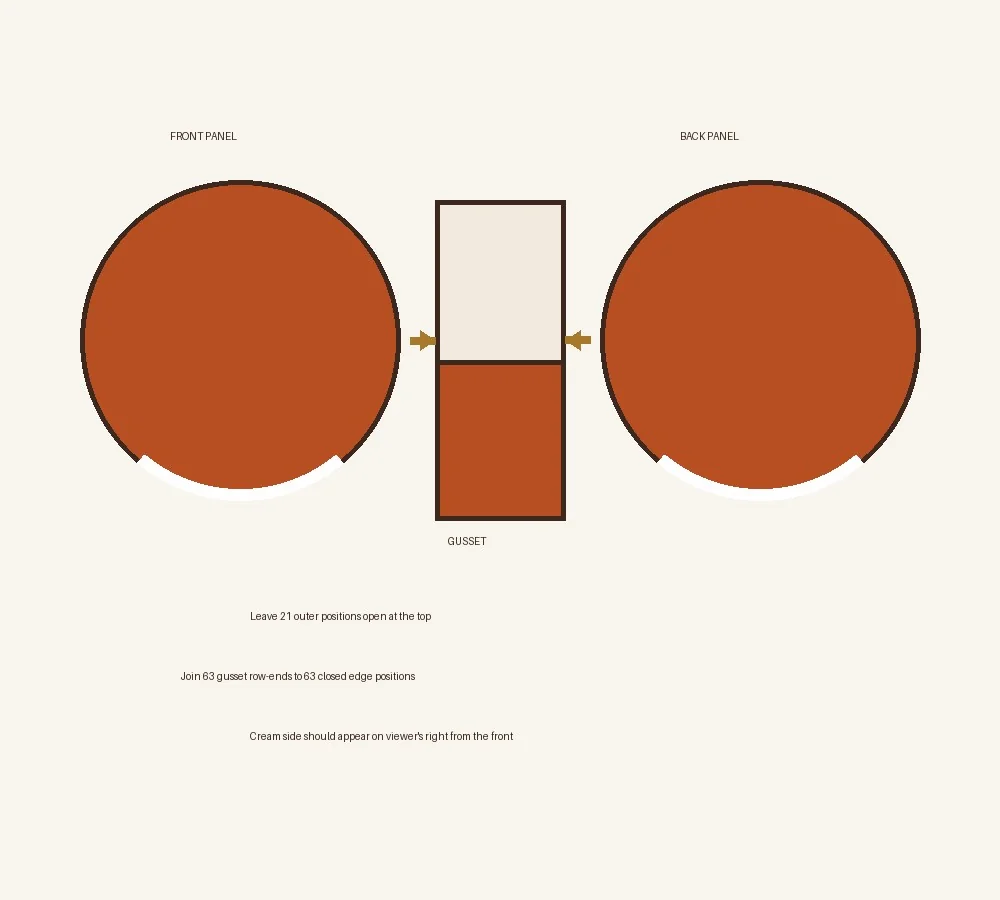
Front join: From the front view, orient the cream gusset mainly on the viewer’s right. Align gusset Row 1 with the left opening marker and Row 63 with the right opening marker. Match 1 gusset row-end to 1 closed panel-edge position. Row 32 should align approximately with 6 o’clock / bottom center.
Back join: Pin the second panel to the free gusset edge, matching top center, opening endpoints and bottom center. Join in the same 1:1 manner. From the back, the same cream side naturally appears on the viewer’s left.
Opening edging: Join Color A at one opening endpoint and work sc evenly around the exposed front opening, gusset end, back opening and second gusset end. Use Color B where a visible cream junction requires it. Do not increase. Finish invisibly.
The bag should now have even depth, parallel faces, a centered opening, cream on the viewer’s right from the front and cream on the viewer’s left from the back.
G. Handles — Make 2 in Color A
Foundation: Ch 9.
Row 1: Sc in second ch from hook and across. 8 sc.
Rows 2–40: Ch 1, turn, sc BLO across. 8 sc each row.
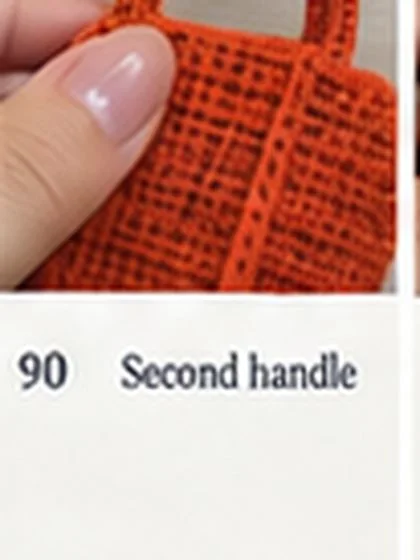
Target strip length is approximately 17.5–18 in / 44.5–46 cm. Cut one flexible cotton cord approximately 17.5 in / 44.5 cm. Place it lengthwise through the center, fold the strip around the core, and whipstitch the long edges together with the seam on the underside.
Add two relaxed longitudinal surface-slip-stitch lines along the visible upper side so the finished handle shows strong lengthwise ribbing.
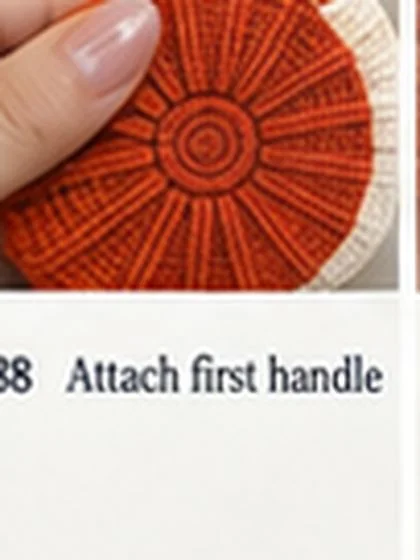
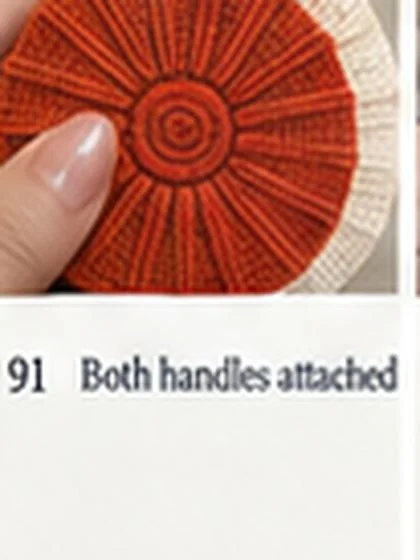
Placement: mark attachment centers about 3 in / 7.5 cm either side of top center, approximately 6 in / 15 cm apart. Overlap each handle end about 1.5 in / 3.8 cm onto the bag.
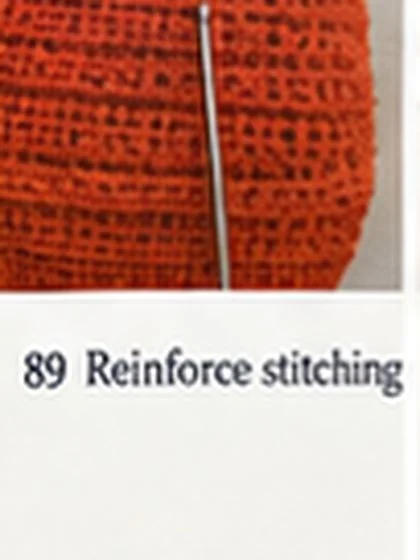
Reinforcement: sew a hidden rectangle at each attachment, then sew both diagonals to form a box-X. Repeat for all four handle ends.
H. Optional Closure, Charm, Lining & Finishing
Magnetic snap: install at the center of the opening before fully attaching the lining. Reinforce the fabric behind both snap halves.
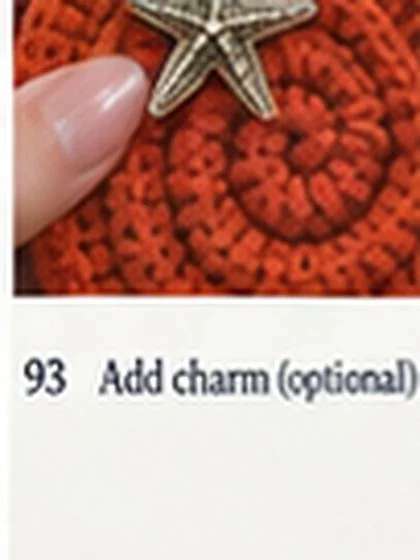
Charm: attach a short gold-tone chain and starfish-style charm to structural crochet near the upper-left front. Do not hang the load from the spiral cord.
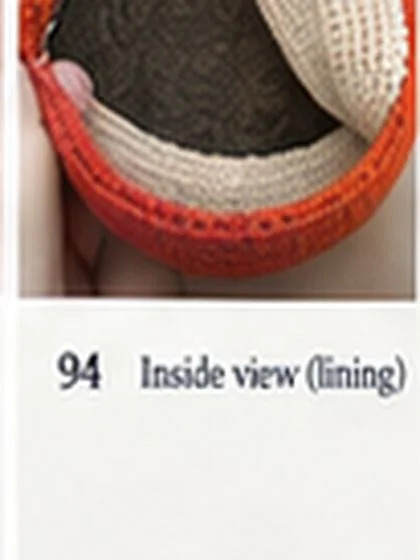
Lining: cut two circular lining pieces and one gusset strip, adding about 0.5 in / 1.3 cm seam allowance. Sew lining separately, insert it, turn the top edge inward and hand-sew approximately 0.25 in / 6 mm below the crochet opening.
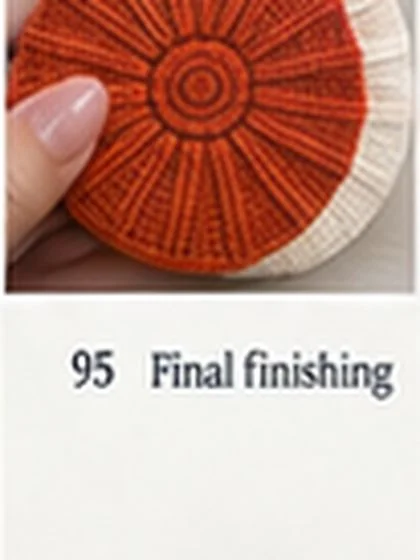
Finishing: weave every structural tail through several dense stitches, reverse direction once, then trim. Stand the bag upright and correct any twist. Lightly steam only if suitable for the chosen fiber. Never press the spiral, radial ribs or handles flat.
Final written pattern check: 2 orange 84-stitch faces; 21 ribs per face; 2 spiral bases ending at 42 sts; 2 spiral cords; 63-row gusset with 35 orange + 28 cream rows; 21-position top opening; 2 reinforced 8-sc-wide handles.
Step-by-Step Visual Guide (All 96 Steps)
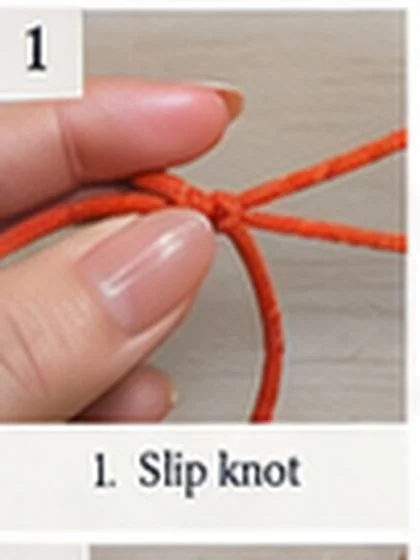
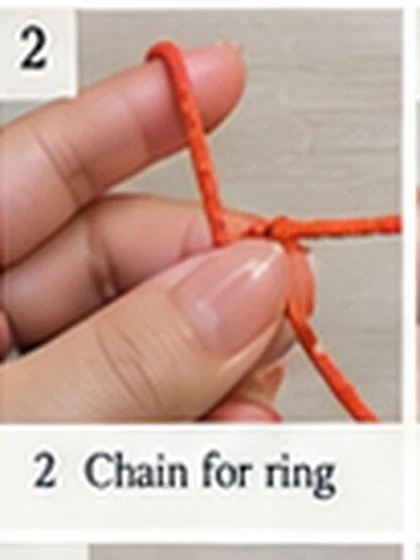
Every photo below matches the written pattern above, in order, from the very first slip knot to the finished bag. Use these to double-check your work at each stage.
Steps 1-4
Steps 5-8
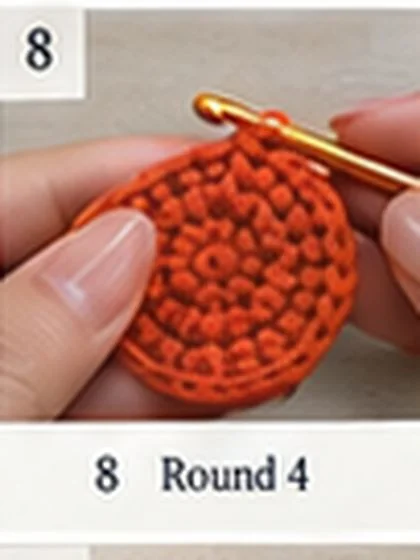
Steps 9-12
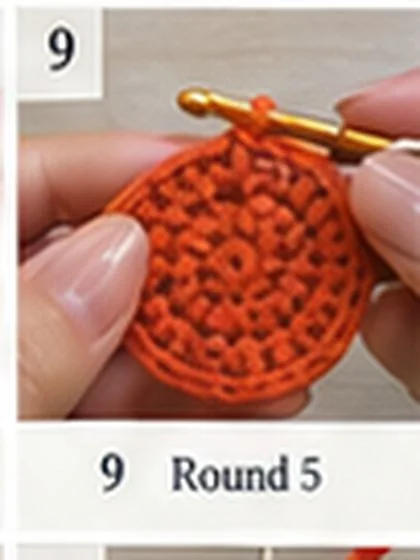
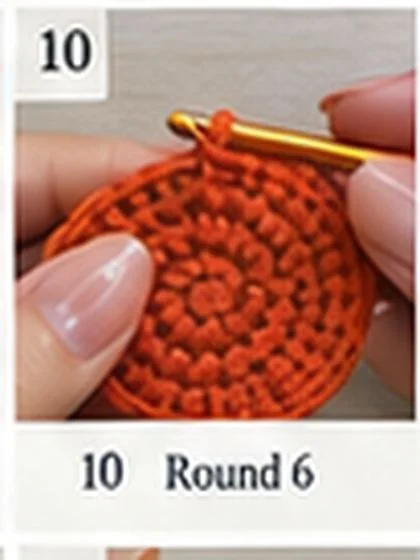
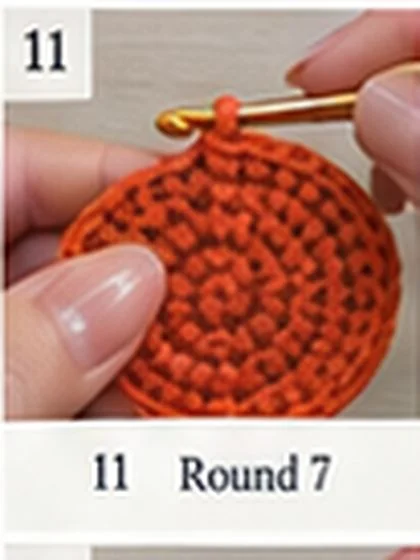
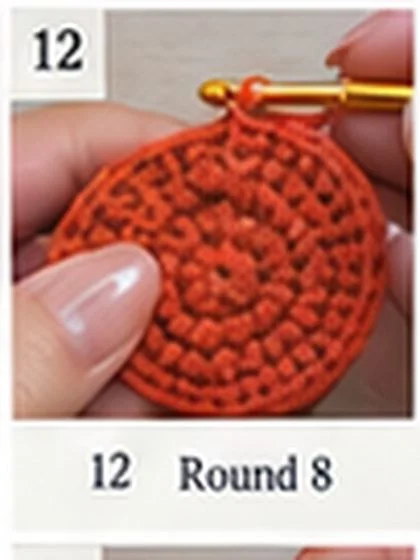
Steps 13-16
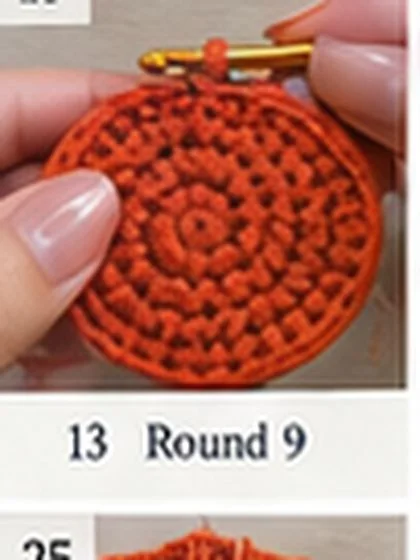
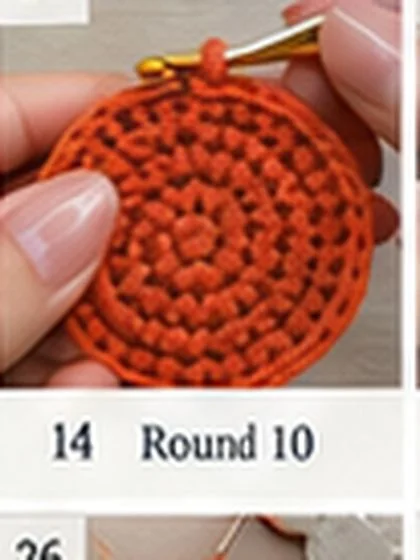
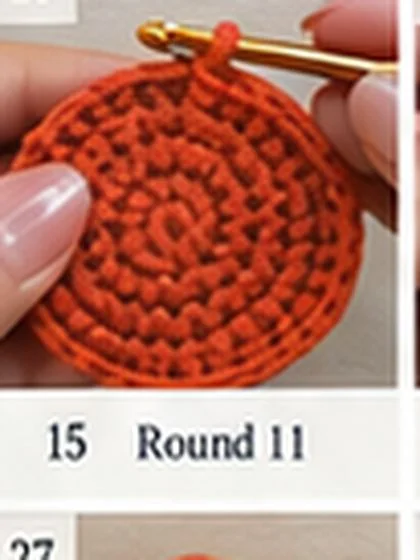
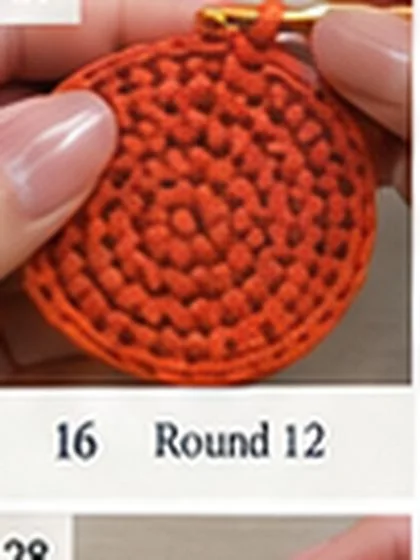
Steps 17-20
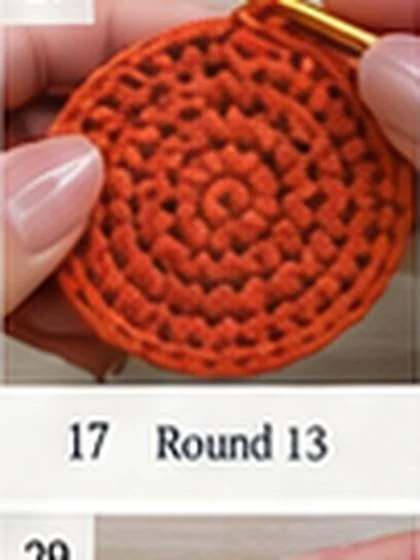
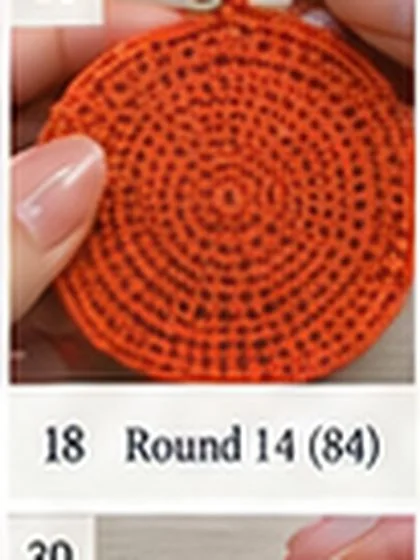
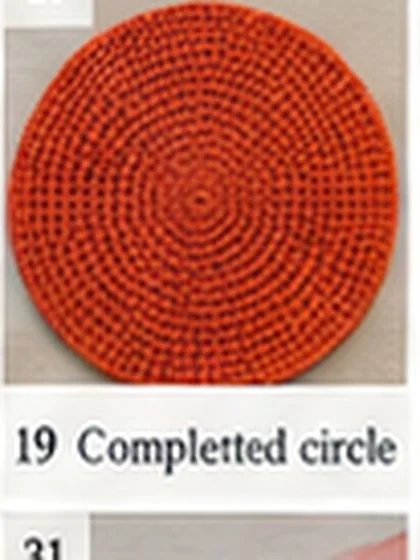
Steps 21-24
Steps 25-28
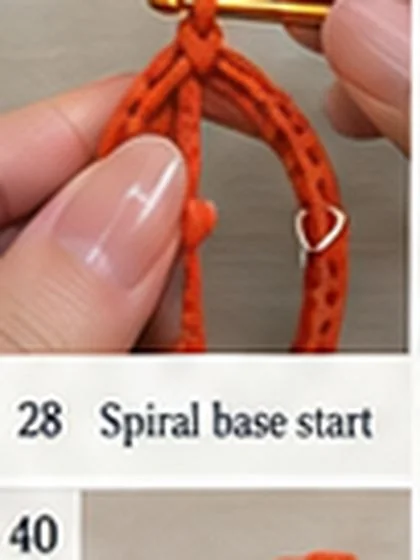
Steps 29-32
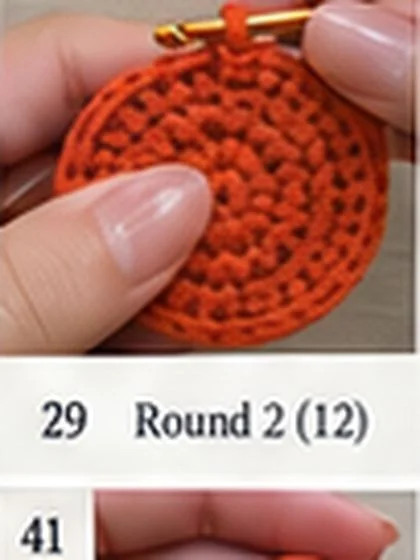
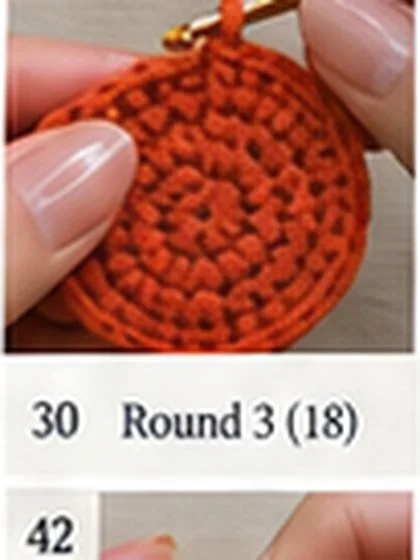
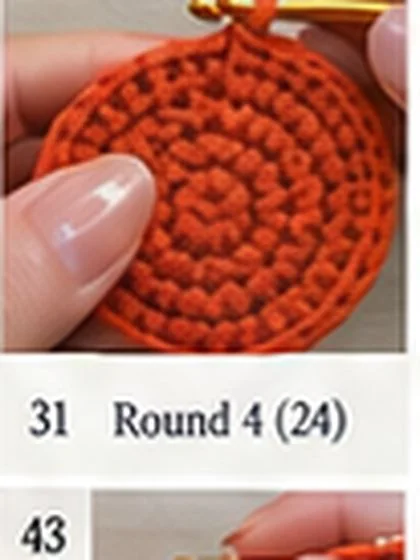
Steps 33-36
Steps 37-40
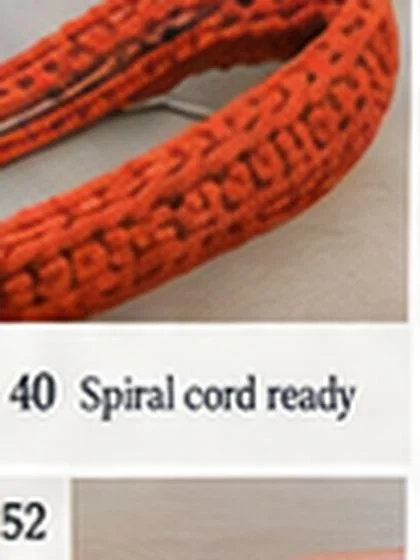
Steps 41-44
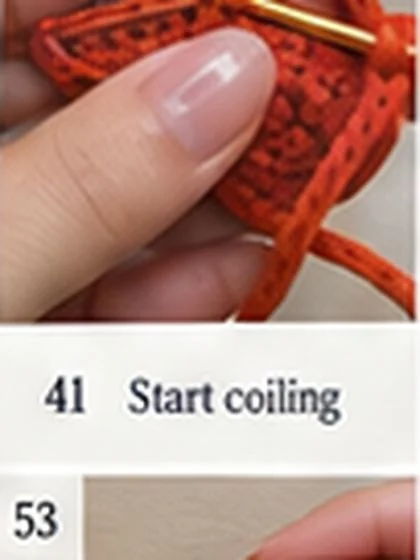
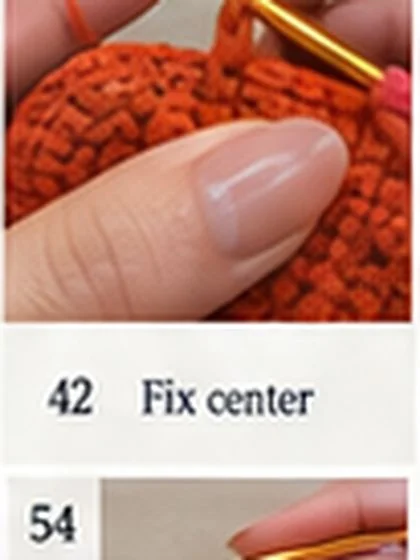
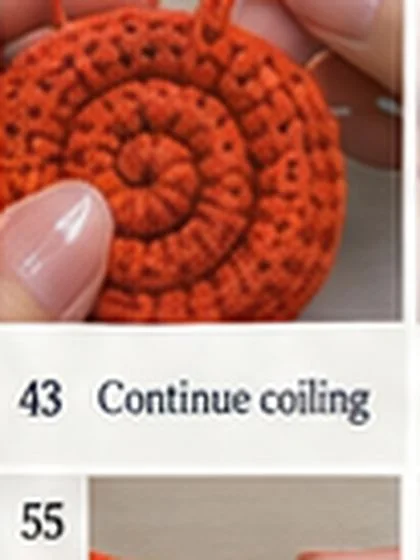
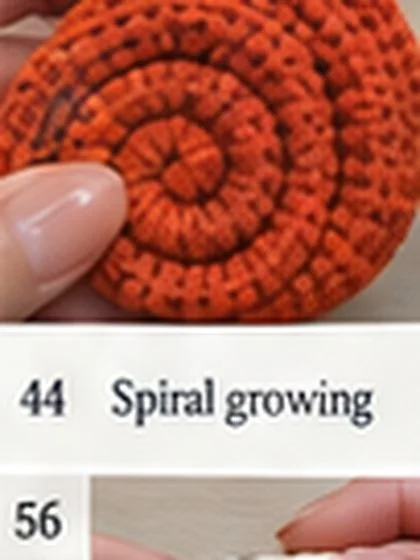
Steps 45-48
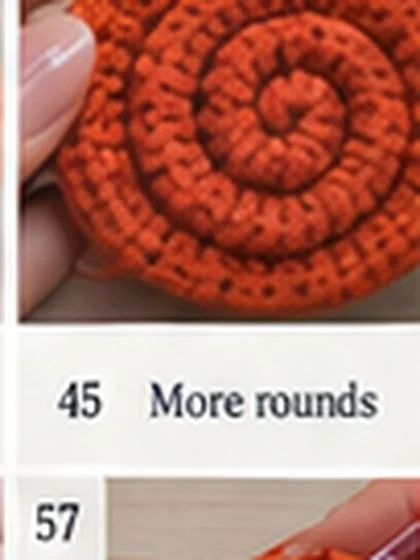
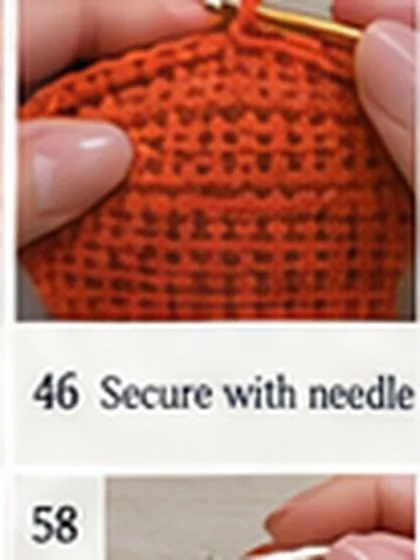
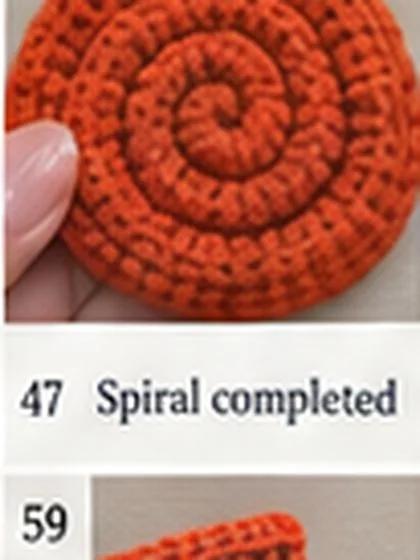
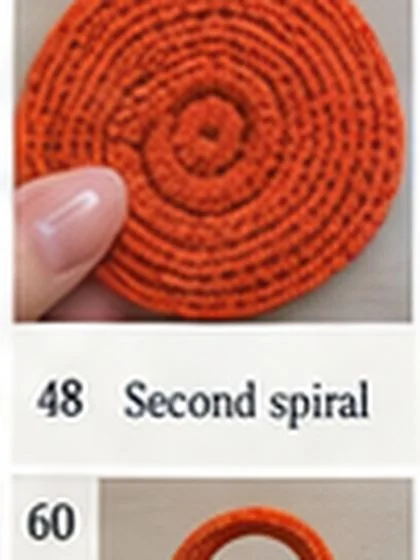
Steps 49-52
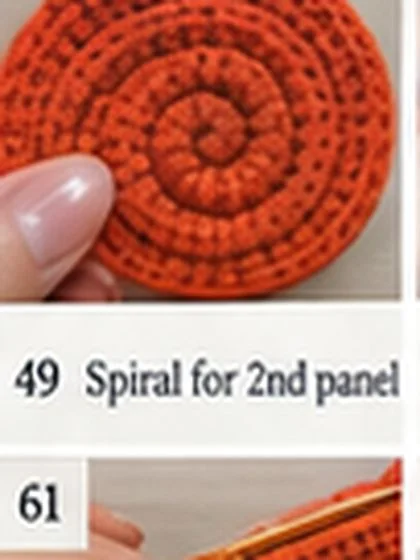
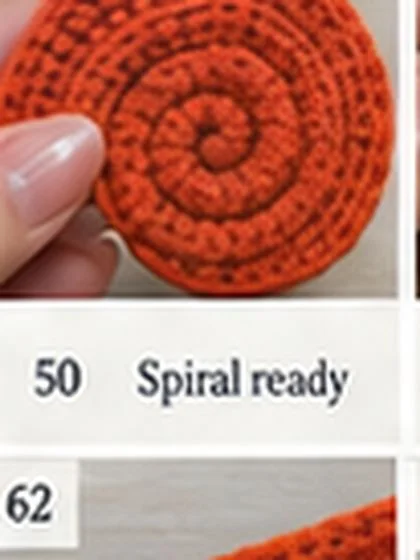
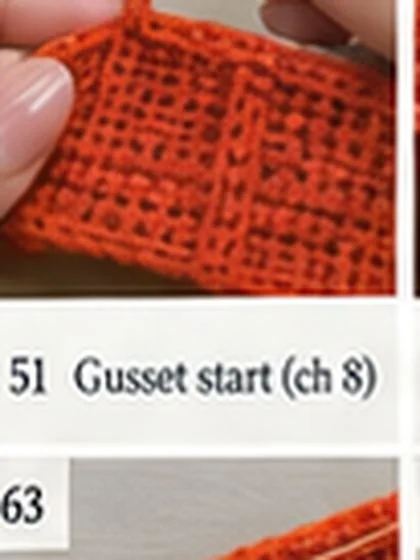
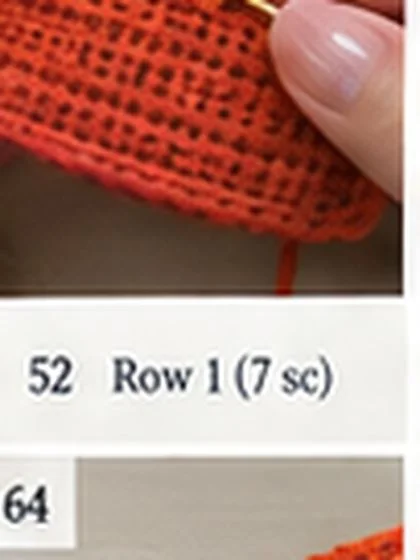
Steps 53-56
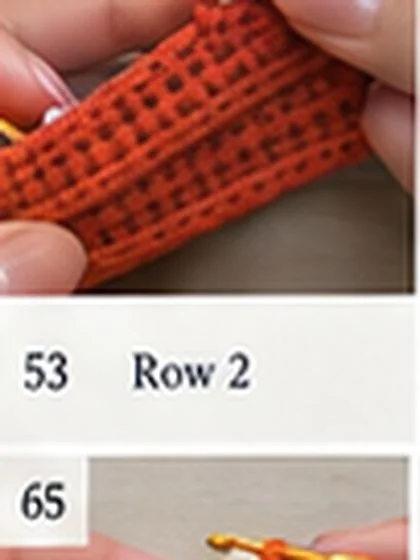
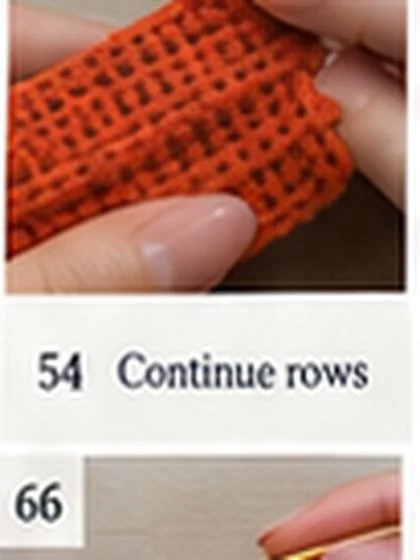
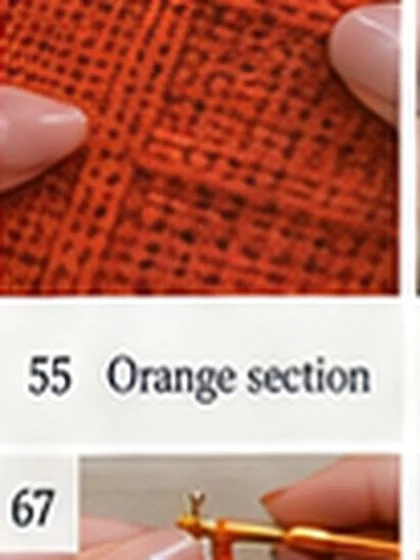
Steps 57-60
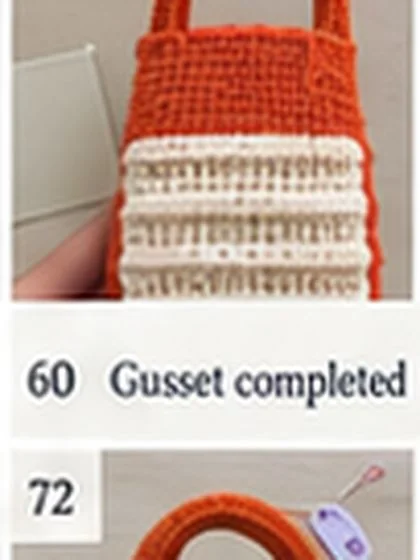
Steps 61-64
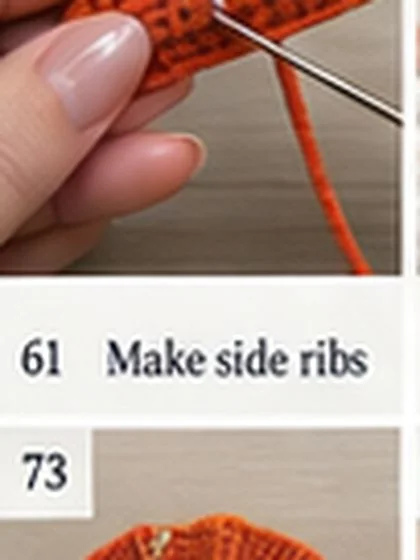
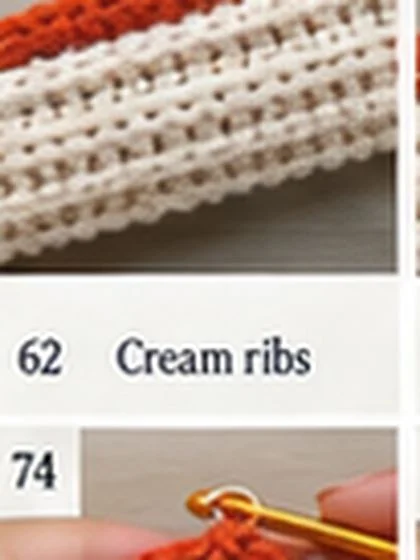
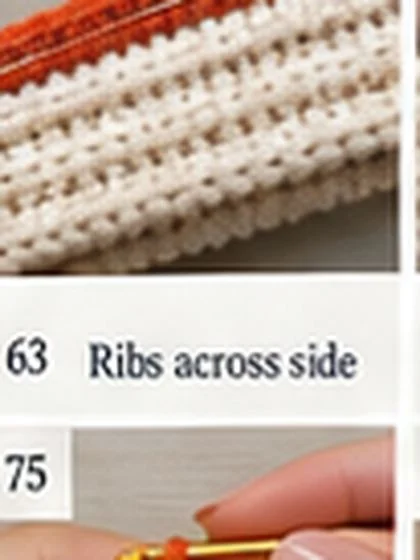
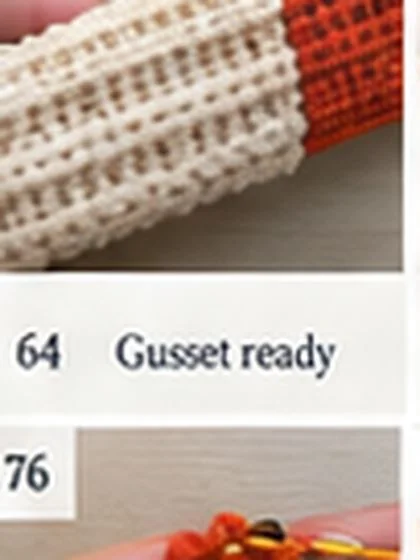
Steps 65-68
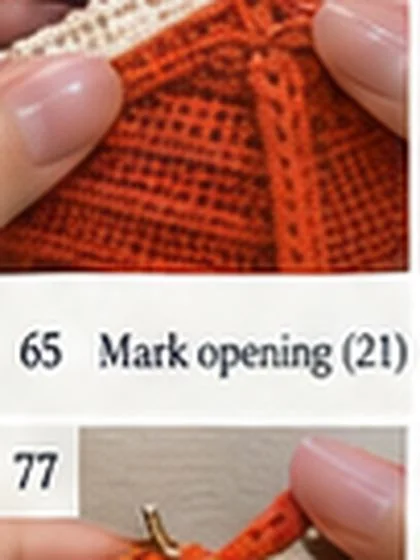
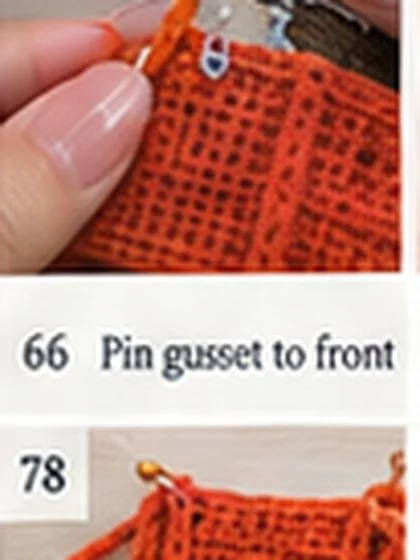
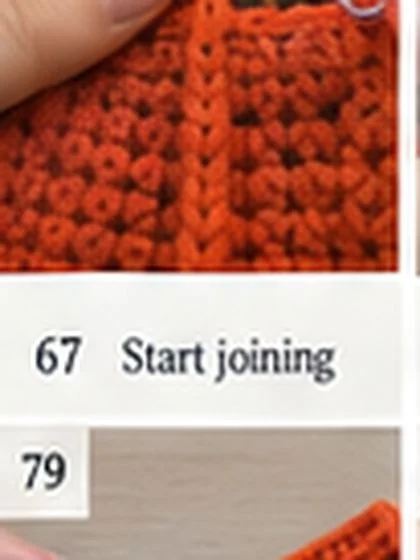
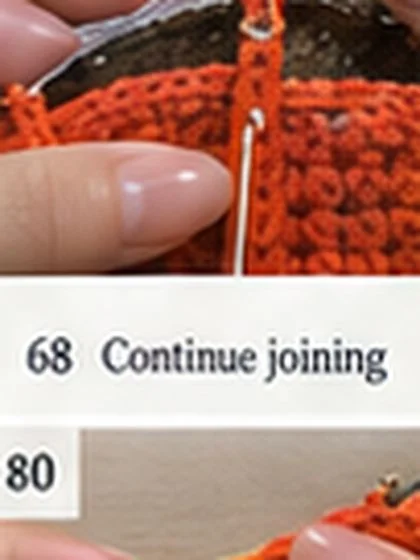
Steps 69-72
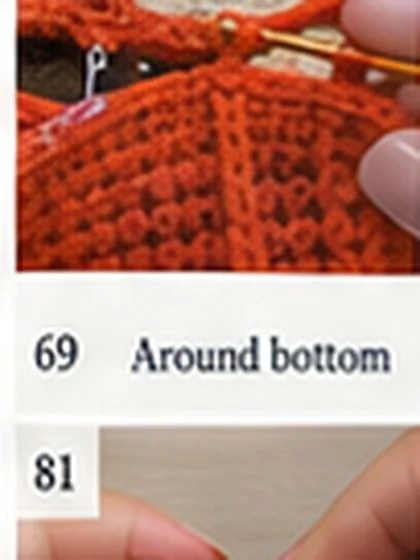
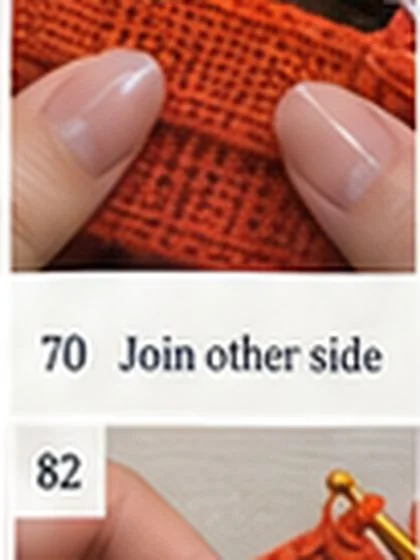
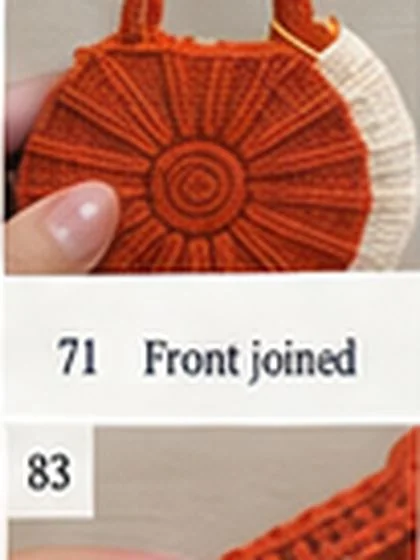
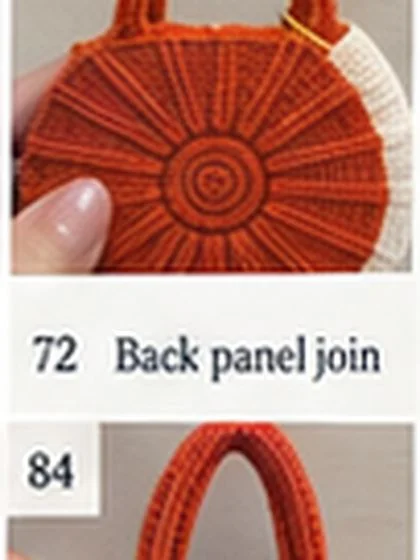
Steps 73-76
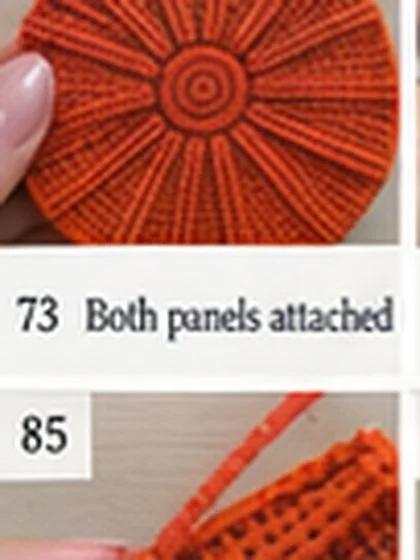
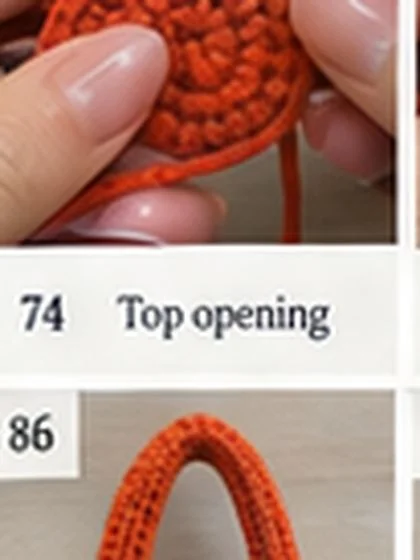
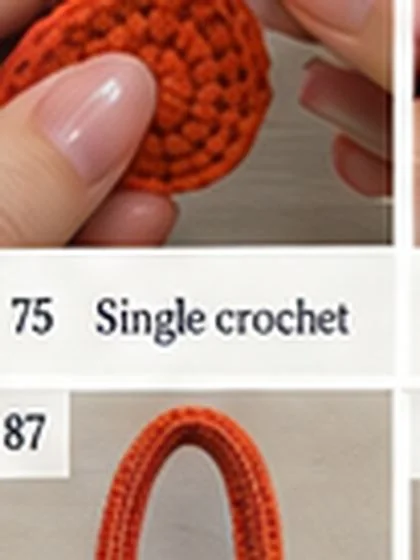
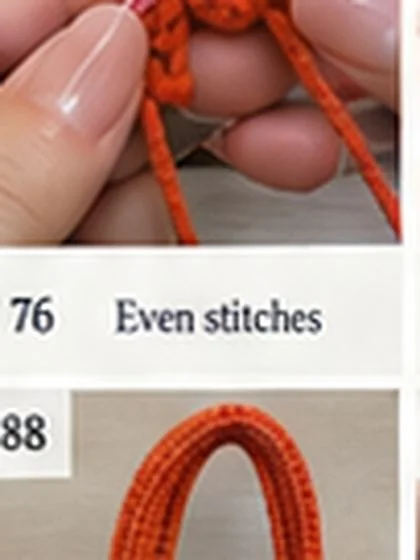
Steps 77-80
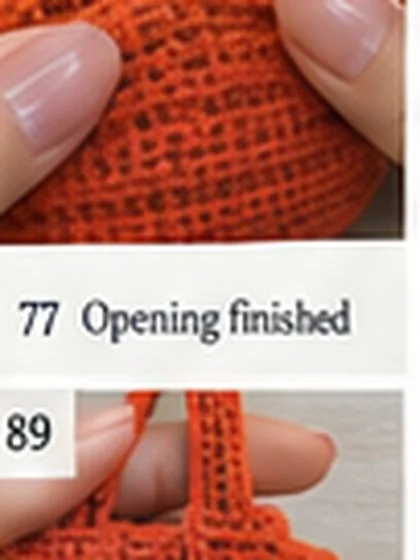
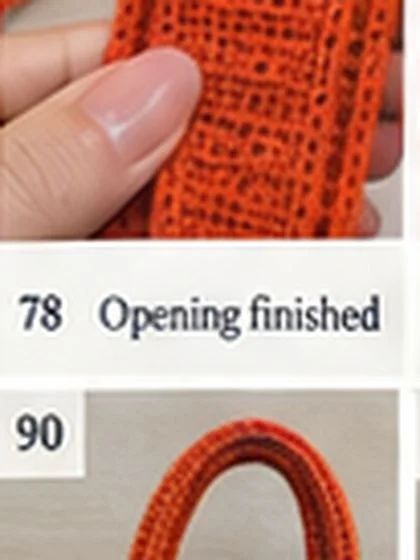
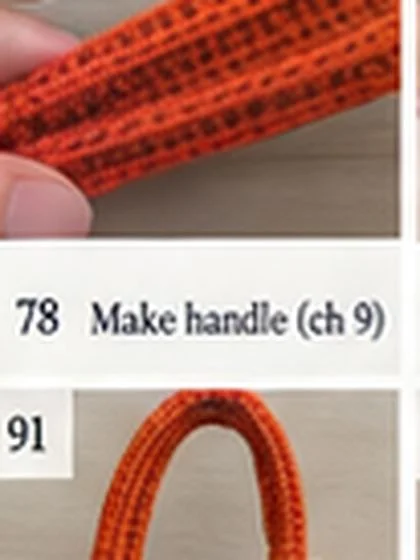
Steps 81-84
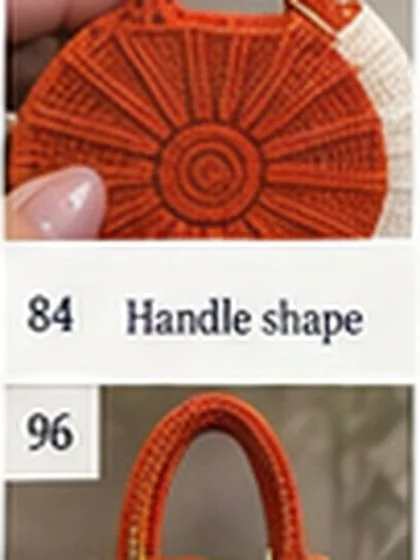
Steps 85-88
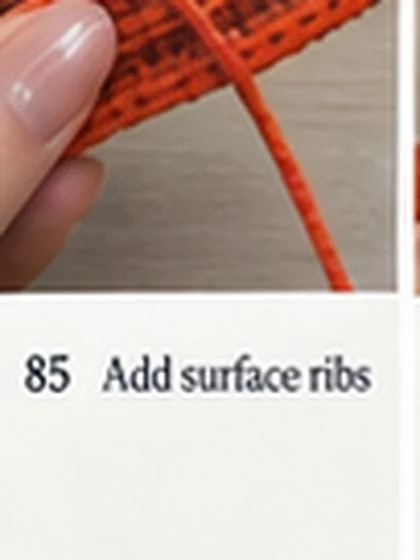
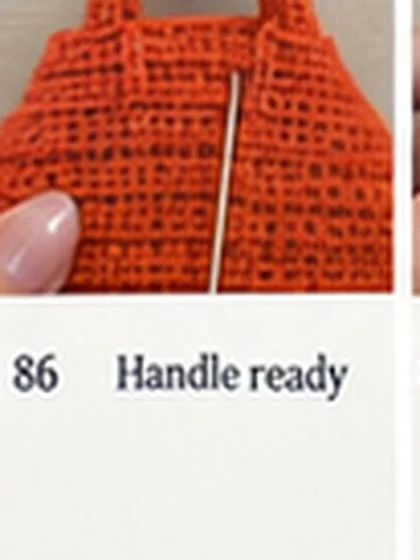
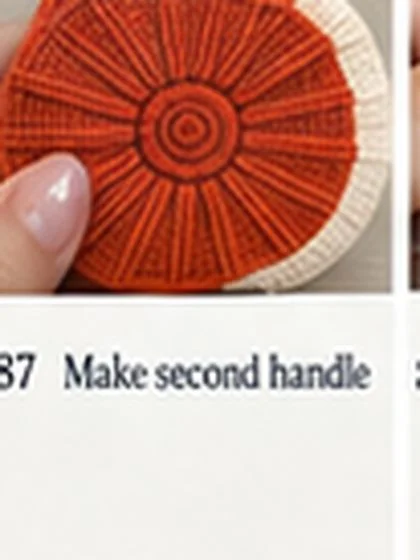
Steps 89-92
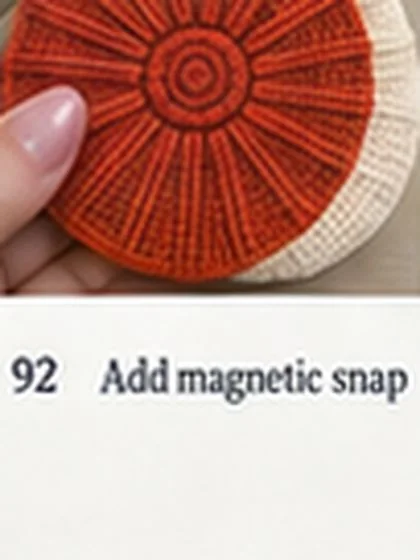
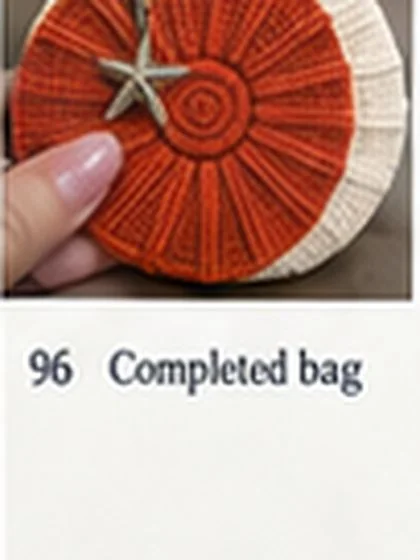
Steps 93-96
Round-by-Round Stitch Verification
| Round | Start | Change | Final | Status |
|---|---|---|---|---|
| R1 | 0 | +6 | 6 | PASS |
| R2 | 6 | +6 | 12 | PASS |
| R3 | 12 | +6 | 18 | PASS |
| R4 | 18 | +6 | 24 | PASS |
| R5 | 24 | +6 | 30 | PASS |
| R6 | 30 | +6 | 36 | PASS |
| R7 | 36 | +6 | 42 | PASS |
| R8 | 42 | +6 | 48 | PASS |
| R9 | 48 | +6 | 54 | PASS |
| R10 | 54 | +6 | 60 | PASS |
| R11 | 60 | +6 | 66 | PASS |
| R12 | 66 | +6 | 72 | PASS |
| R13 | 72 | +6 | 78 | PASS |
| R14 | 78 | +6 | 84 | PASS |
Mathematical size check: 84 sts / 9 sts x 4 in = 37.33 in circumference. 37.33 / π = approx. 11.88 in diameter, matching the approx. 12 in target.
- Opening check: 84 total outer positions − 21 opening positions = 63 closed positions.
- Gusset check: 63 rows correspond to 63 closed edge positions; 35 orange + 28 cream = 63.
- Rib check: 84 / 21 = 4 outer stitch positions per rib interval; 42 / 21 = 2 inner reference positions per rib interval.
Progress Verification & Error Checks
- After Round 14: 84 sts; panel lies flat; diameter about 12 in.
- After radial ribs: 21 ribs; even fan; no cupping.
- After spiral: 6–6.5 in motif; coils touching; center secure.
- After gusset: 63 rows; 7 sc each row; 35 orange + 28 cream.
- After assembly: cream side right from front, left from back; depth even.
- After handles: same rise, same spacing, all four ends box-X reinforced.
Troubleshooting
- Circle cups upward: Verify stitch count. If correct, loosen tension or use a larger hook.
- Circle ripples: Check for accidental extra increases. If count is correct, tighten tension or use a smaller hook.
- Panel looks hexagonal: Confirm the staggered even-numbered rounds were followed.
- Ribs distort panel: Surface slip stitches are too tight; remove and remake more loosely.
- Spiral looks flat: Attachment stitches are too tight. Keep the cord rounded.
- Gusset misses opening marker: Confirm exactly 63 rows and 1:1 edge joining.
- Cream appears on wrong side: Rotate gusset before final joining; cream should be viewer’s right from front.
- Handle twists: Realign the long seam to the underside before reattaching.
- Handle collapses: Use a firmer internal cotton cord or stabilizer.
Frequently Asked Questions
My circle is not 12 inches after Round 14.
Check gauge first. Keep the 84-stitch count and adjust hook size/tension rather than adding random increases.
Can I use another yarn?
Yes, but finished size changes unless you match the stated gauge.
Why is cream mainly on the side?
The front, back and 3D reference relationship is best reproduced by a contrasting side/gusset section rather than a cream face appliqué.
Do I have to line the bag?
No, but lining improves structure, protects the crochet and supports optional hardware.
Can I omit the charm?
Yes. It is decorative and does not affect construction.
Safety Notes
This handbag is not a baby product. Small hardware such as charms, chain, magnetic snaps, stitch markers and loose cords can be choking or entanglement hazards. Keep them away from infants and young children. Do not market the finished item as a toy or baby product.
Final Quality-Check Checklist
- Both main panels contain 84 stitches and match in size.
- Each face has exactly 21 evenly spaced raised ribs.
- Both spiral motifs measure approximately 6–6.5 in / 15–16.5 cm and are securely attached.
- Gusset contains exactly 63 rows with 7 sc per row.
- Gusset color split is 35 orange rows + 28 cream rows.
- Cream side appears on viewer’s right from front and viewer’s left from back.
- Top opening is centered over 21 reserved outer positions.
- Bag depth is even at approximately 3.1–3.25 in / 7.9–8.3 cm.
- Both handles have equal rise and matching attachment spacing.
- All four handle ends have hidden box-X reinforcement.
- Optional lining and snap are secure.
- All yarn ends are woven in and raised details remain dimensional.
And there you have it — a fully engineered spiral shell crochet handbag with a raised radial-rib face, a coiled spiral centerpiece, and a structured split-color gusset. It’s a longer project than most patterns on this blog, but every checkpoint above is there to keep you on track. If you have questions on any step, drop them in the comments — I’m happy to help troubleshoot.
Reviews
Excelente!
🇧🇷Me apaixonei a primeira vista pela bolsa! Linda e maravilhosa. Pesquisei até encontrar esse tutorial. Explicação nos mínimos detalhes, perfeita! Gostaria de ver um vídeo completo com o passo a passo! Obrigada por compartilhar! Deus te abençoe e prospere em nome de Jesus!🇧🇷

Happy crocheting! 🍀
— Sofia, Loop & Twine
Planning to sell this bag? Our free materials + time pricing calculator can help you price it fairly for the hours it takes.
Keep learning: New to a technique used here? See our beginner guide to crochet increases and decreases and an invisible fasten off.