
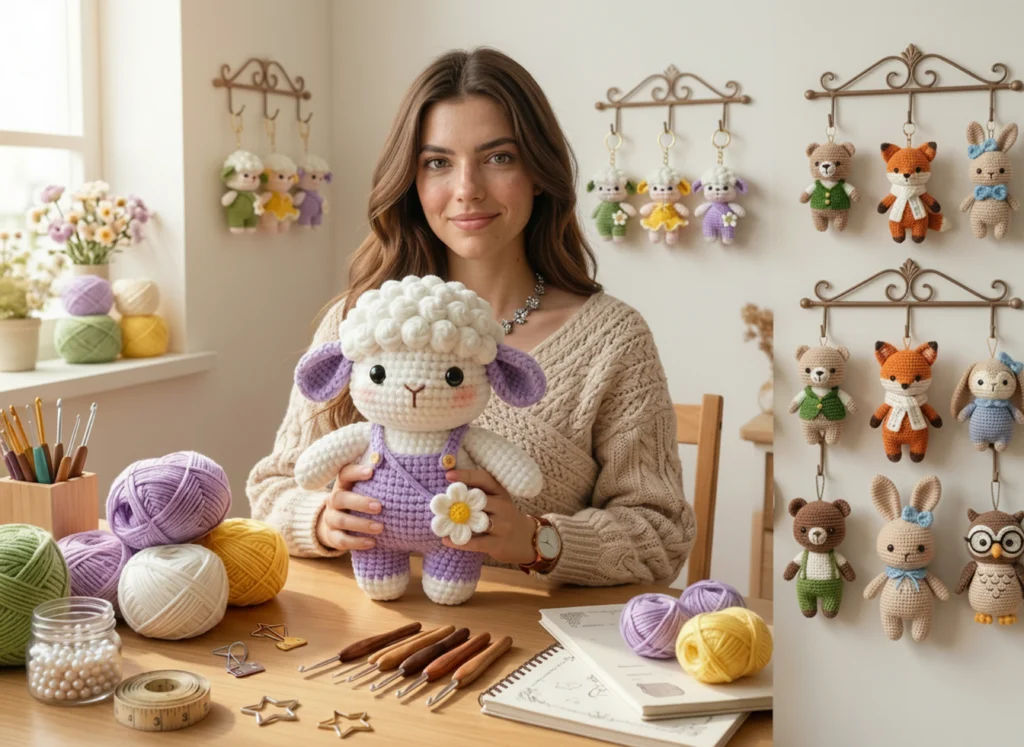
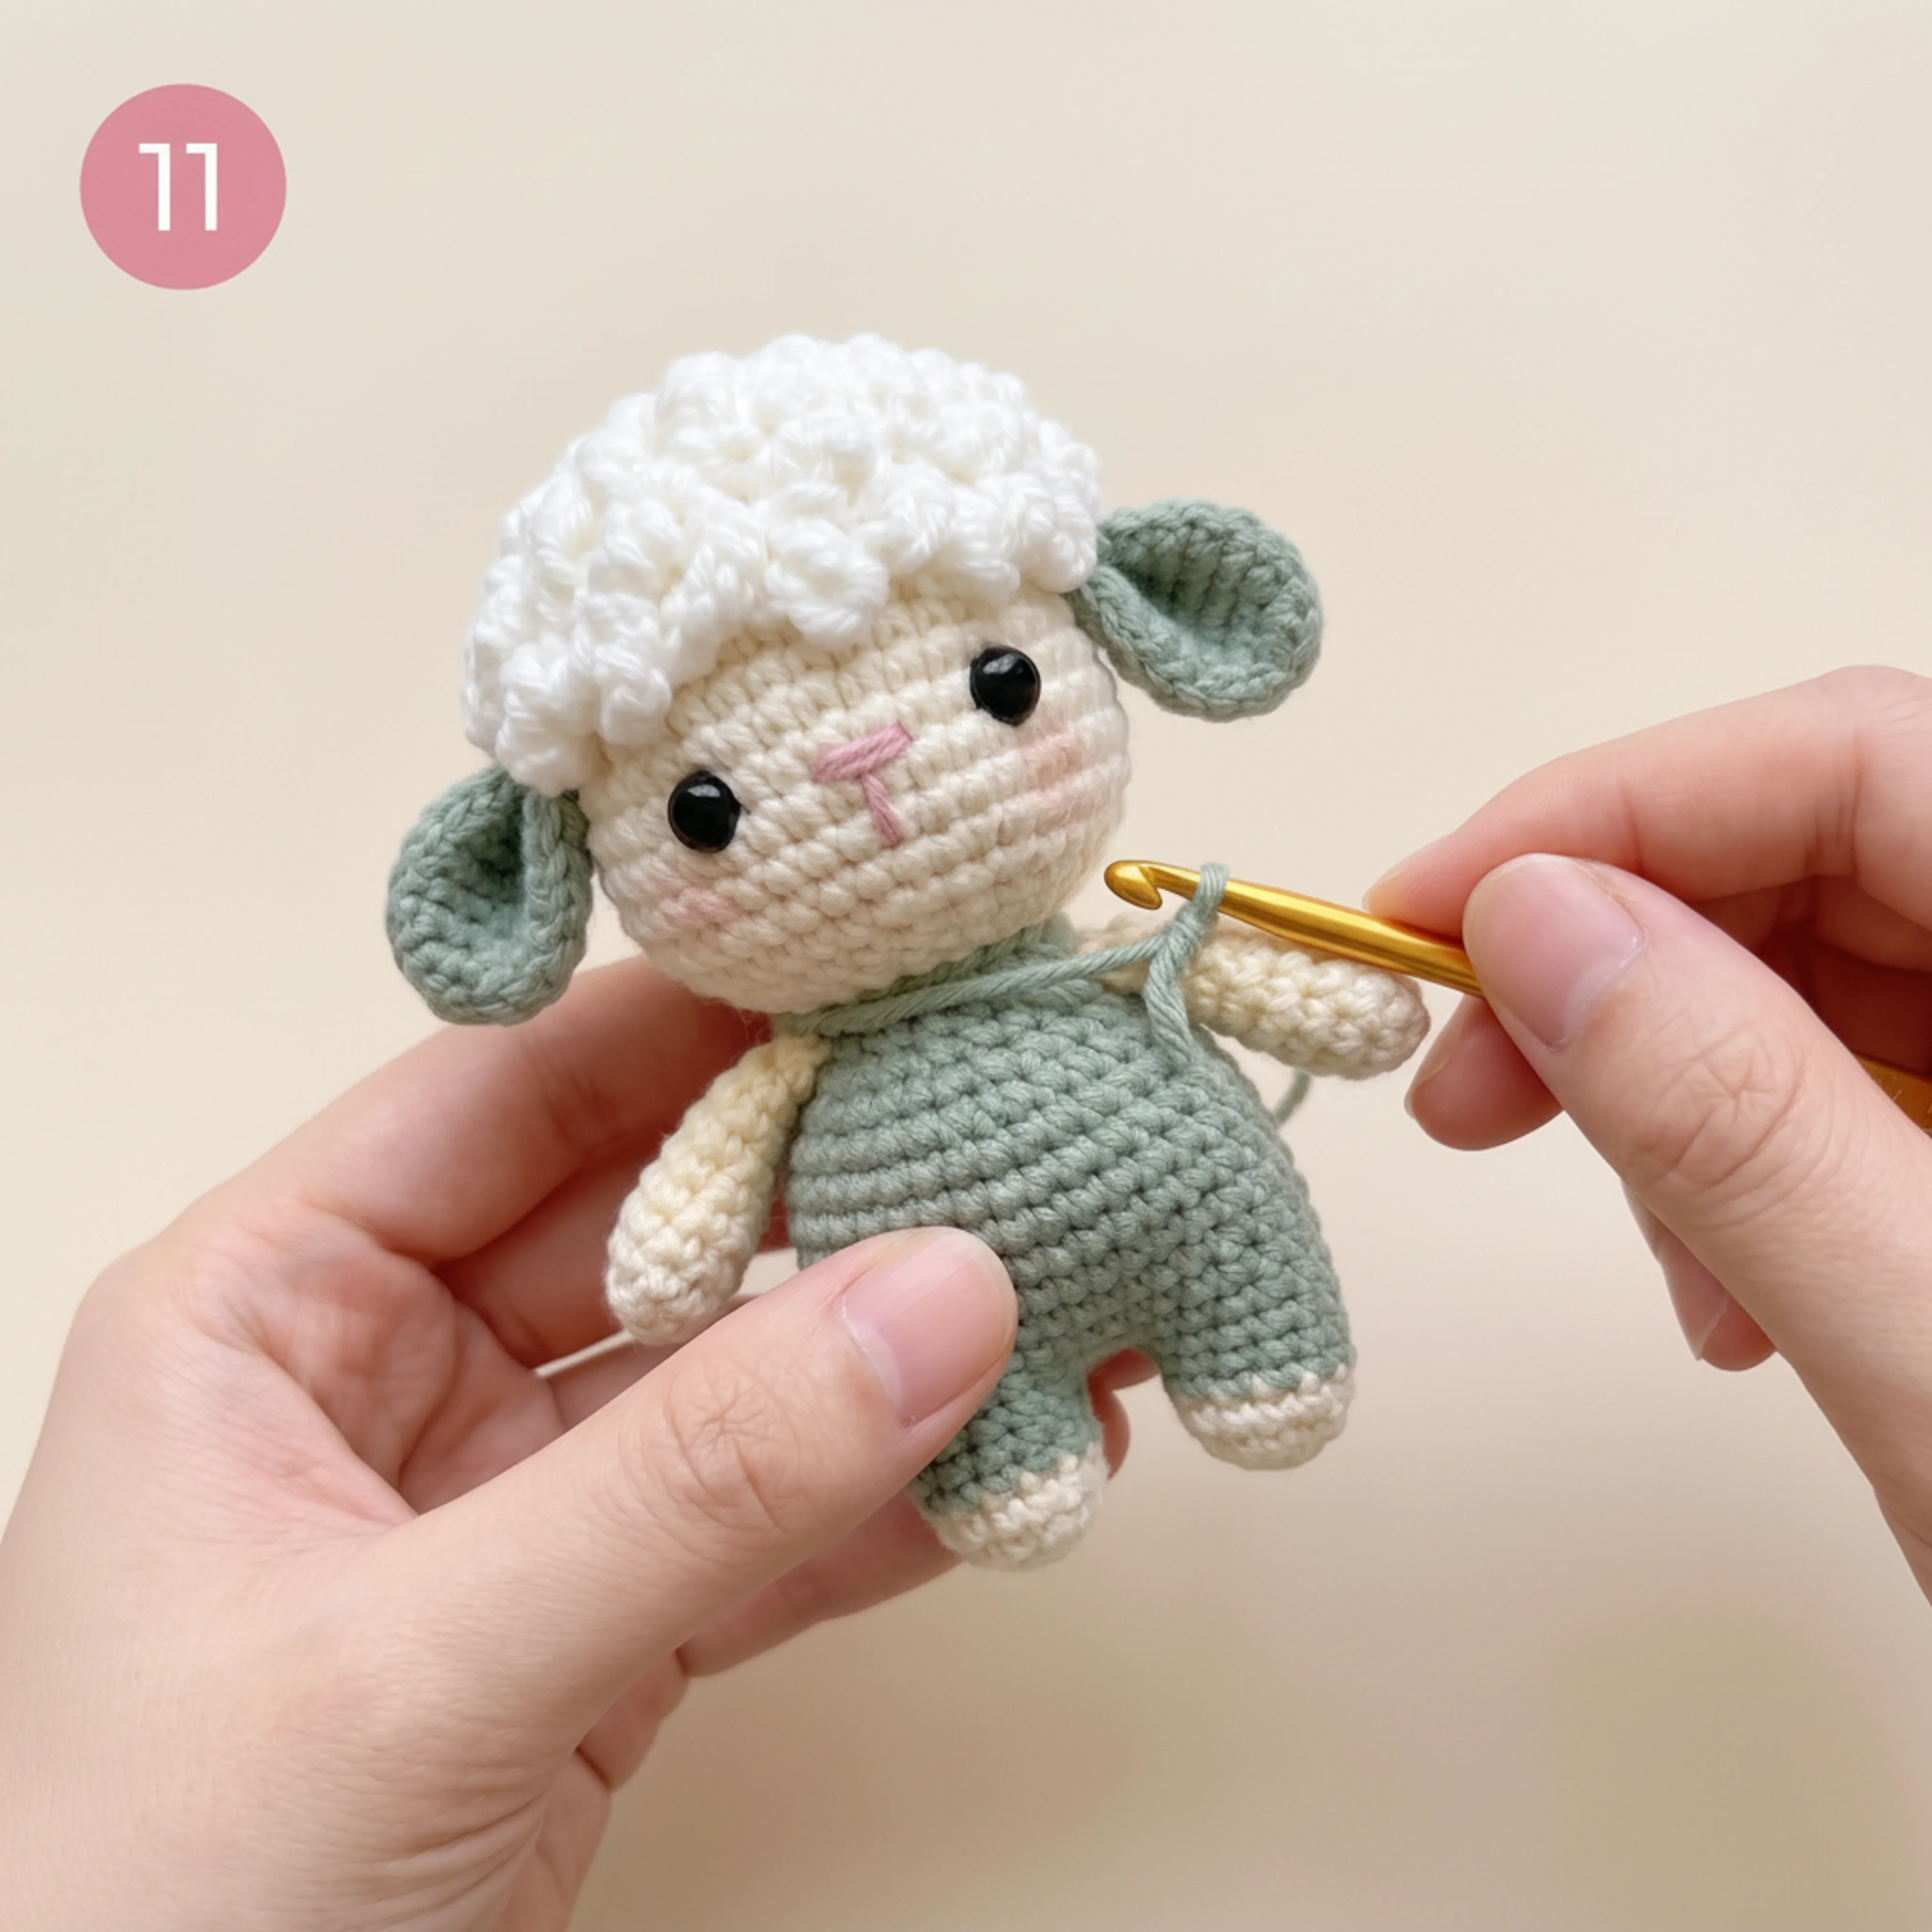
This crochet lamb keychain pattern is one of the coziest amigurumi projects I’ve designed — hey, it’s Sofia from Loop & Twine! — a soft round head covered in a puffy “loop stitch” fleece cap, floppy ears, a simple jumpsuit-style body, and a tiny flower accent on the chest. It works up to about 4.3 in / 11 cm tall, perfect for a bag charm, keychain, or a sweet little shelf plushie.
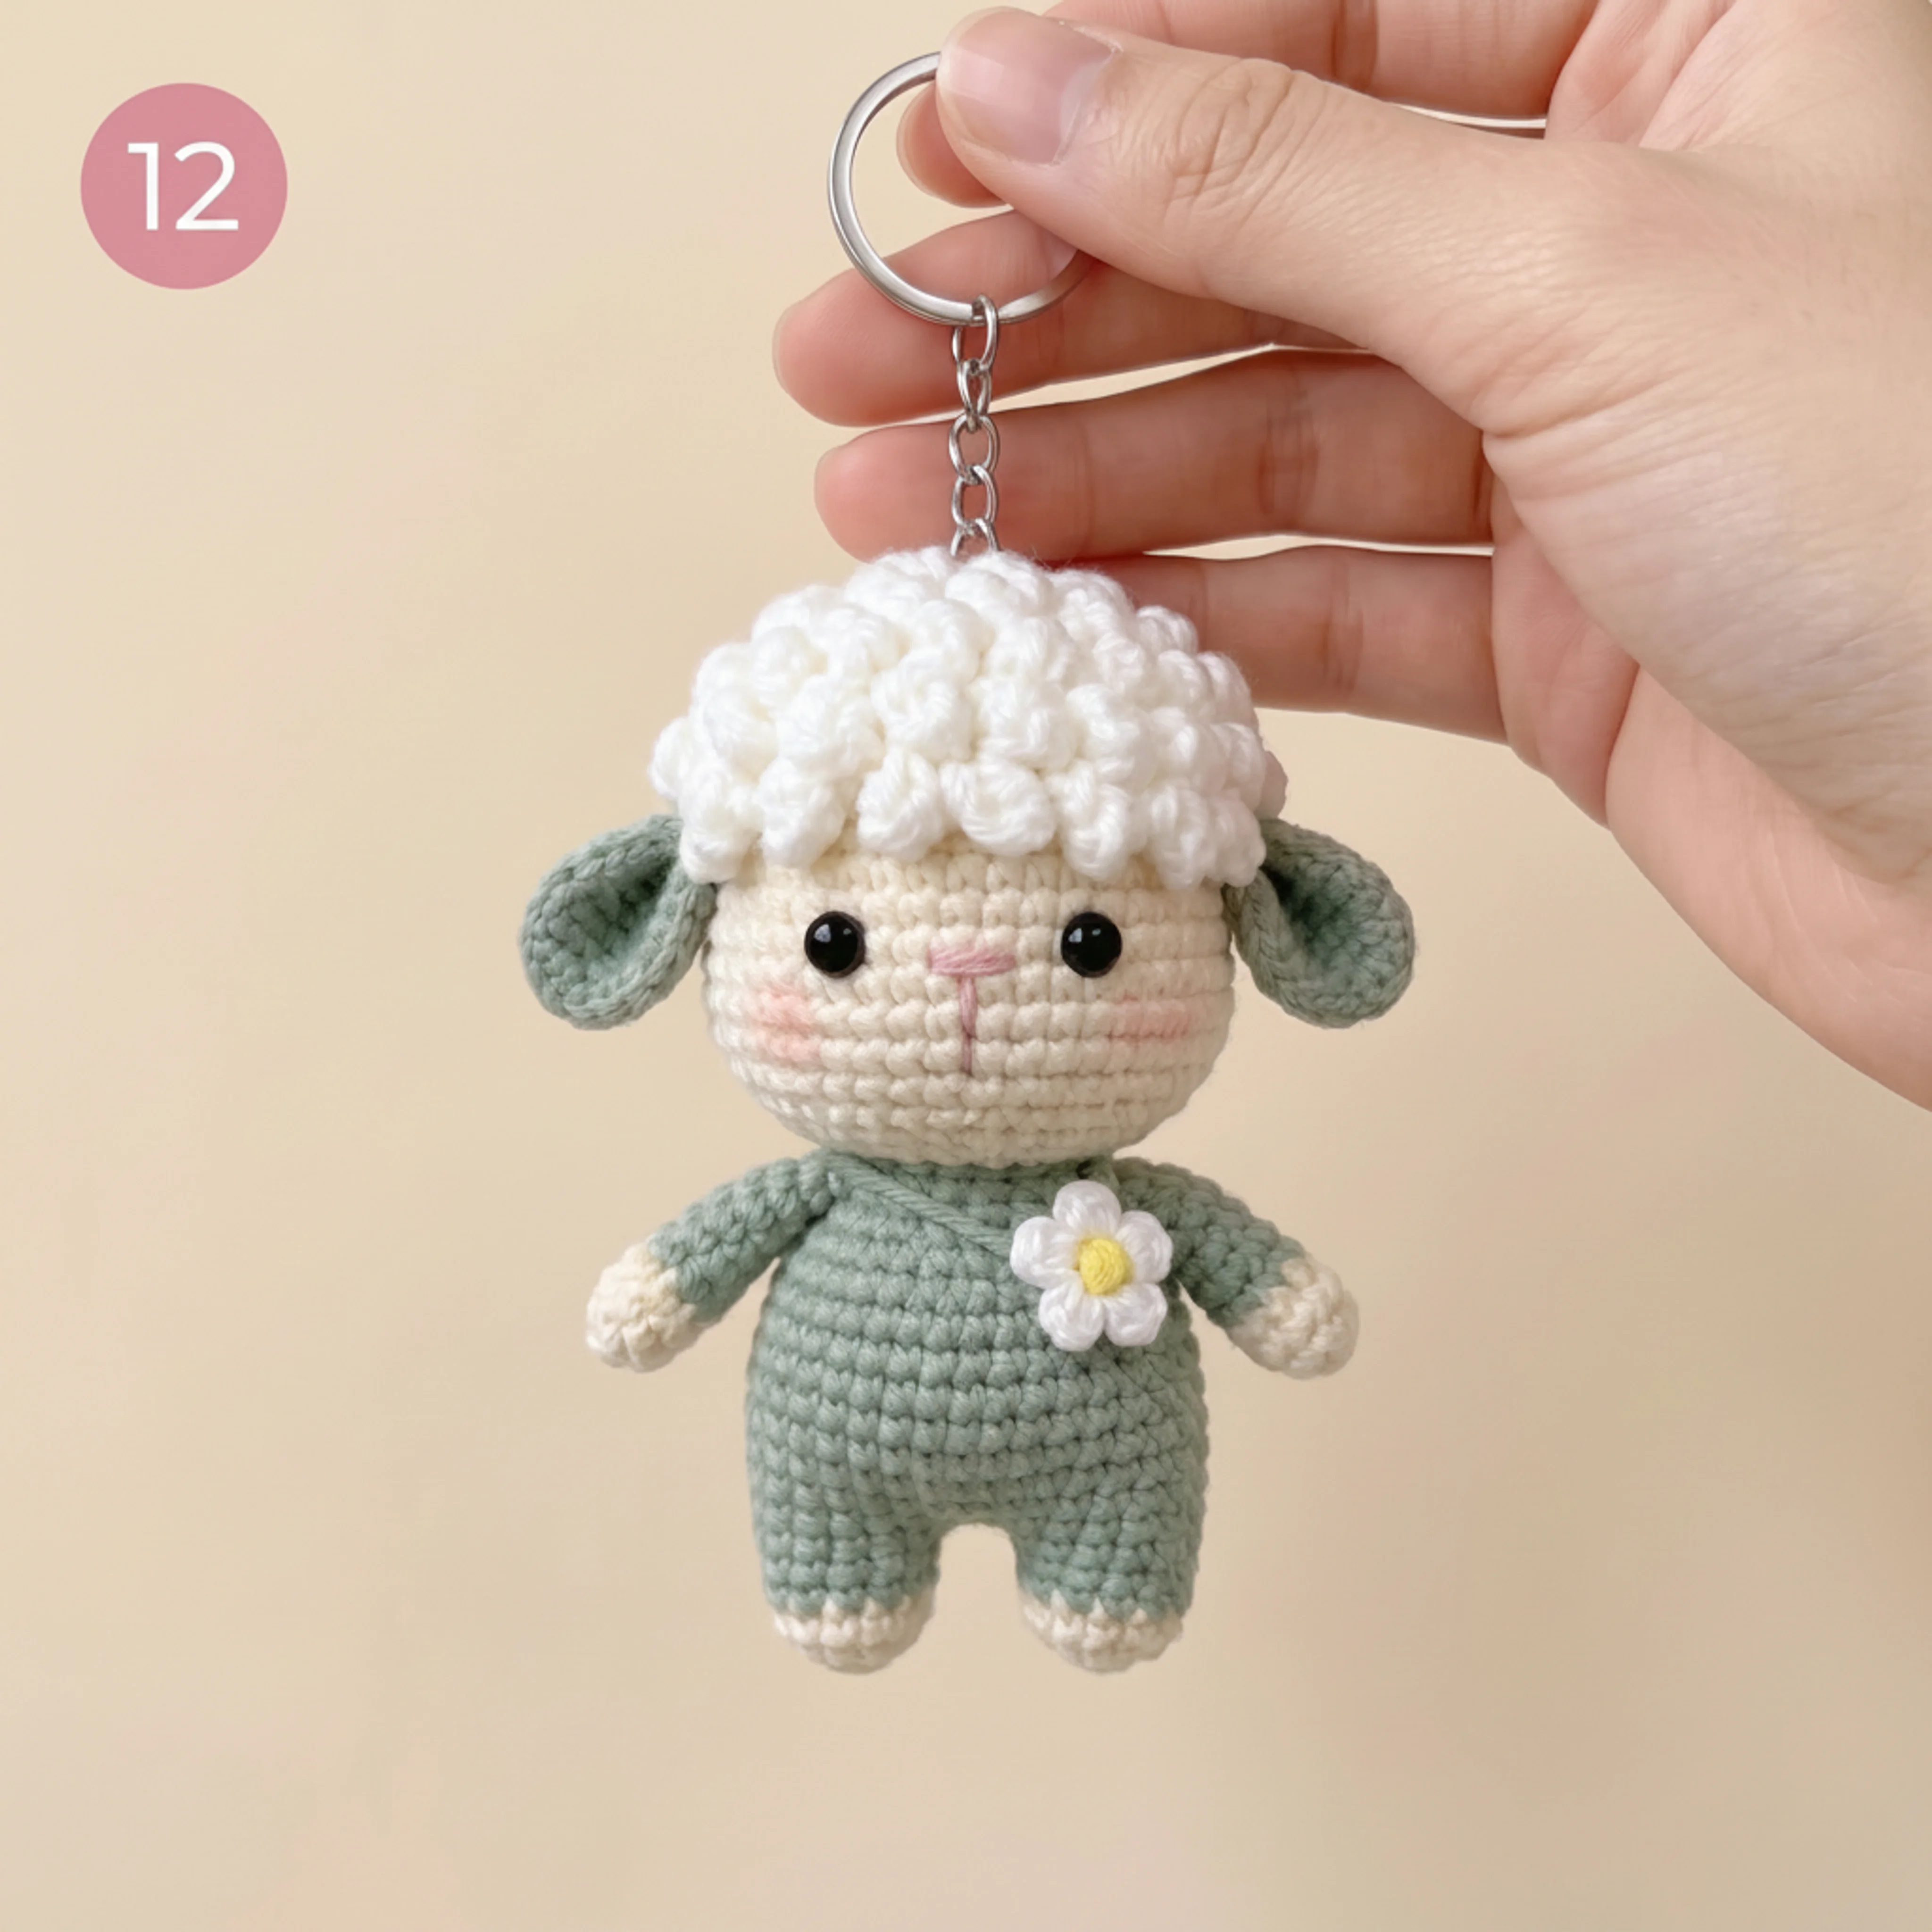
The signature curly texture comes from the “loop stitch” technique — instead of a normal single crochet, you wrap the yarn around your finger to create a little loop before completing the stitch. It looks fussy in photos but is genuinely simple once you’ve made a few.
Skill Level & Finished Size
- Skill level: Beginner to easy intermediate (magic ring, single crochet, increases/decreases, basic sewing, loop stitch) — this crochet lamb keychain is a great first amigurumi project.
- Finished size: approx. 4.3 in / 11 cm tall
- Hook: 2.5 mm
- Time: about 2–3 hours
Materials
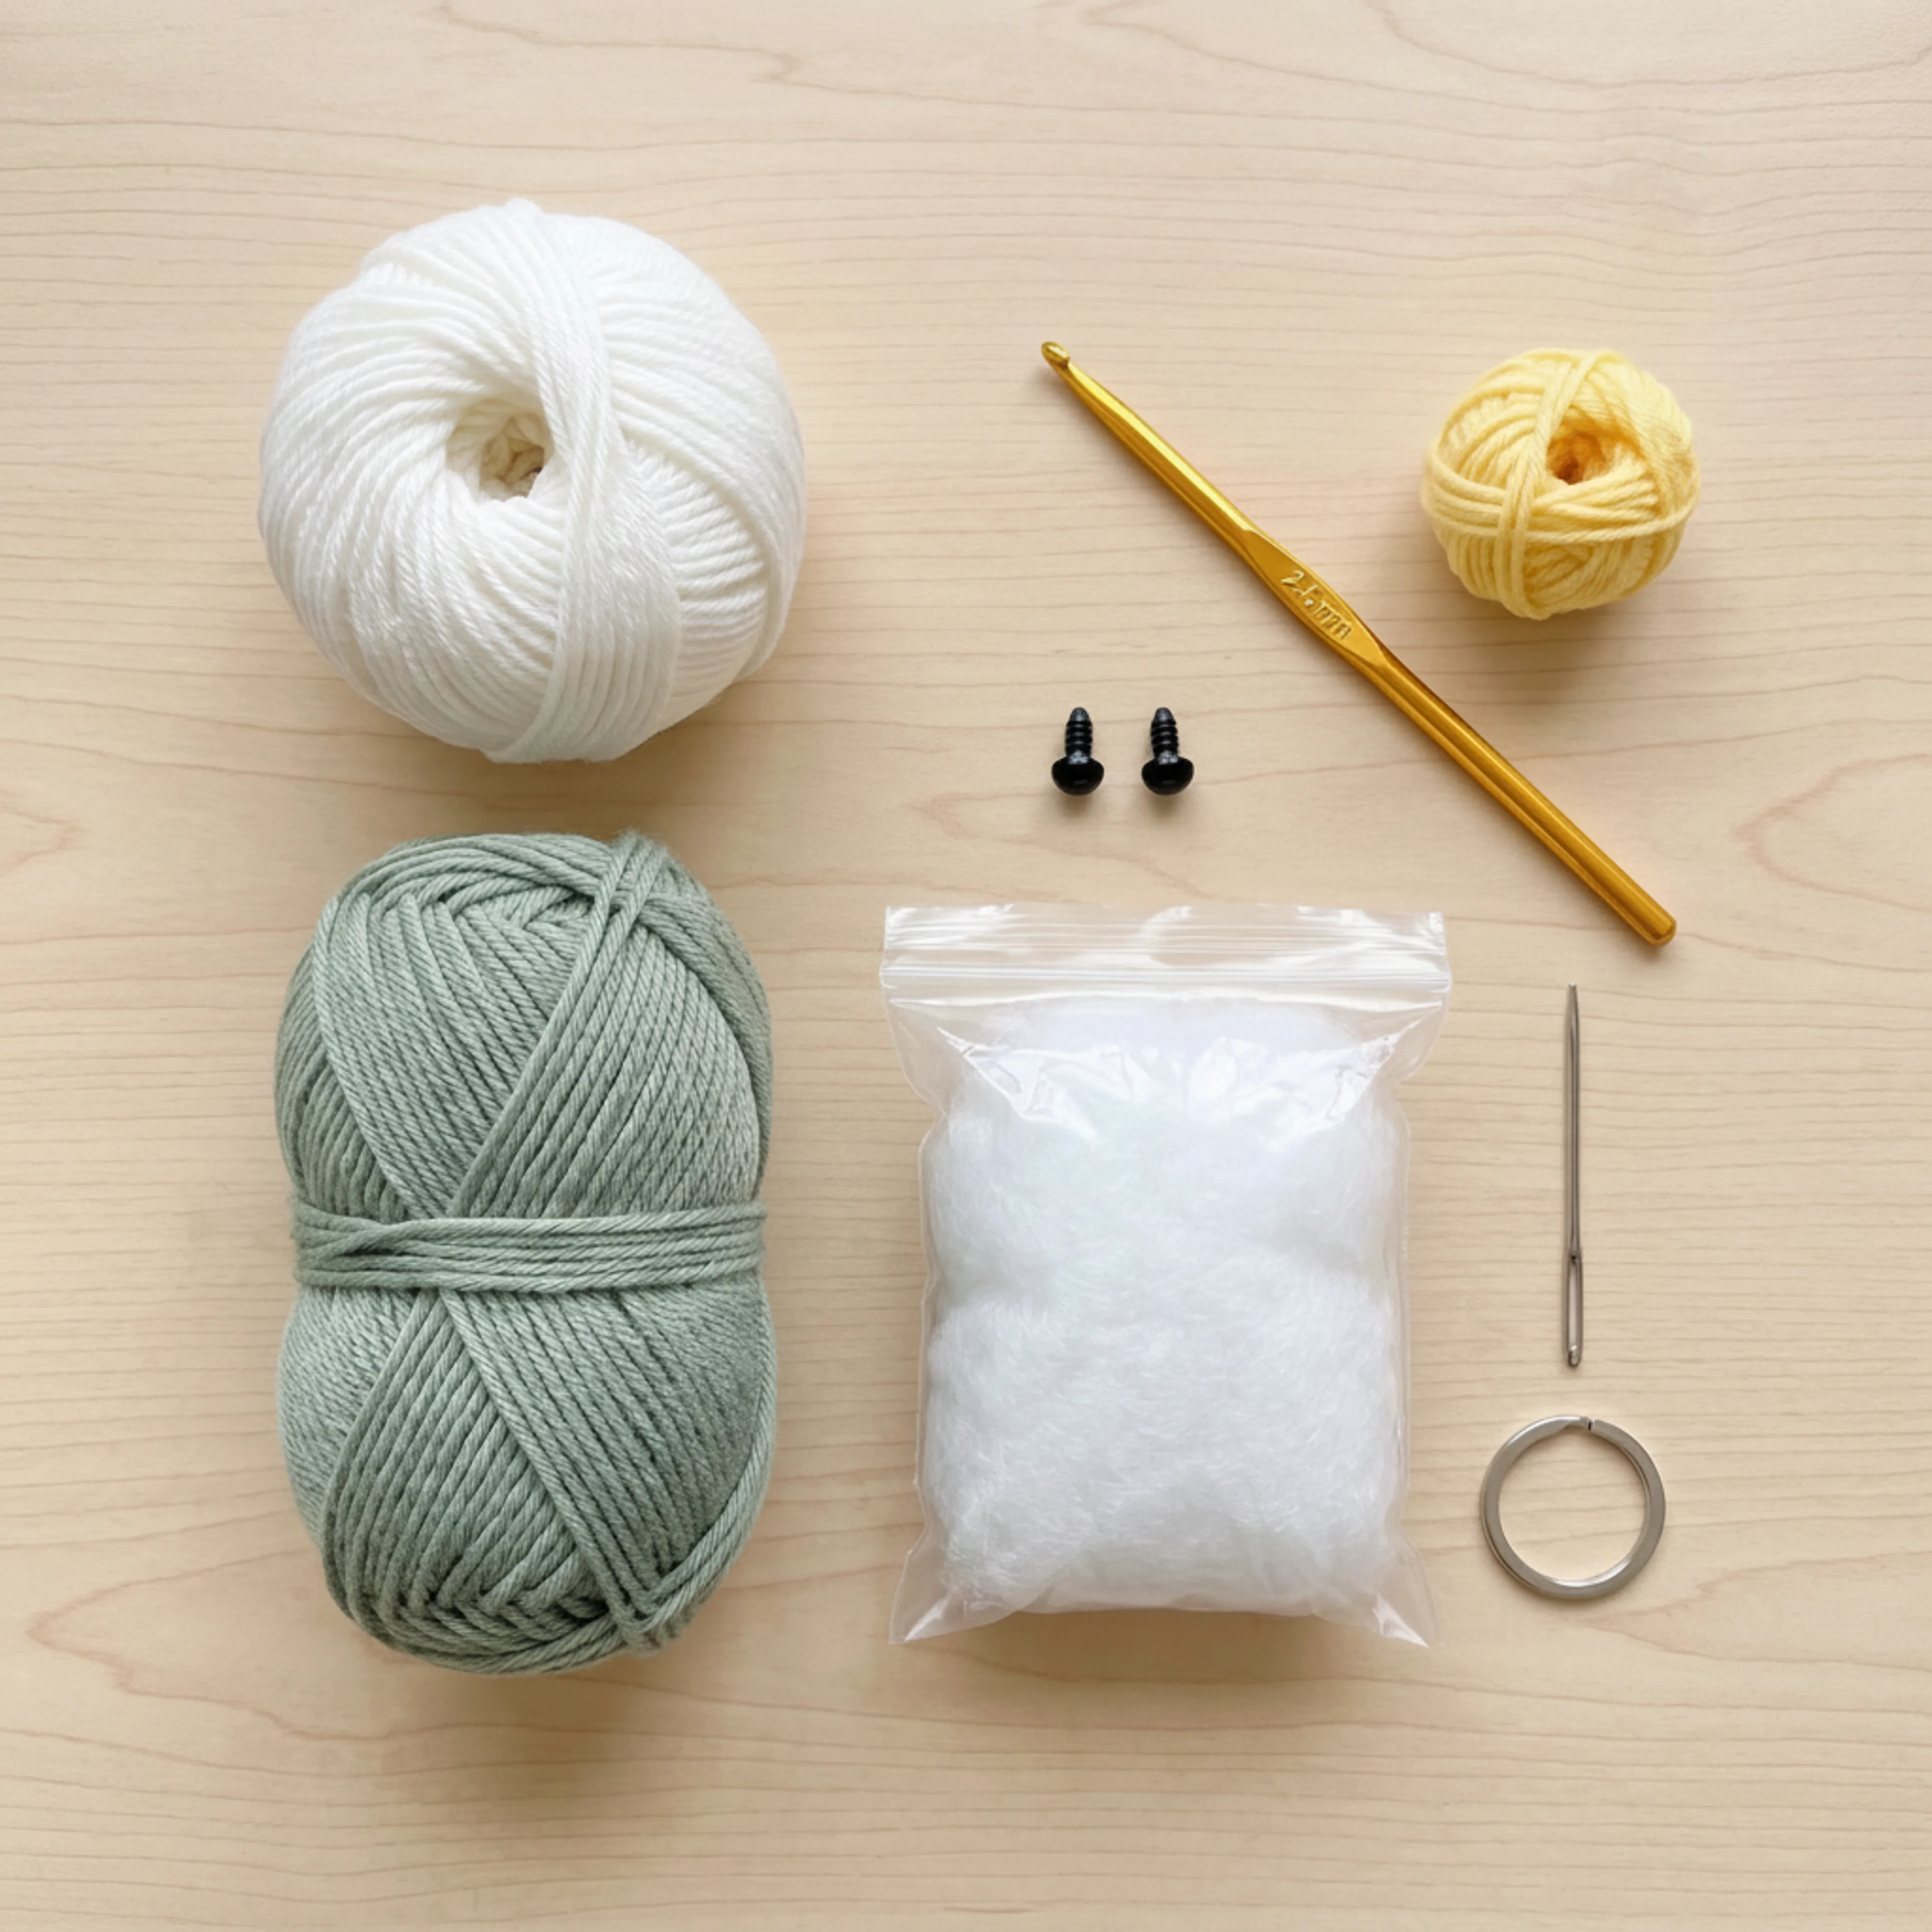
- Sport weight yarn (60% cotton / 40% acrylic works well) in white and a color of your choice for the outfit (green, yellow, or purple all look great)
- Small amount of yellow yarn for the flower center
- 2.5 mm crochet hook
- 5 mm safety eyes
- Fiberfill stuffing
- Yarn needle, scissors
- Small keychain ring
- A little brown or tan embroidery floss for the nose
Abbreviations (US Terms)
MR magic ring · ch chain · sl st slip stitch · sc single crochet · inc increase (2 sc in same stitch) · dec invisible decrease · st(s) stitch(es) · rep repeat · [ ] total stitch count at end of round
New to any of these, or to the loop stitch? Our crochet basics reference guide, magic ring guide, and increase and decrease guide cover the fundamentals with photos, and the Craft Yarn Council’s stitch guide is a great official reference too.
The Loop Stitch, Explained
This is the one new technique in this pattern, and it’s what creates the fluffy wool texture:
- Insert your hook into the next stitch as usual.
- Instead of yarning over normally, wrap the working yarn around your index finger to form a loop about 1 in / 2.5 cm long.
- Insert your hook through both strands of that loop (keeping the loop itself on the front/right side of your work), then pull through the stitch — you’ll have 2 loops on your hook, plus the finger-loop hanging on the front.
- Yarn over normally and pull through both loops on your hook to complete the stitch, same as finishing a regular single crochet.
Repeat across every stitch of a “loop st” round. The loops will look a little wild as you work — that’s normal, they fluff out nicely once the round is finished and you trim any uneven ends.
Part 1: The Head (White)
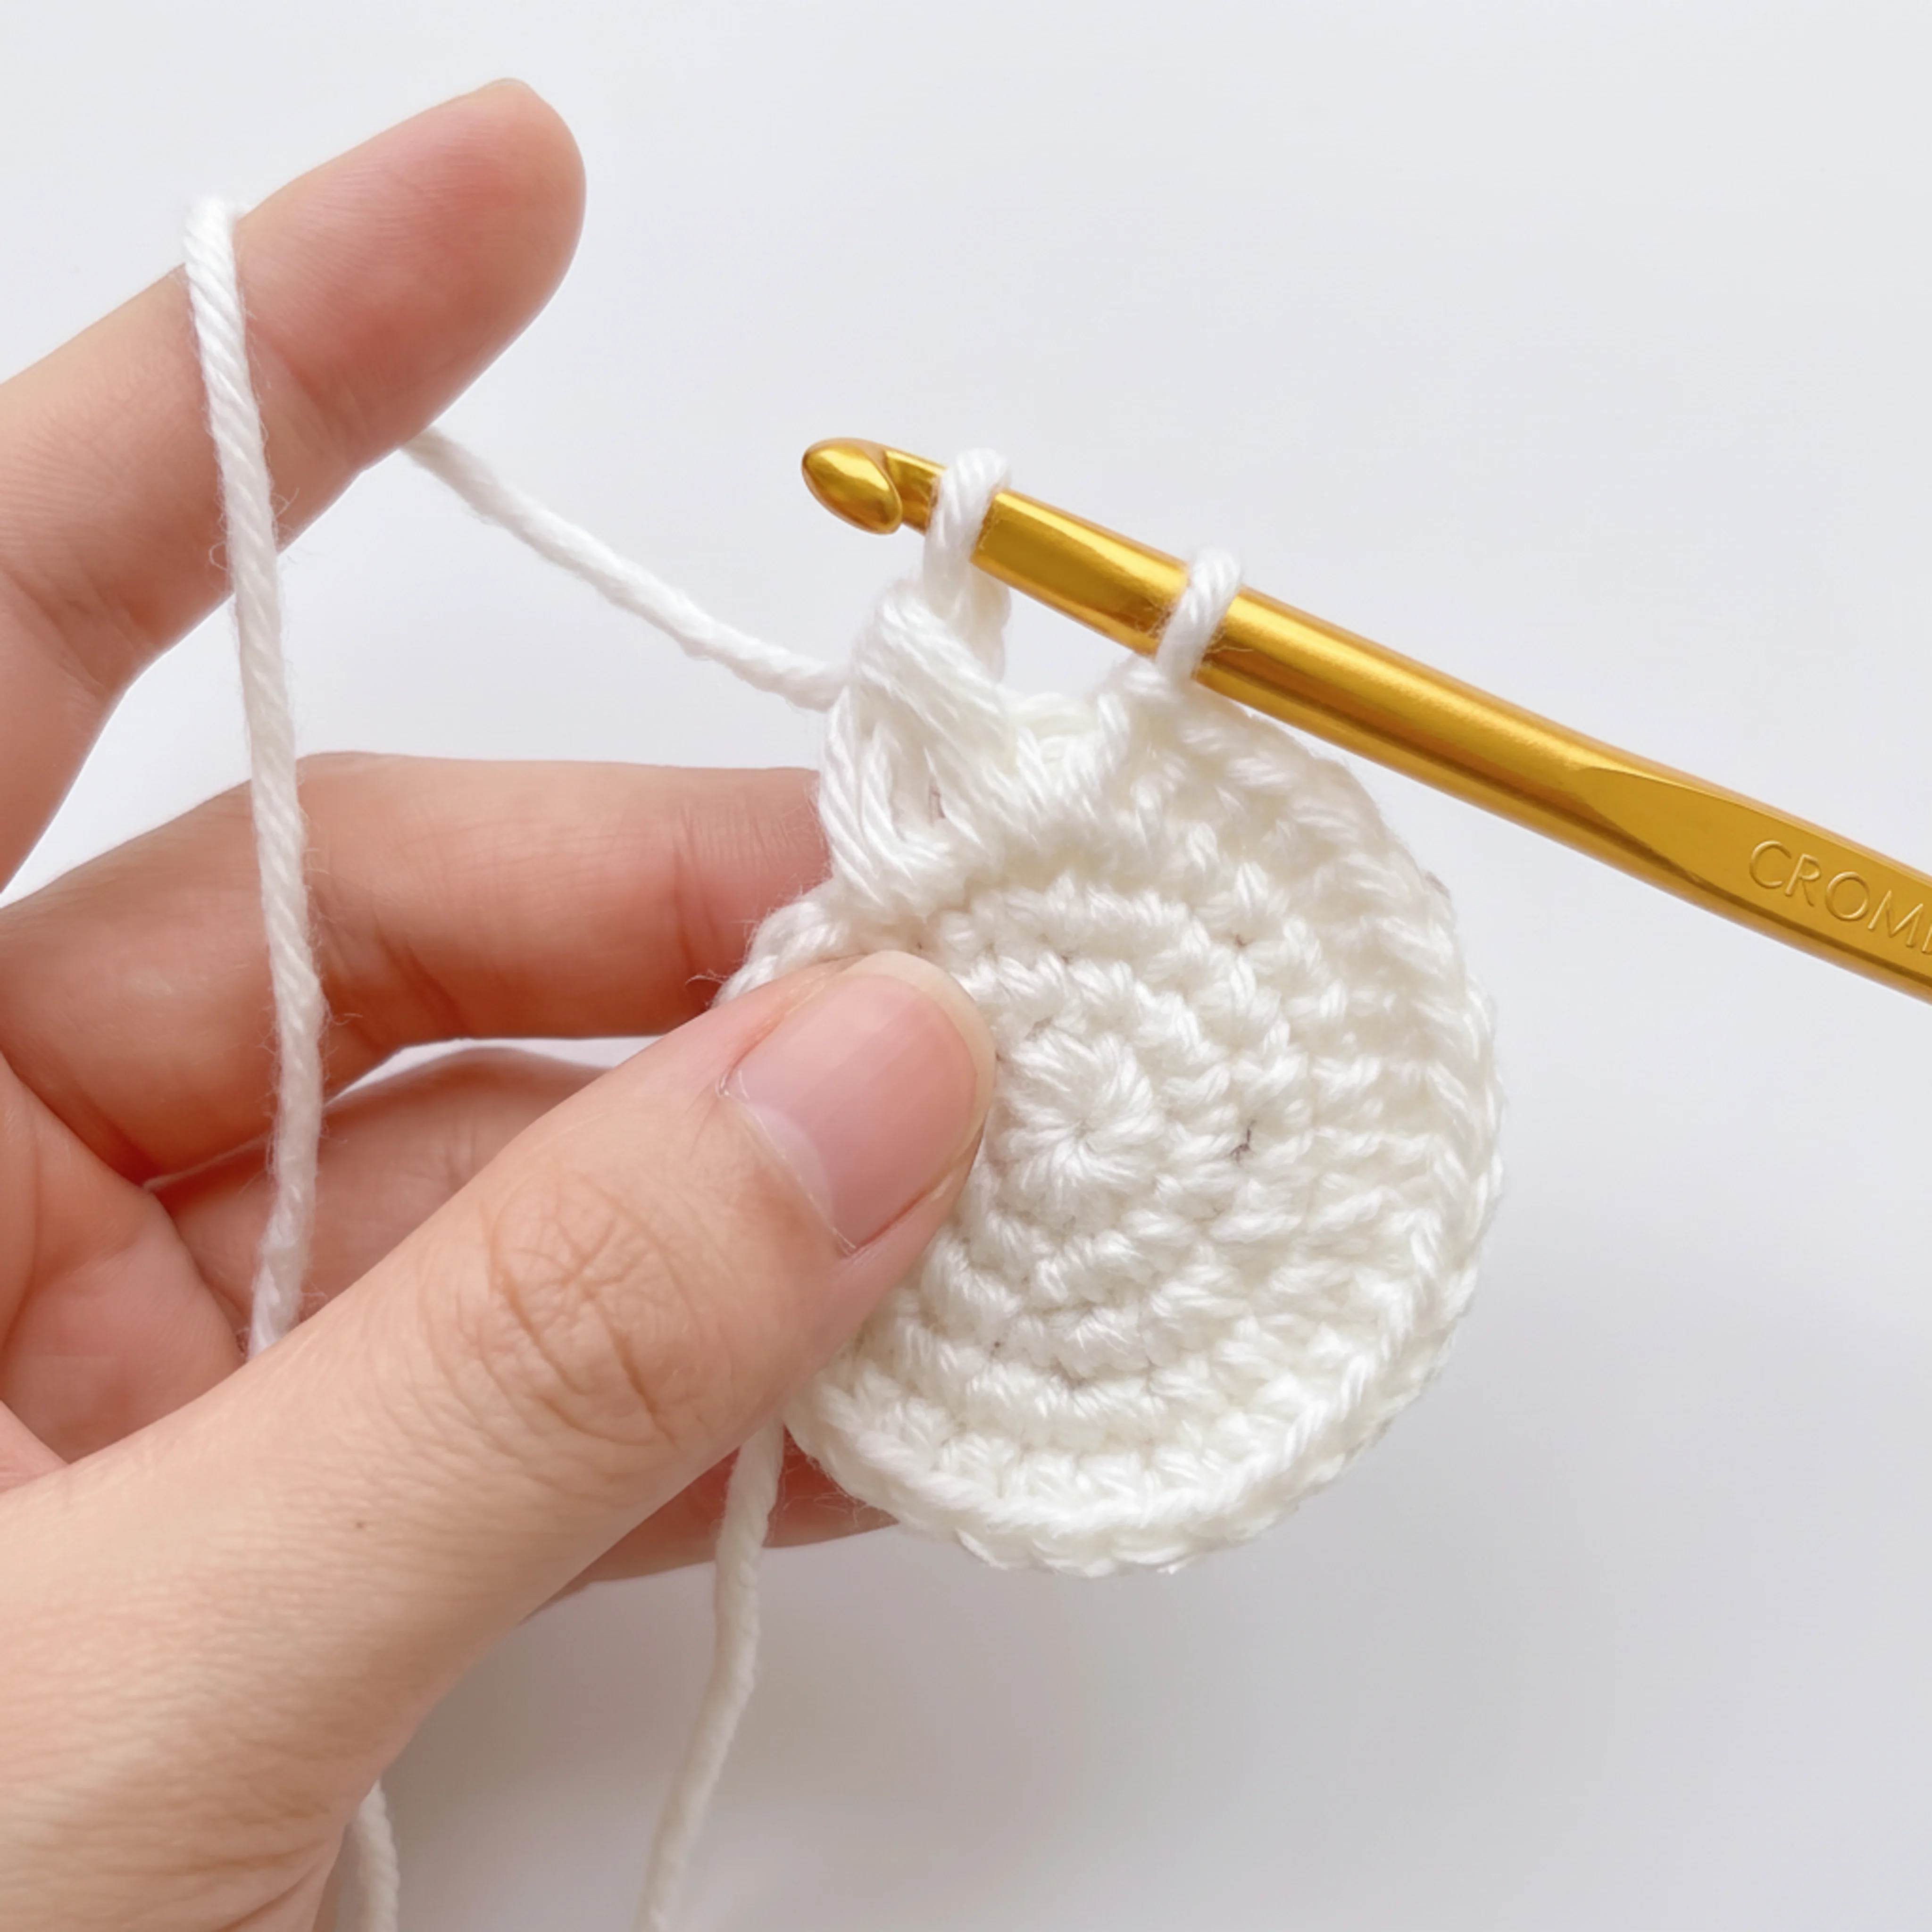
- MR, 6 sc in ring. [6]
- Inc in each st around. [12]
- (Sc, inc) rep around. [18]
- (2 sc, inc) rep around. [24]
- (3 sc, inc) rep around. [30]
- Rounds 6–11: Sc around. [30] (work this round 6 times)
Insert your safety eyes between Rounds 8 and 9, spacing them evenly about 8–10 stitches apart on the front of the head.
- (3 sc, dec) rep around. [24]
- (2 sc, dec) rep around. [18]
Begin stuffing firmly.
- (Sc, dec) rep around. [12]
- Dec around. [6]
Finish stuffing, fasten off, and close the opening.
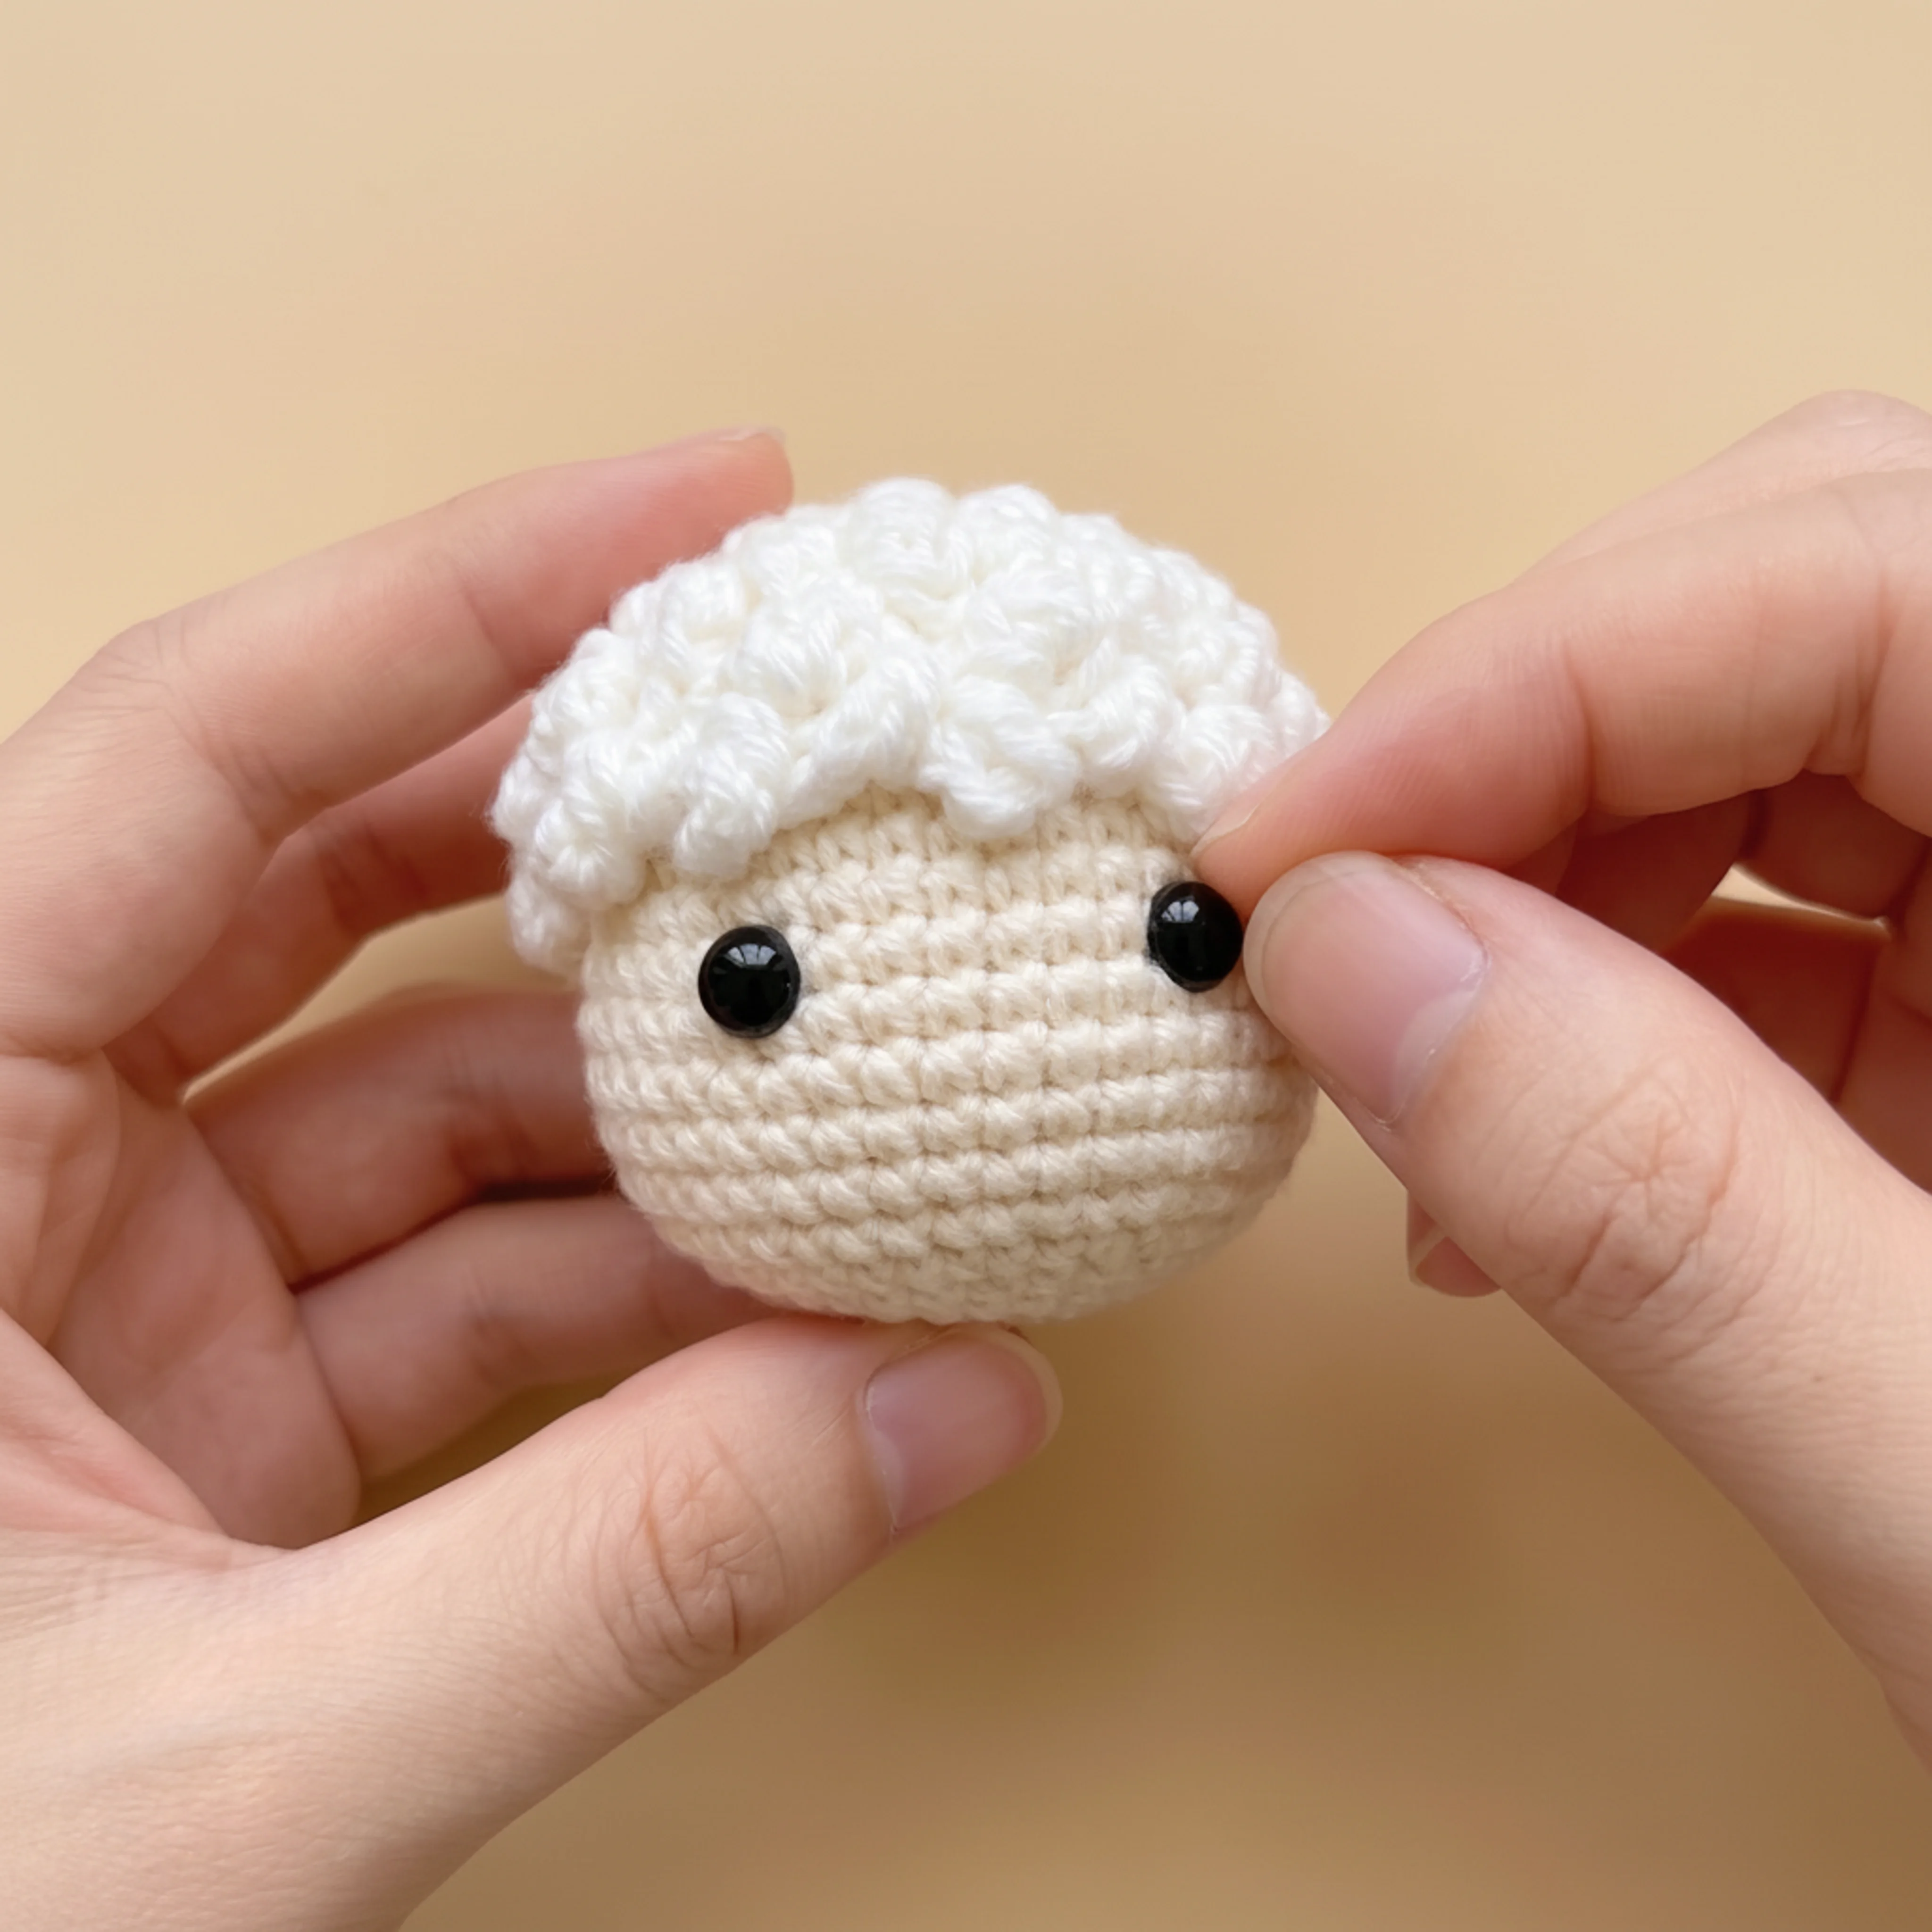
Part 2: The Wool Cap (White, Loop Stitch)
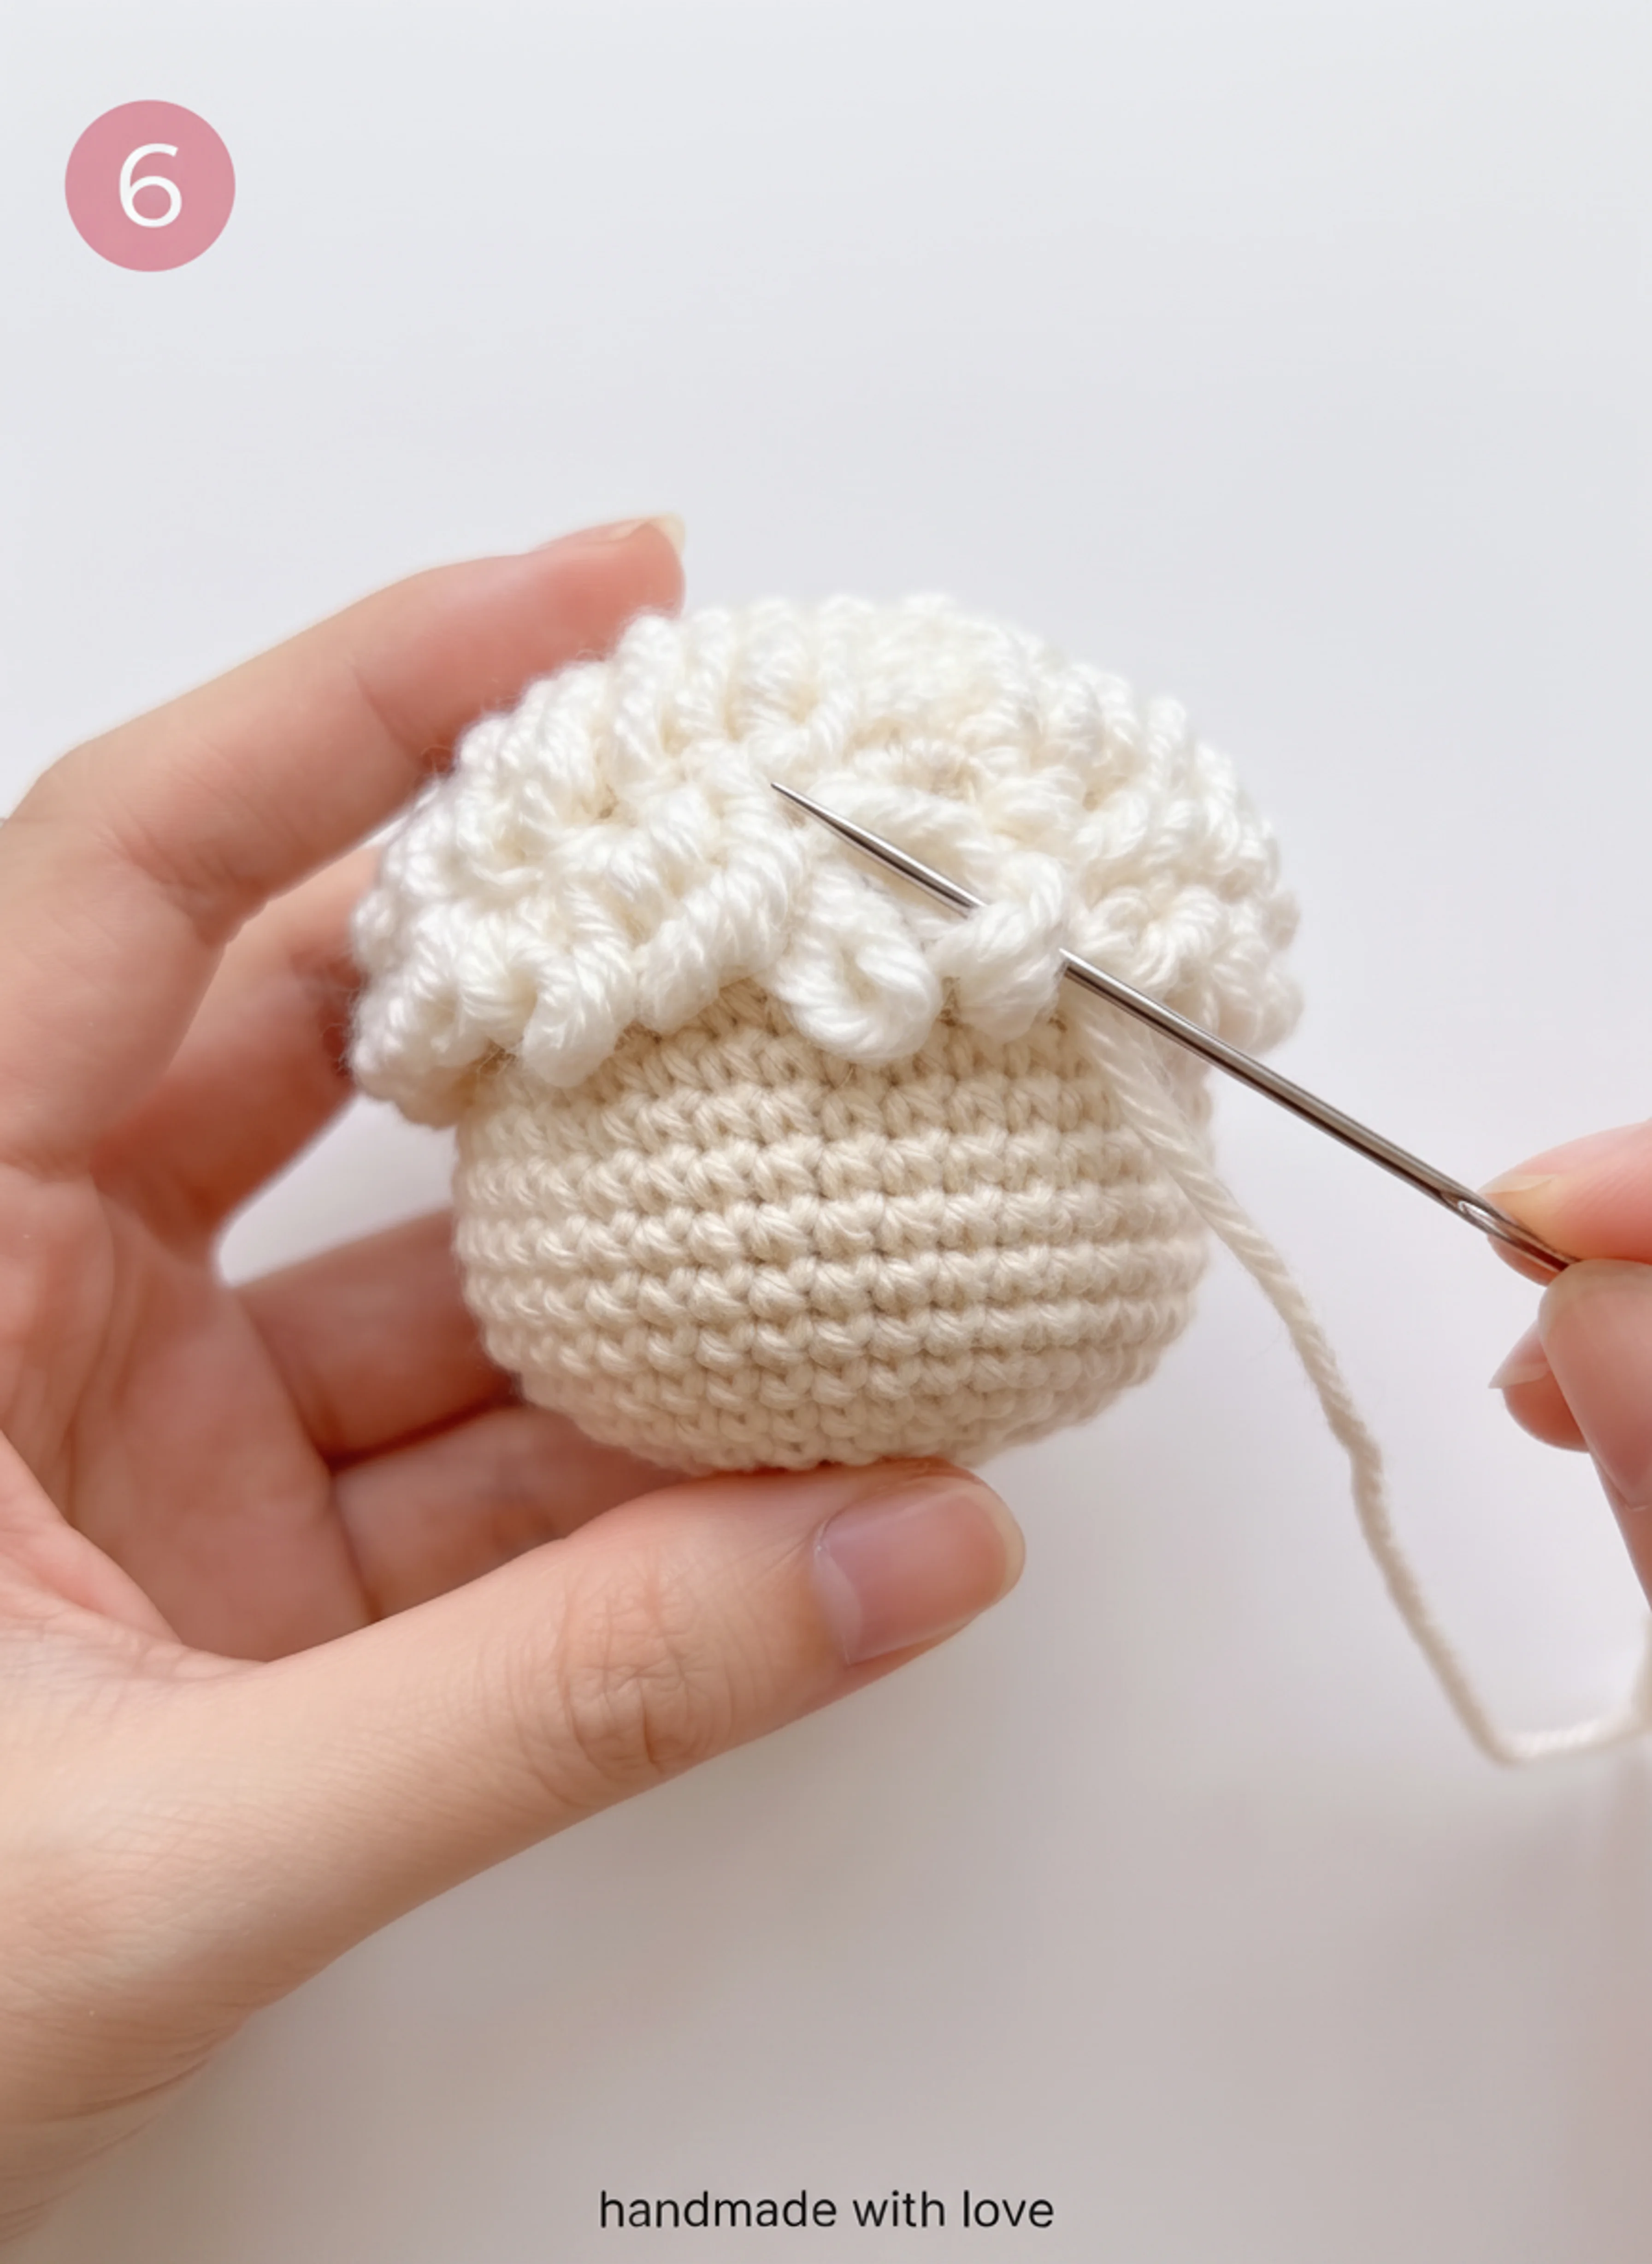
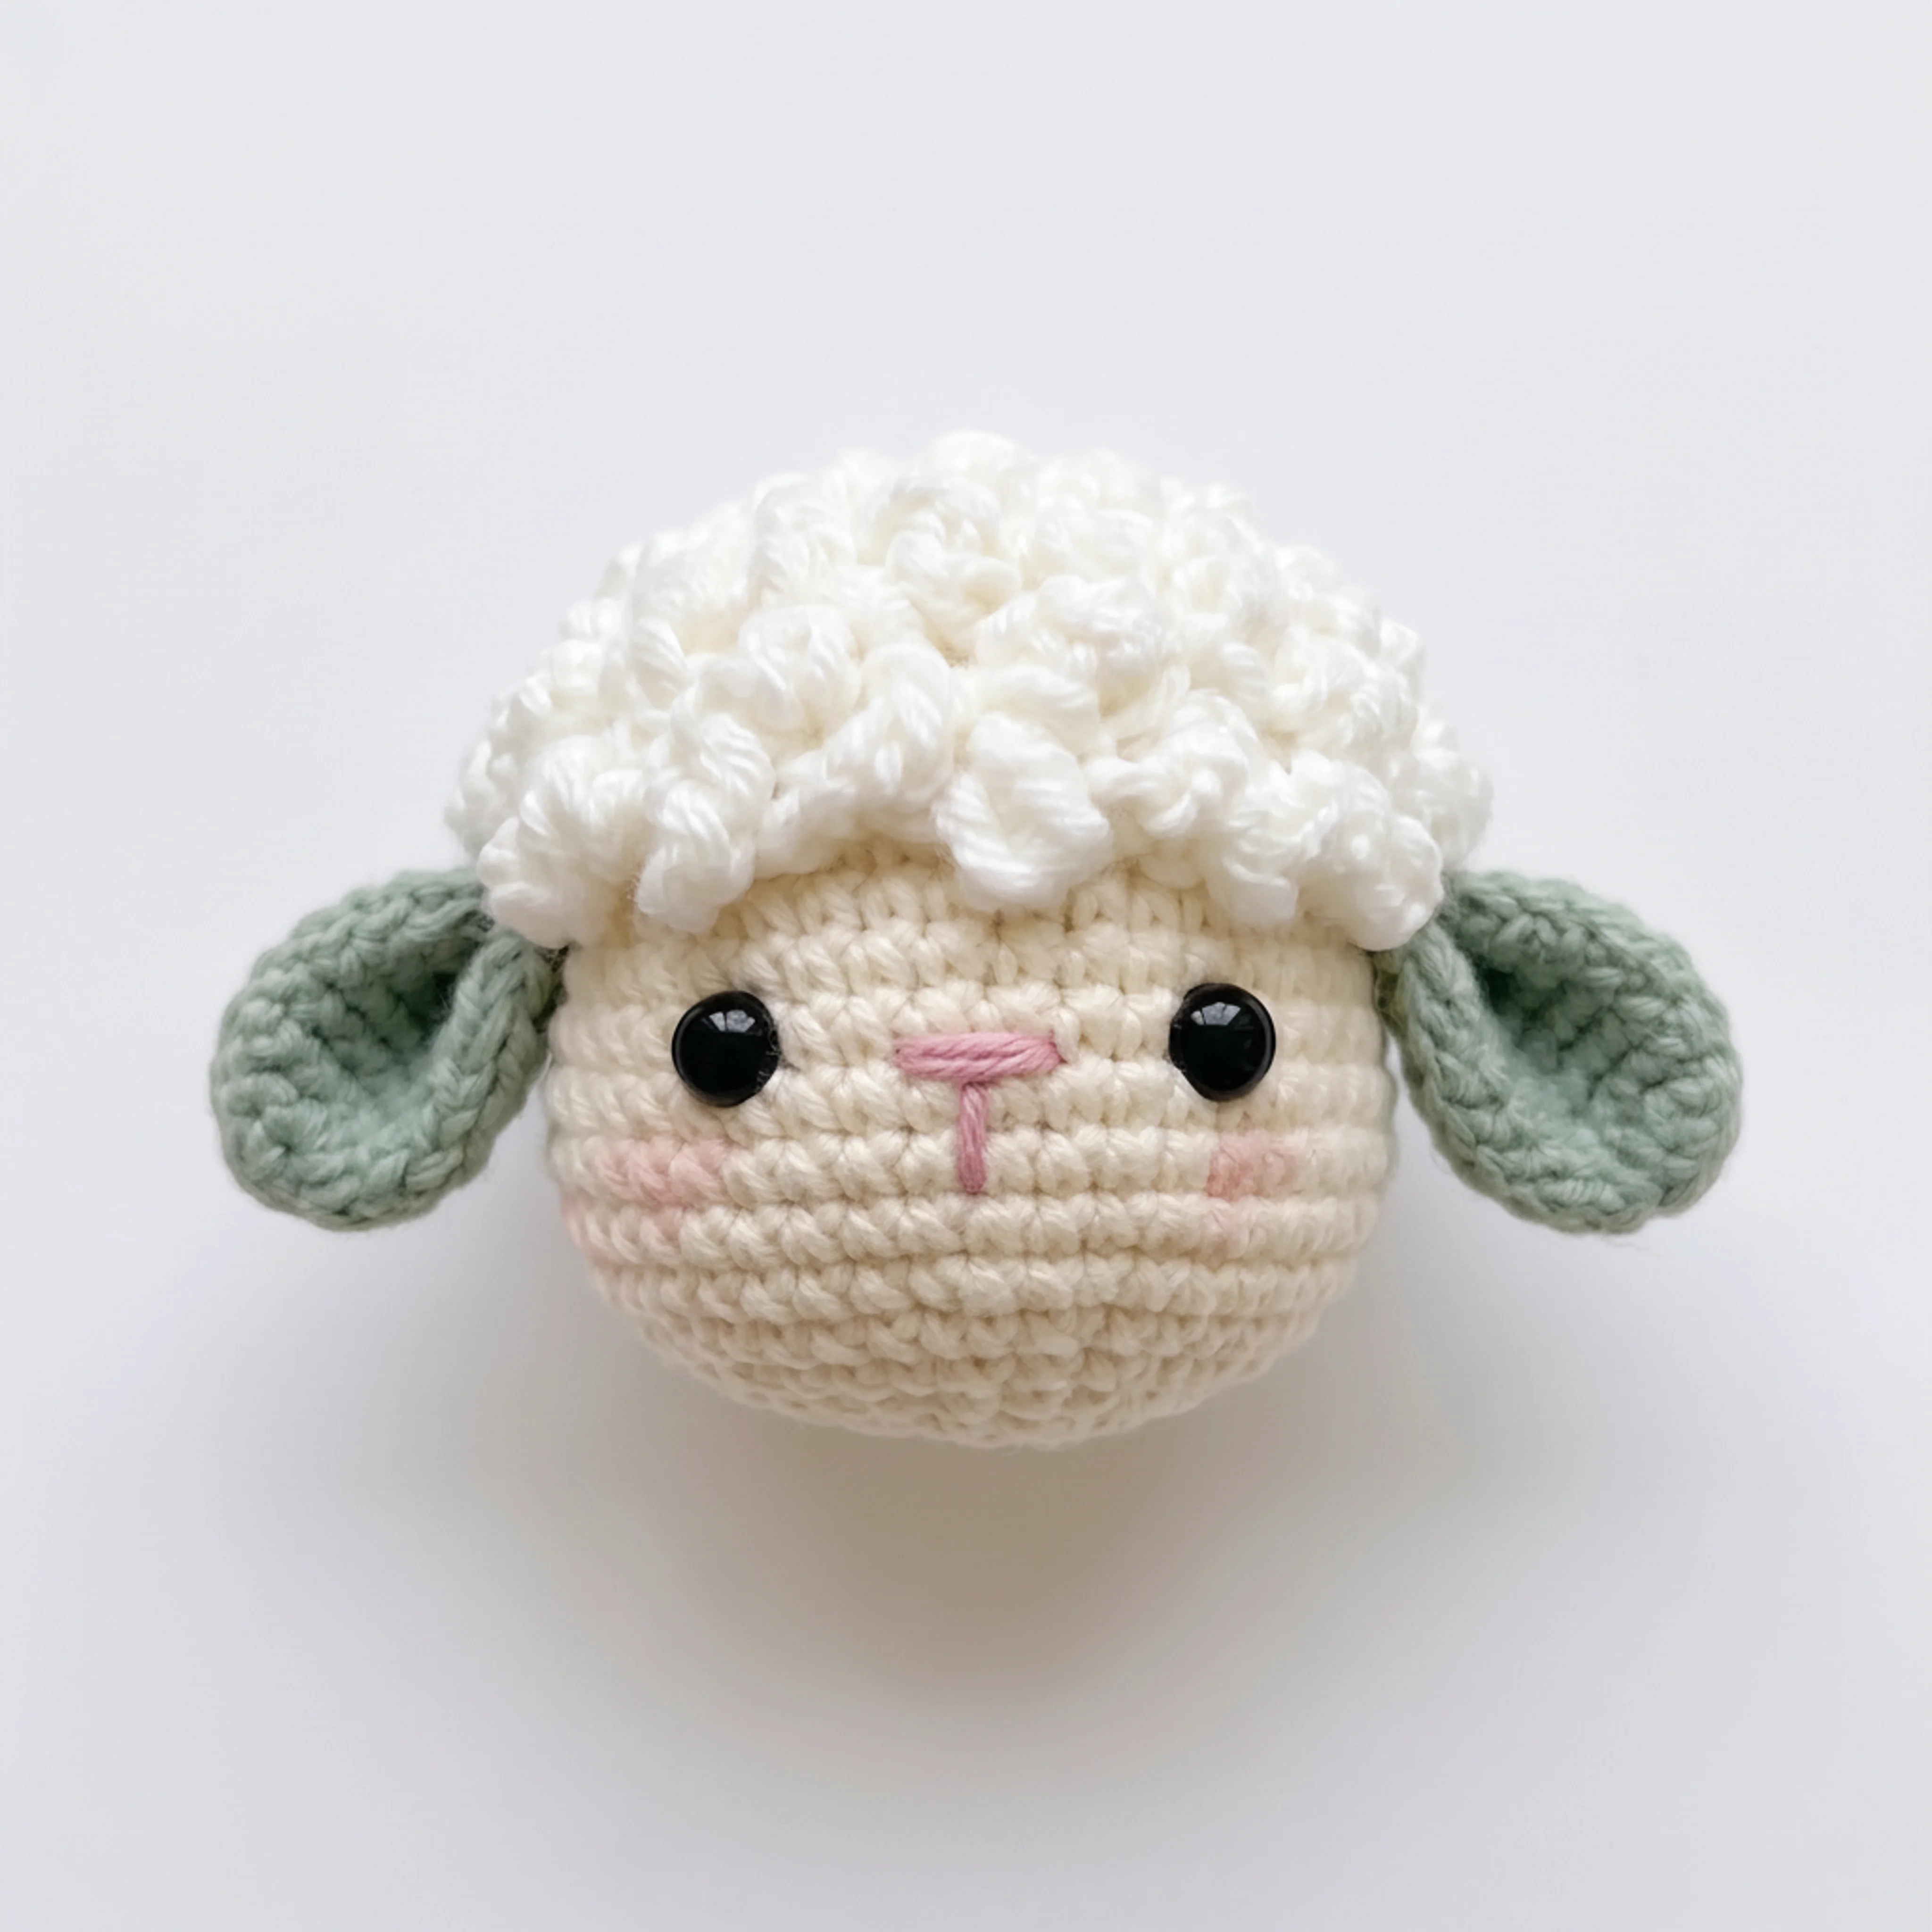
This is worked as a separate flat, slightly domed piece, then sewn over the top and back of the head like a little cap — leaving the smooth face you just made fully visible at the front.
- MR, 6 loop st in ring. [6]
- Inc in each st around, working each as a loop st. [12]
- (Loop st, inc) rep around. [18]
- (2 loop st, inc) rep around. [24]
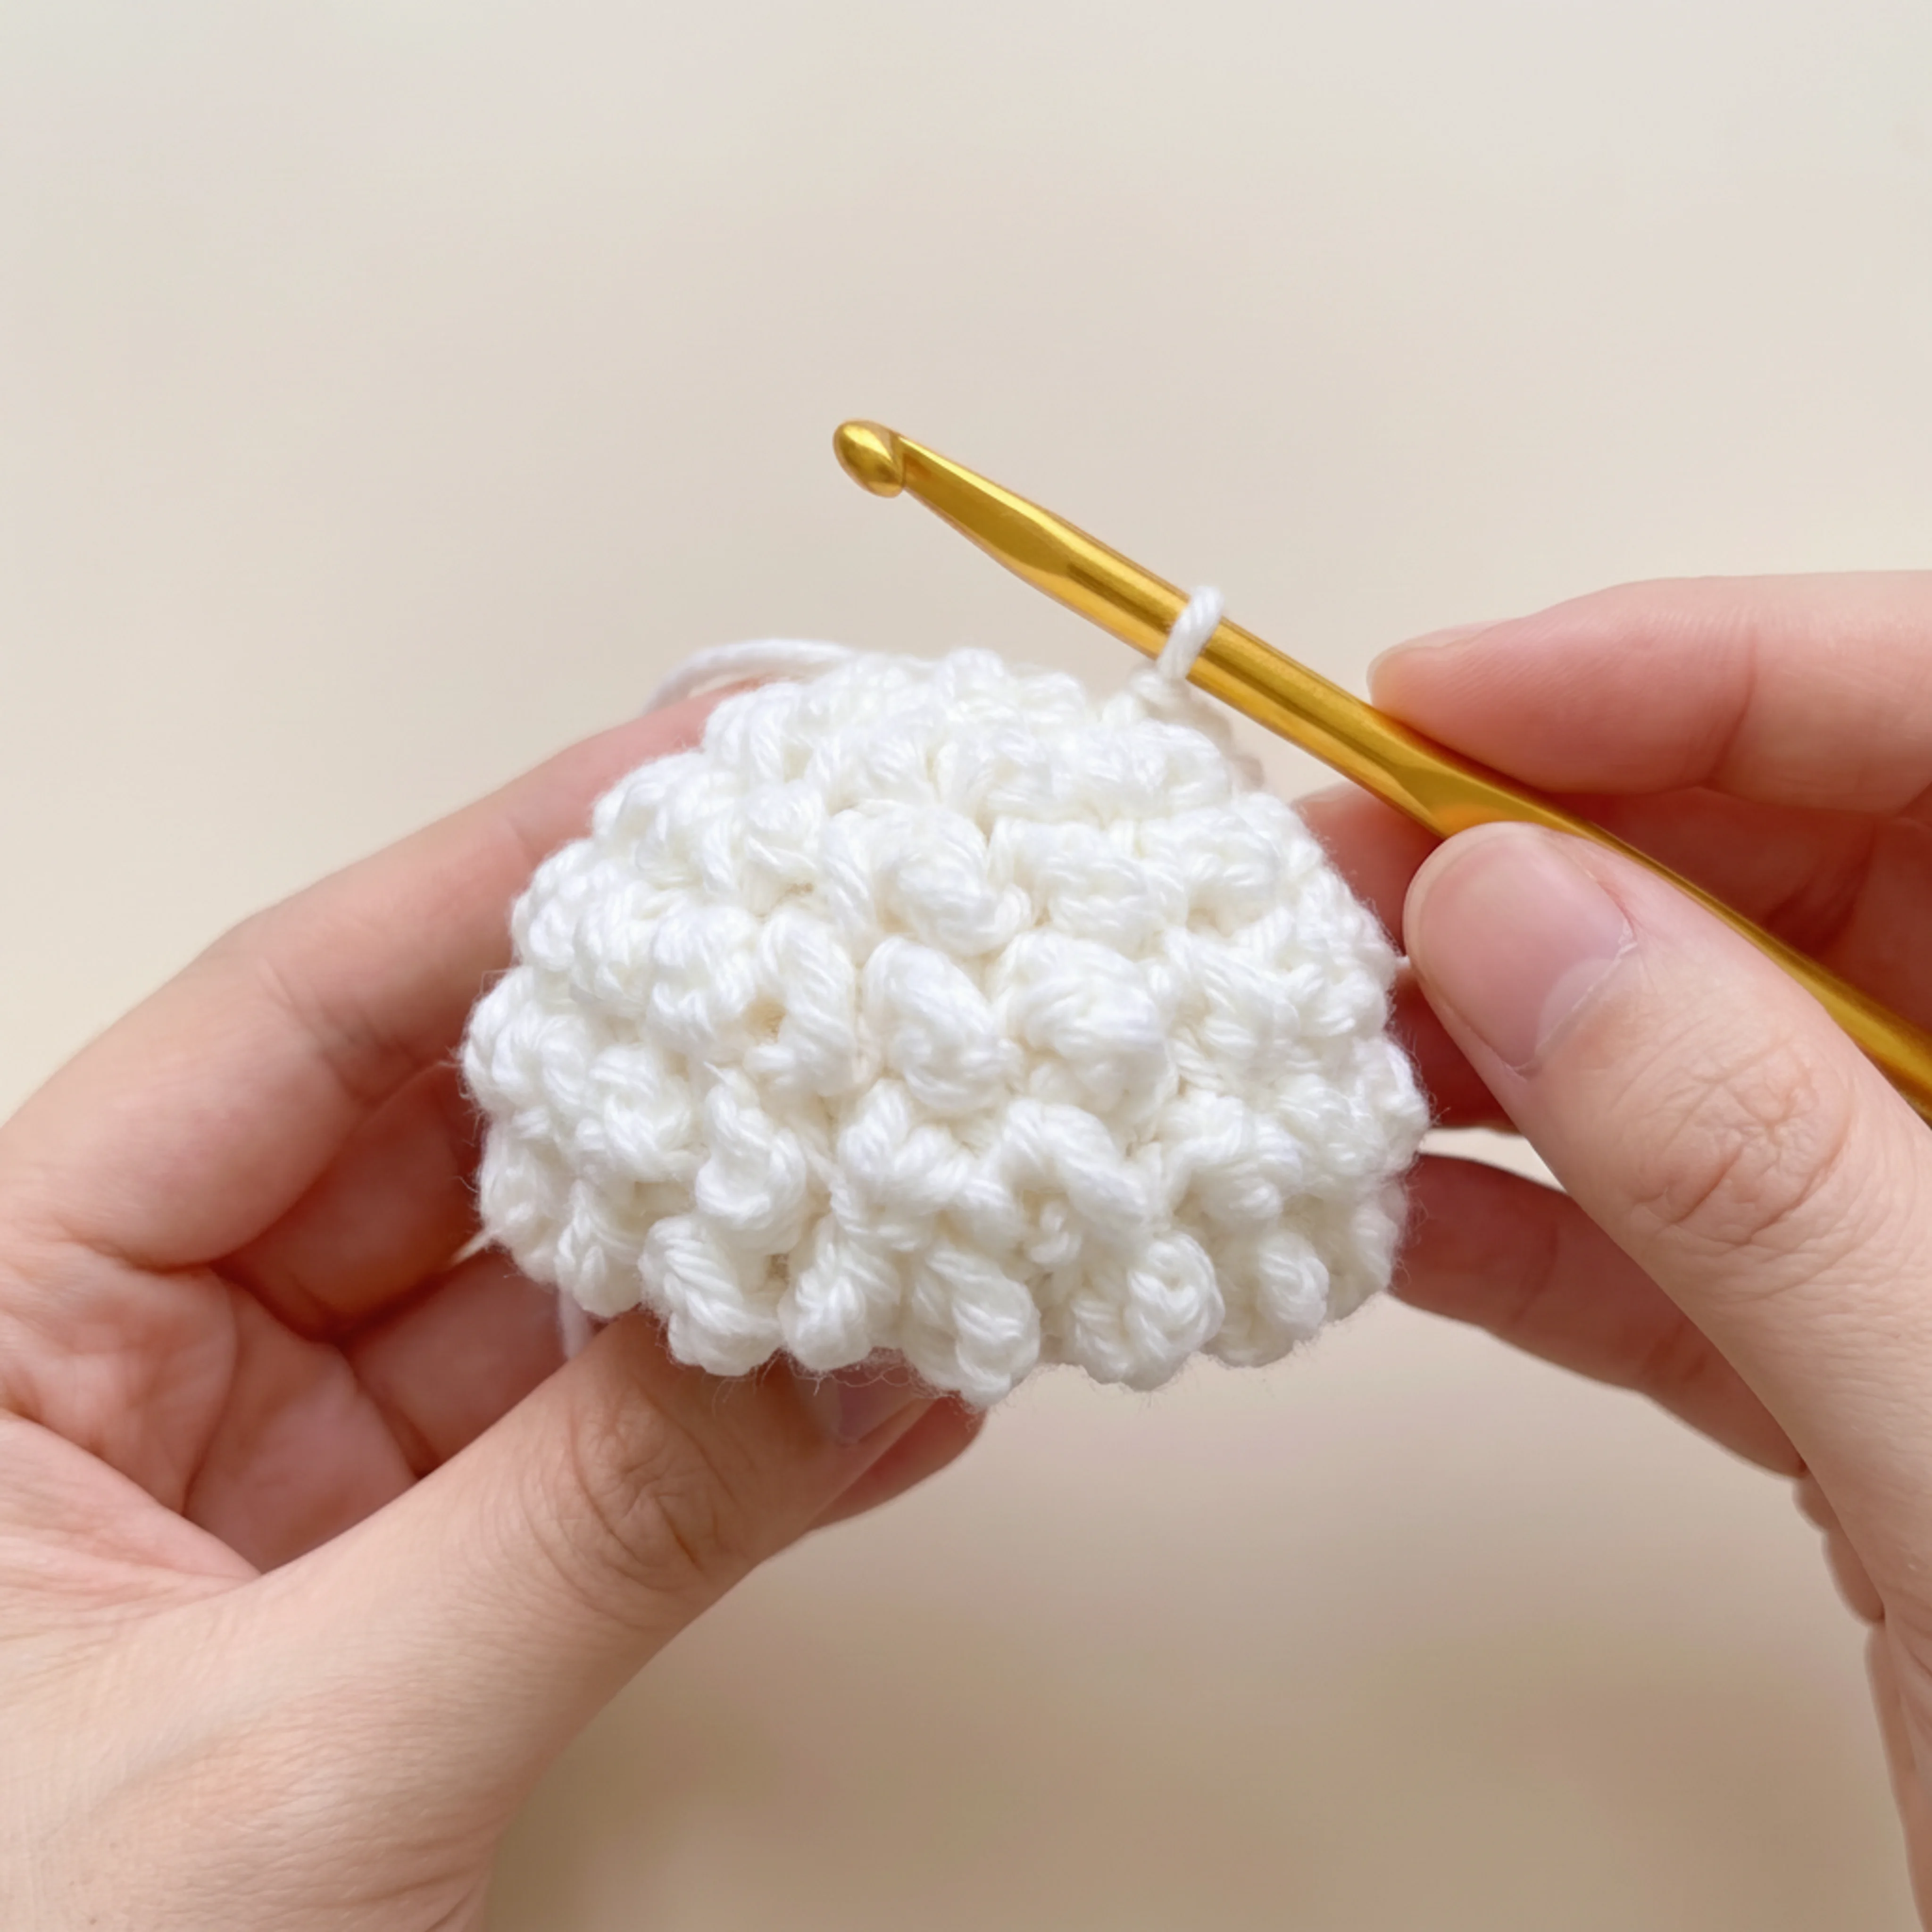
- Rounds 5–6: Loop st around. [24]
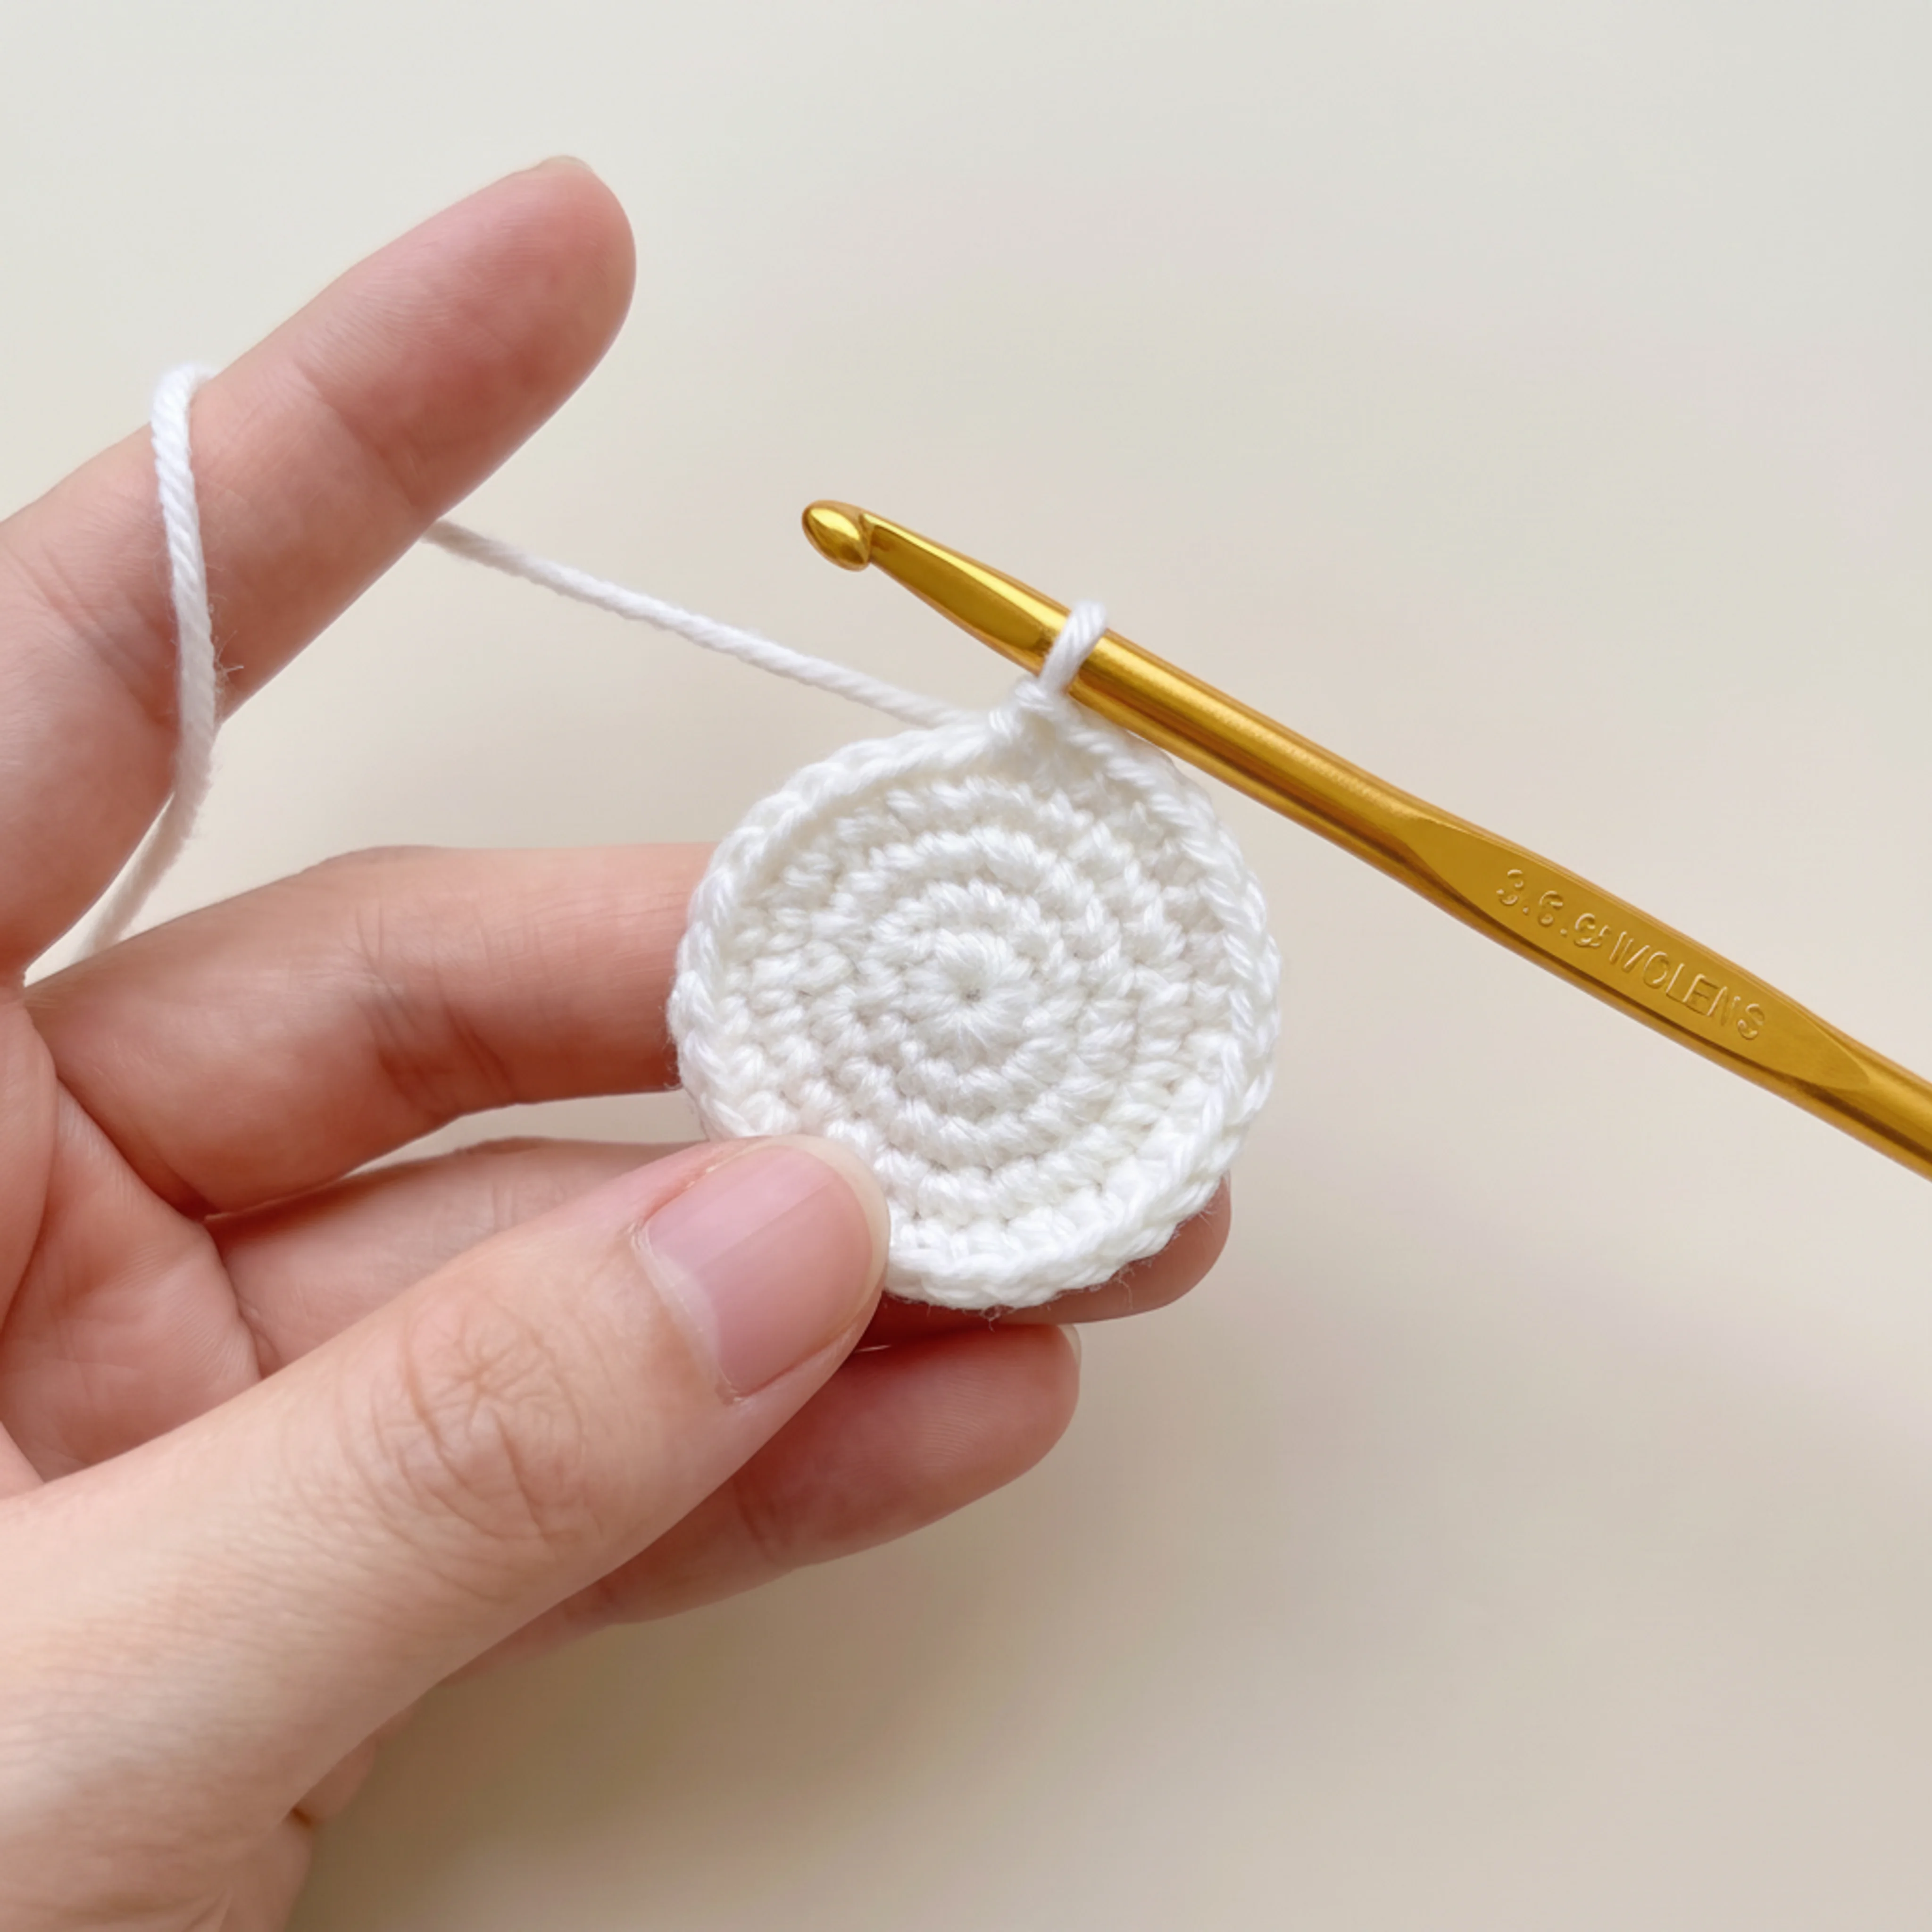
Fasten off, leaving a long tail. Do not stuff — this piece stays flat/domed. Position it over the top and back of the head (covering from just above the eyes, back over the crown, down to the base of the skull) and sew around the edge to secure, leaving the face and ear-attachment points clear.
Part 3: Ears (Make 2, Outfit Color)
- MR, 6 sc in ring. [6]
- Inc in each st around. [12]
- (Sc, inc) rep around. [18]
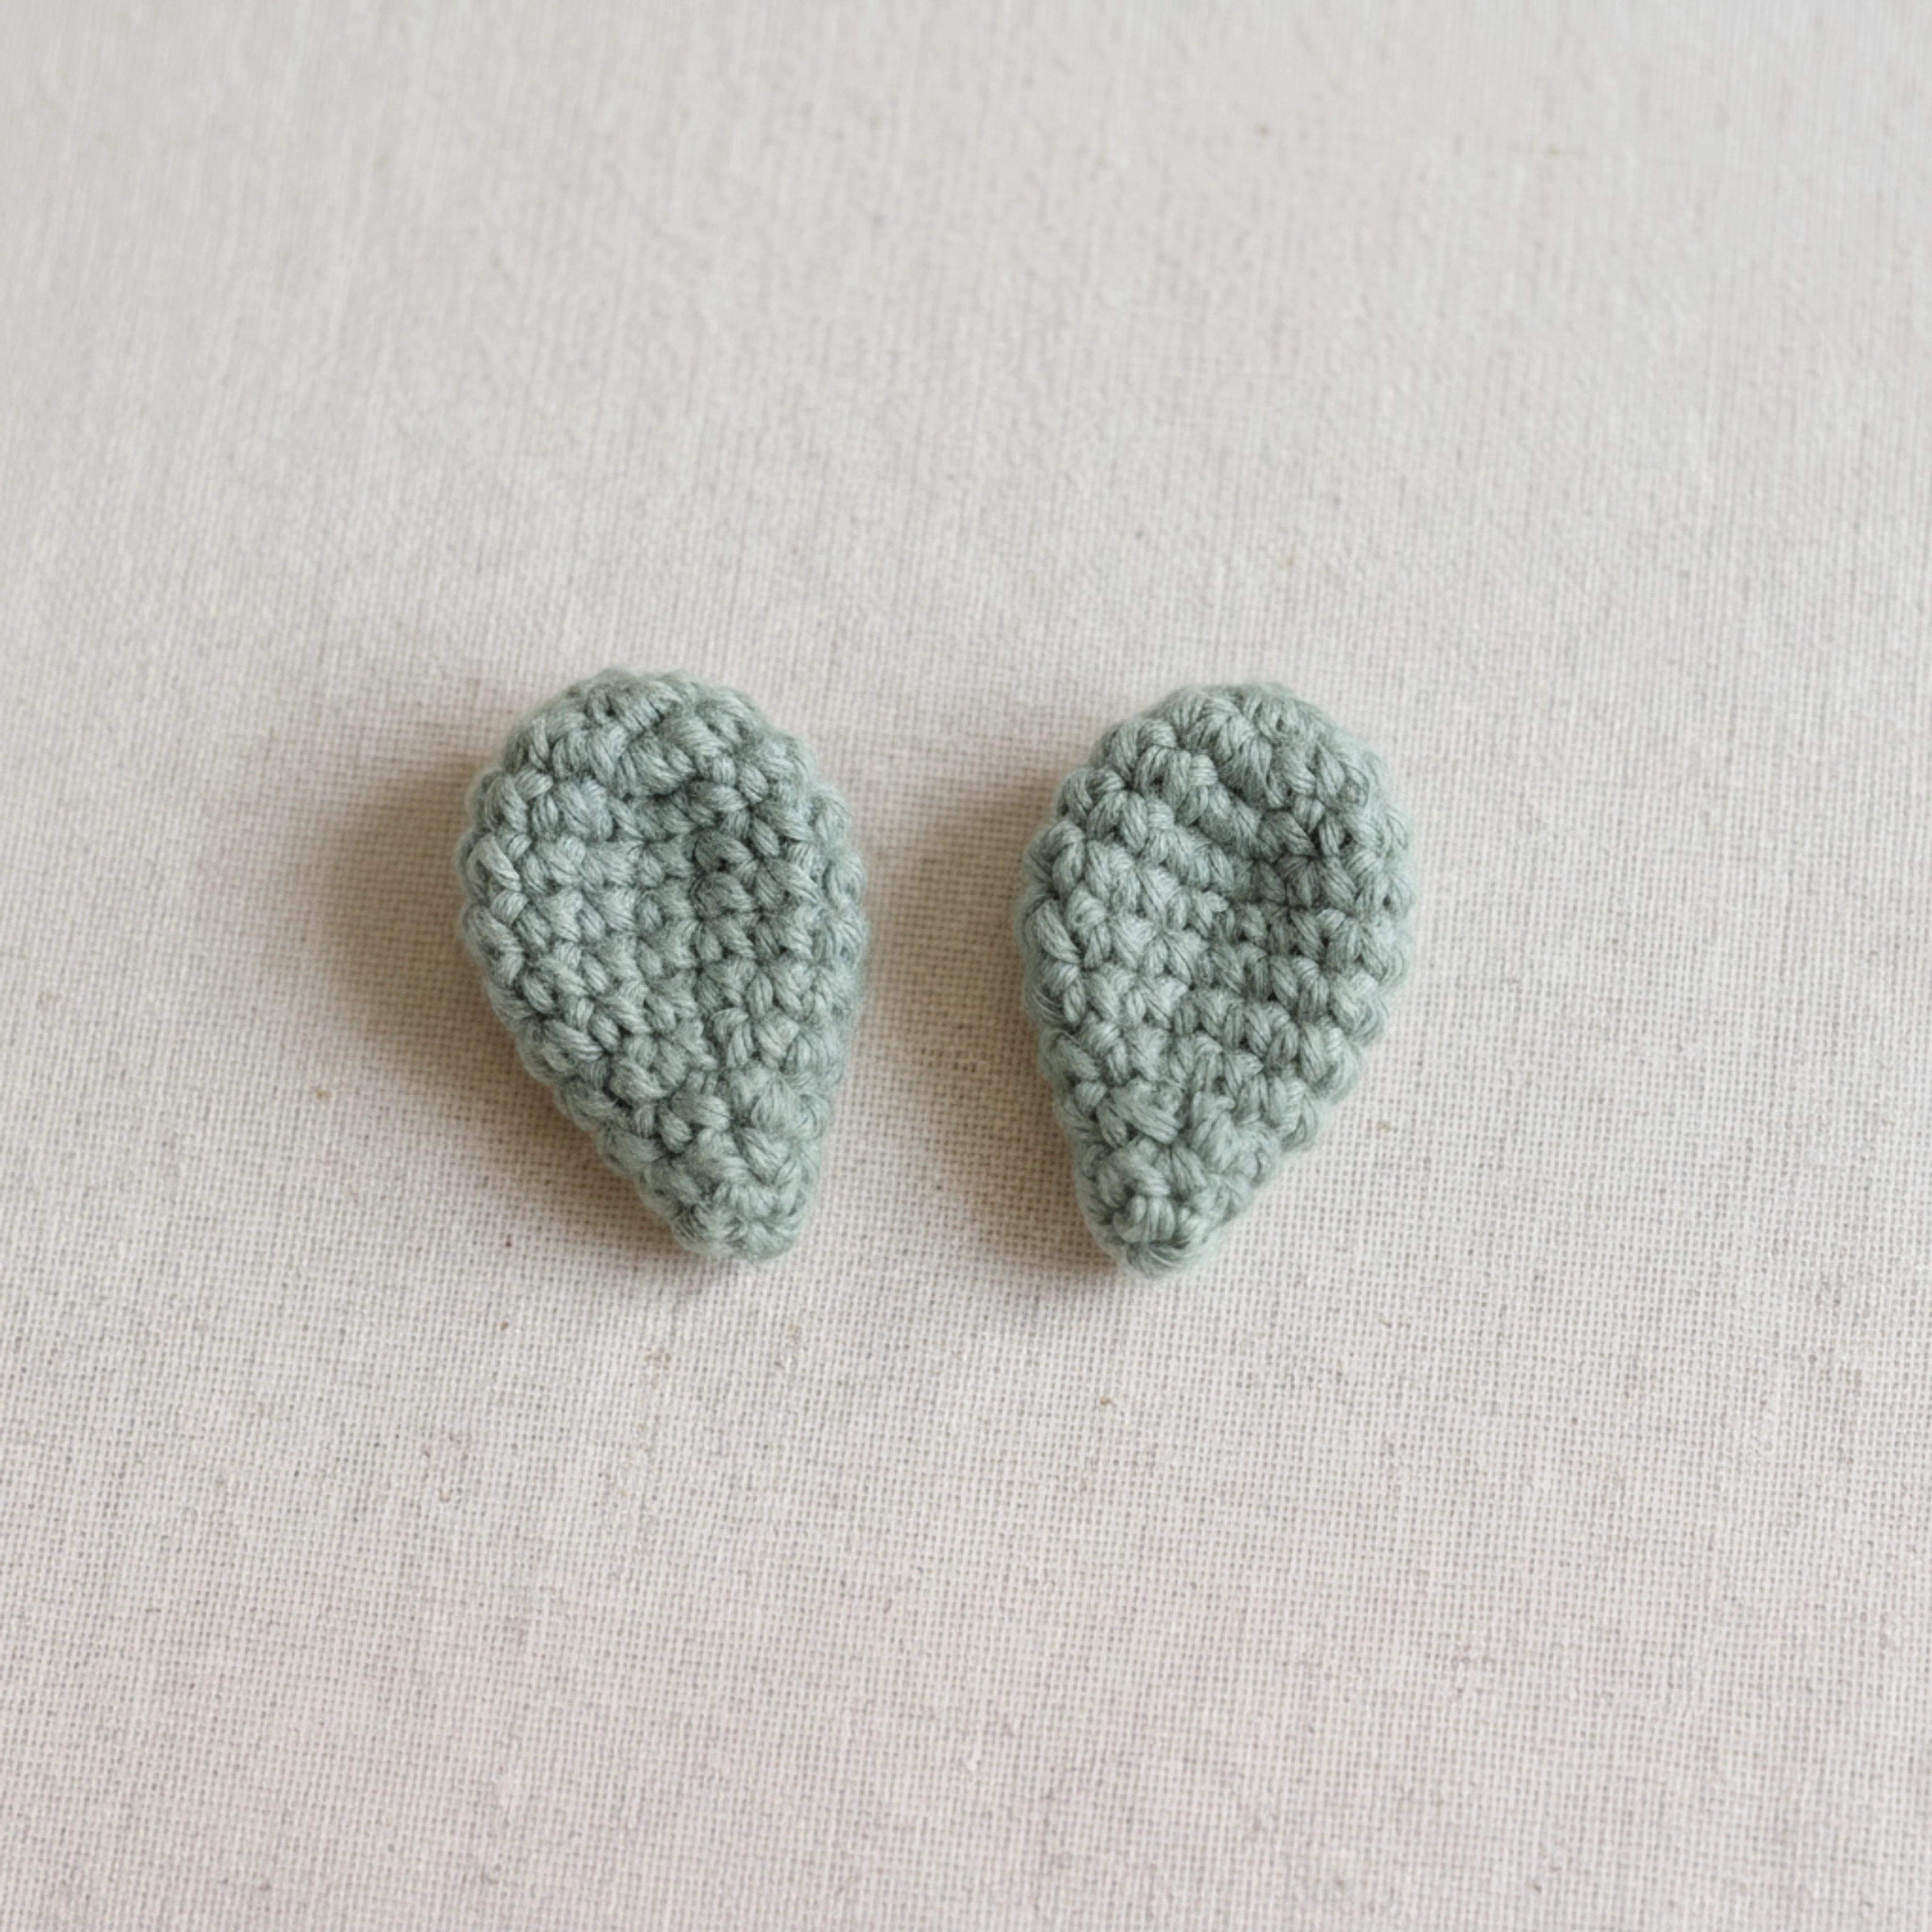
Fasten off, leaving a tail for sewing. Flatten each ear and sew to the sides of the head, just below the wool cap, angled slightly downward for that floppy look.
Part 4: The Body / Outfit (Outfit Color)
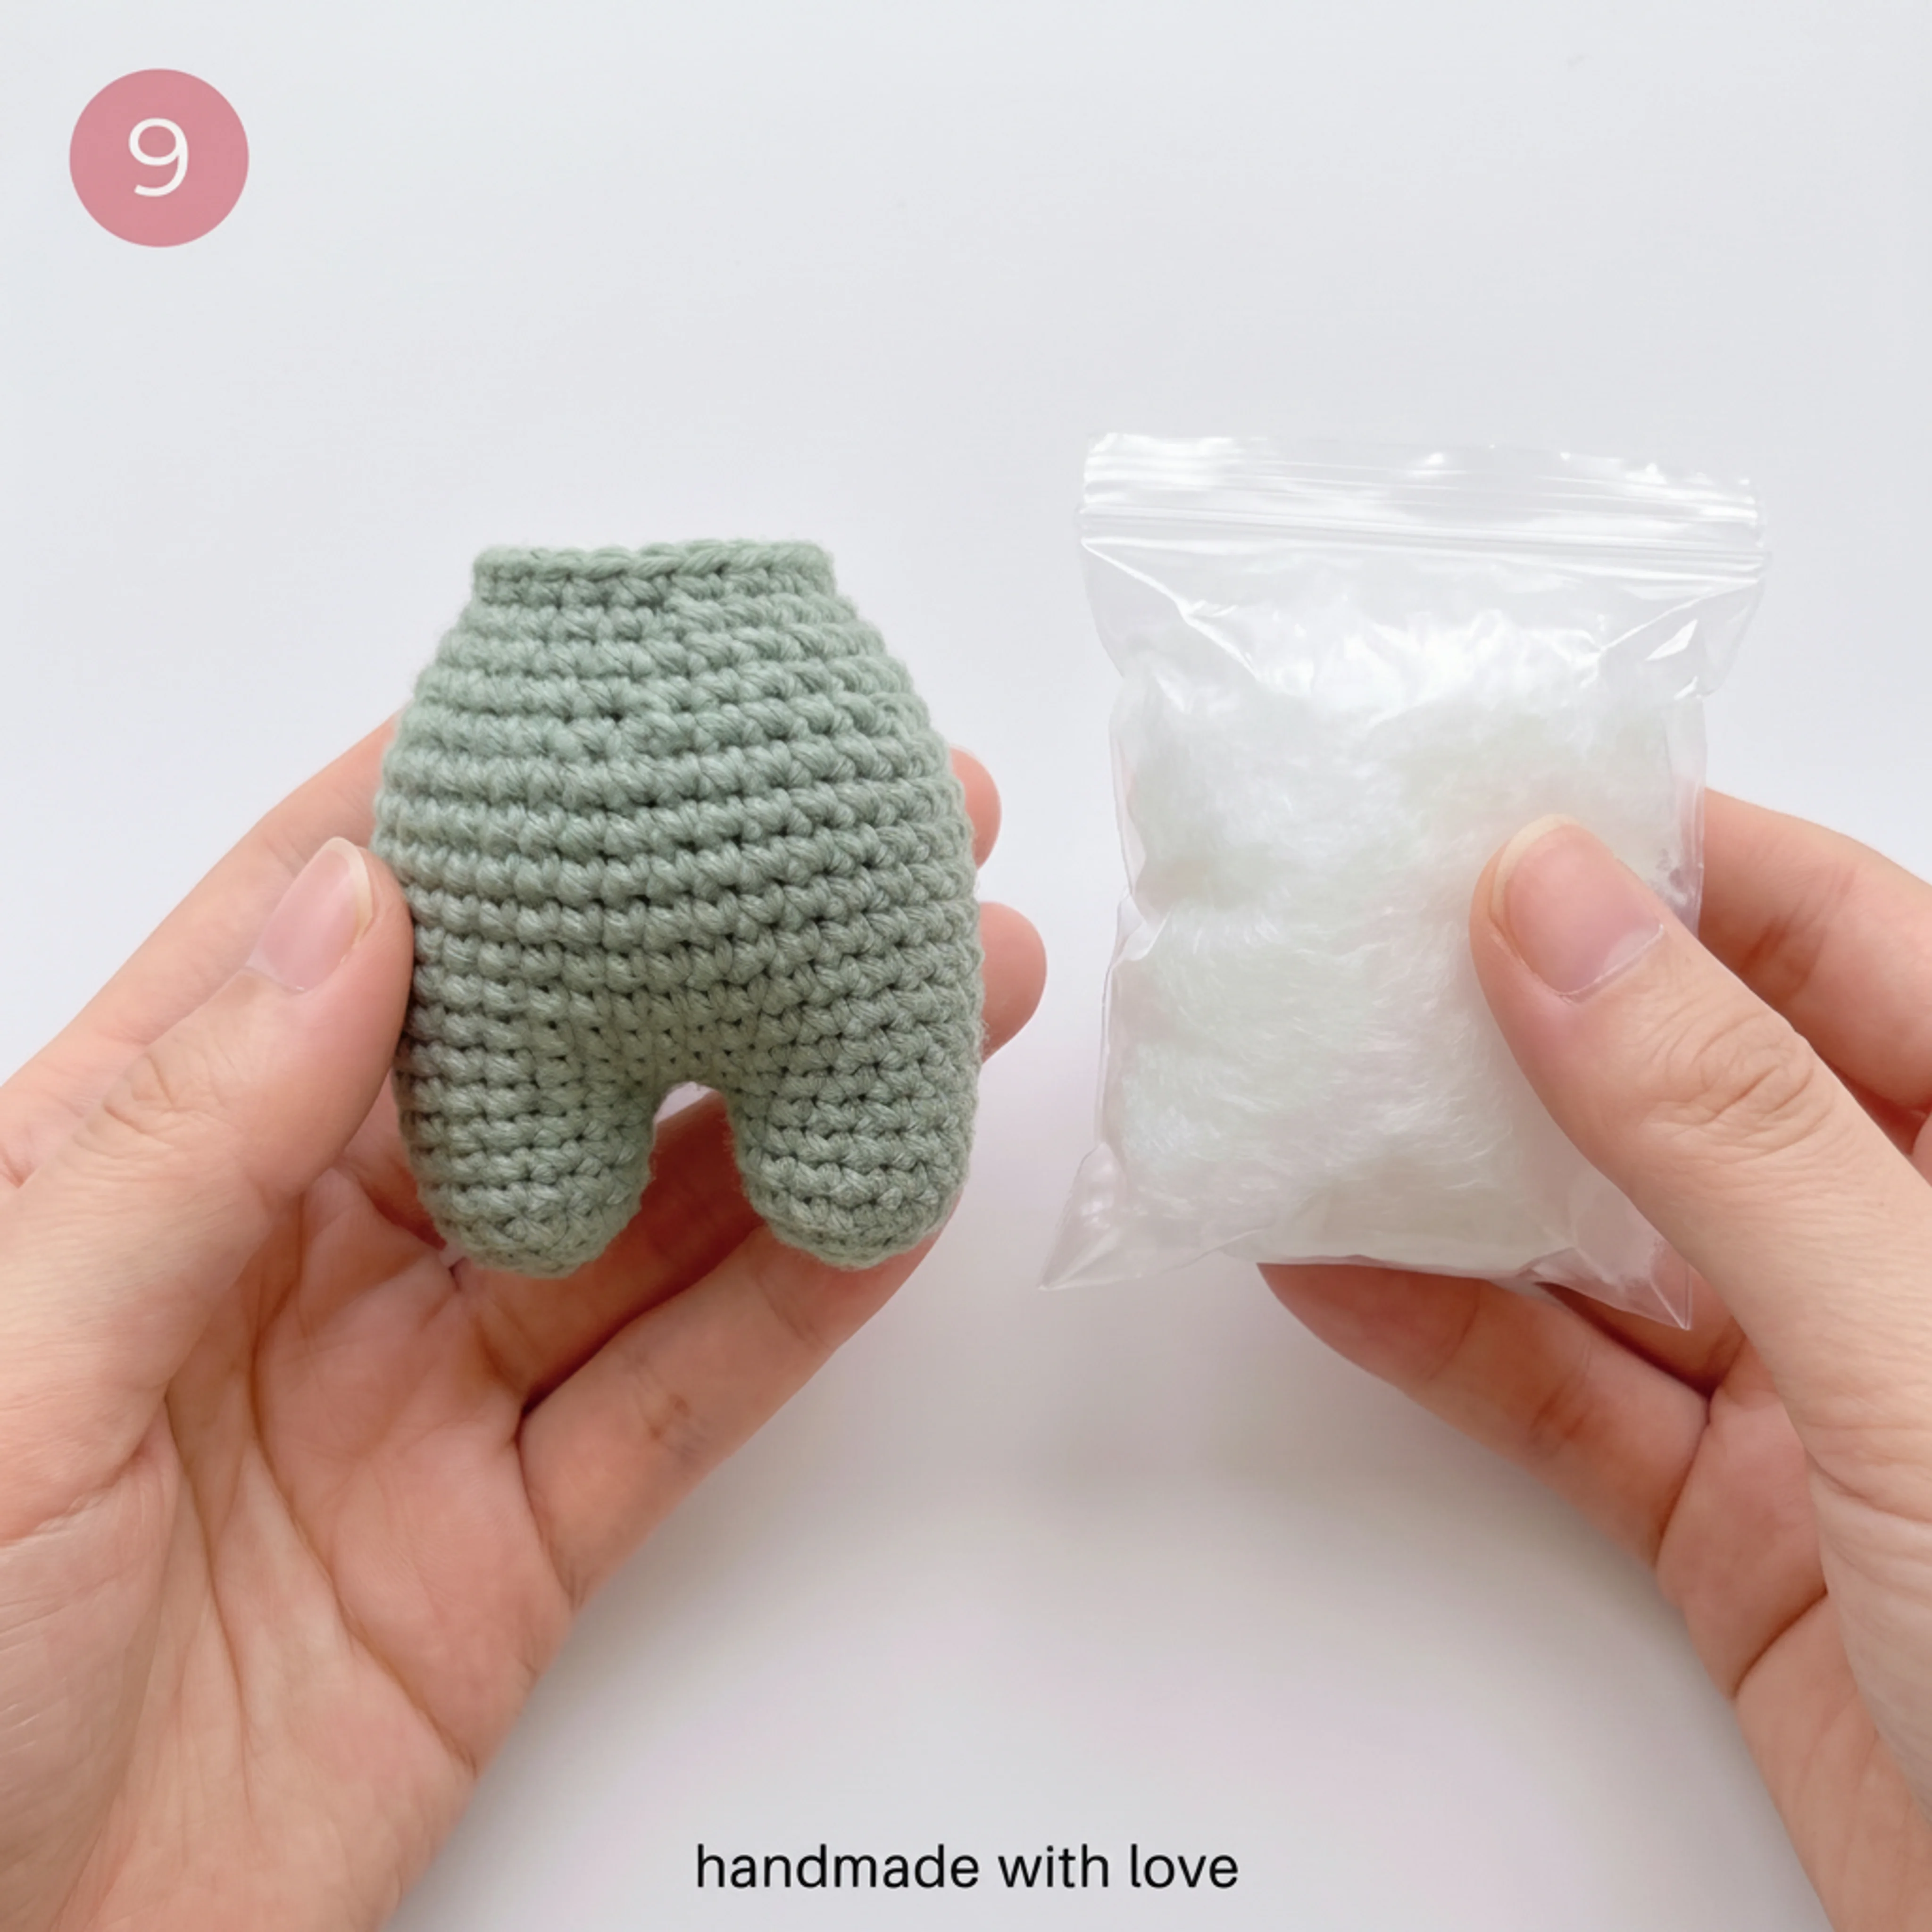
- MR, 6 sc in ring. [6]
- Inc in each st around. [12]
- (Sc, inc) rep around. [18]
- (2 sc, inc) rep around. [24]
- Rounds 5–10: Sc around. [24] (work this round 6 times)
- (2 sc, dec) rep around. [18]
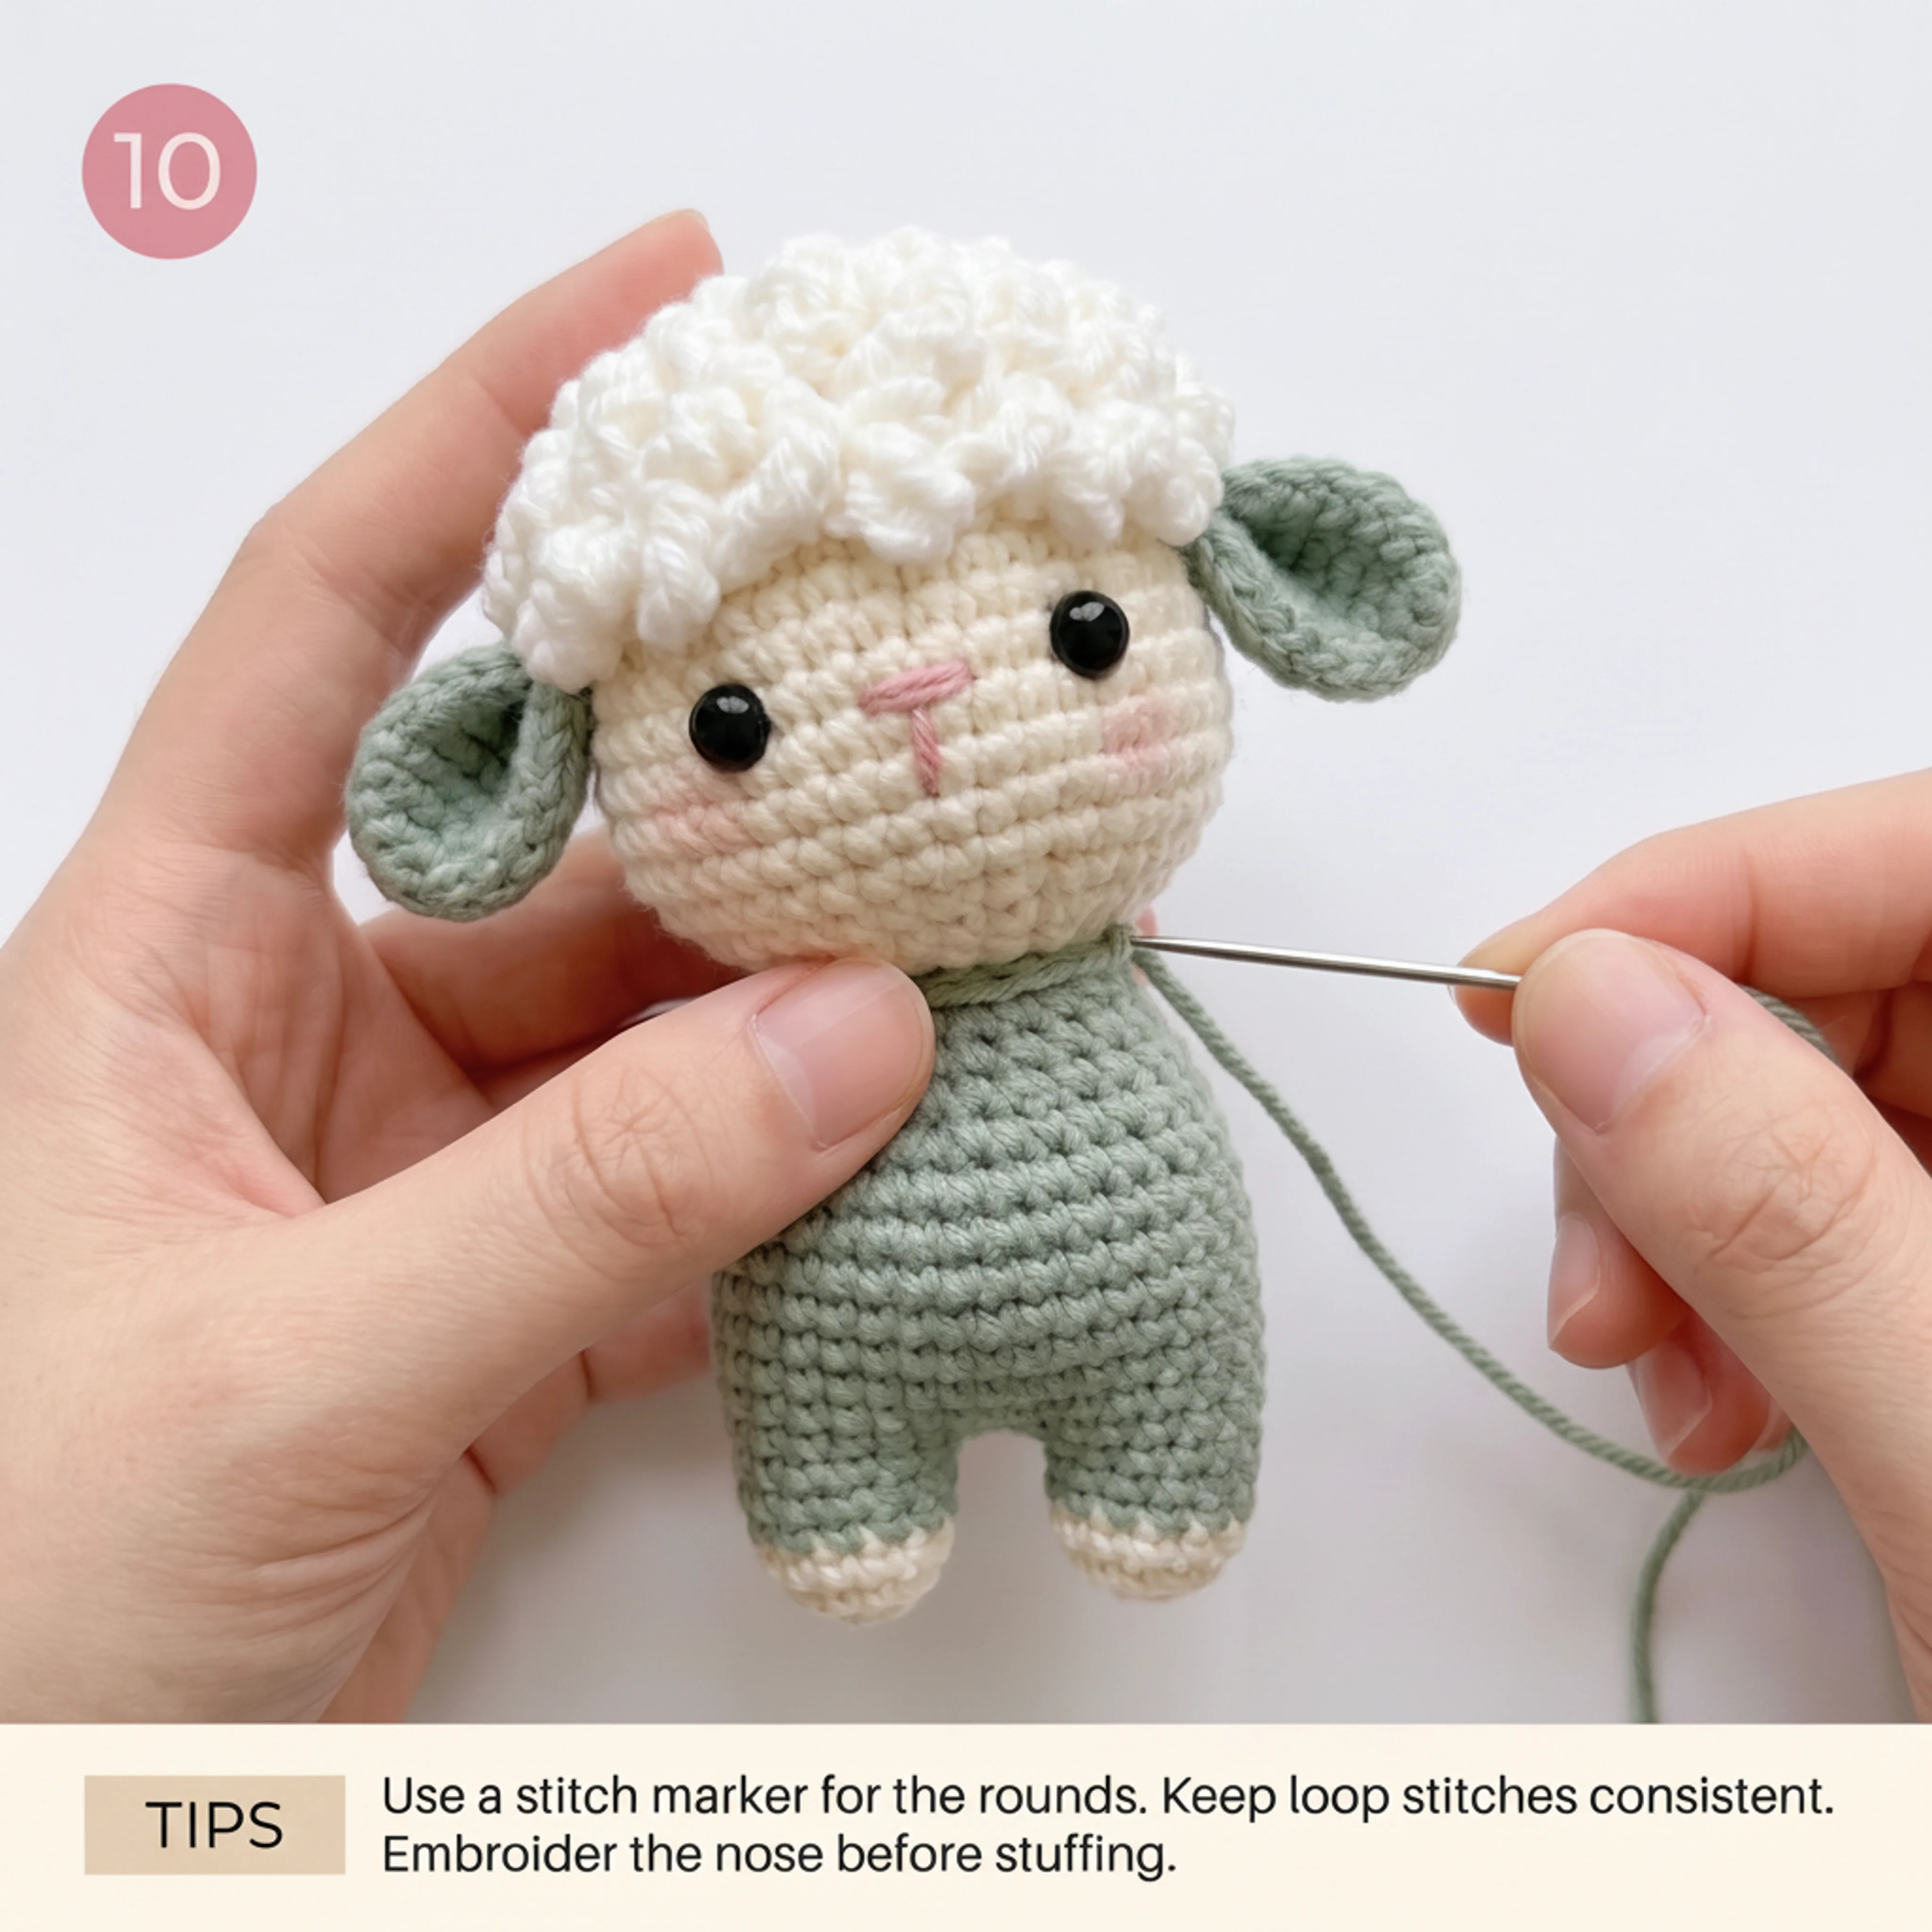
Stuff lightly, then sc one more round even [18] to create a small neck opening. Fasten off and sew the head securely to the top of the body.
Part 5: Arms (Make 2)
- With white, MR, 5 sc in ring. [5]
- Rounds 2–4: Sc around. [5]
- Switch to outfit color, sc around. [5]
Fasten off, leaving a tail. Stuff very lightly and sew to the sides of the body.
Part 6: Legs (Make 2)
- With white, MR, 6 sc in ring. [6]
- Rounds 2–5: Sc around. [6]
- Switch to outfit color, sc around. [6]
Fasten off, leaving a tail. Stuff lightly and sew to the bottom of the body so the lamb can sit or stand.
Part 7: Flower Accent
- With white, MR, 5 sc in ring. [5]
- In each stitch around: ch 3, sl st back into the same stitch (this forms one petal loop). Repeat for all 5 stitches to make 5 petals.
Fasten off. With yellow, make a tiny MR with 5–6 sc for the center, fasten off, and sew it into the middle of the flower. Sew the finished flower to the front of the body.
Finishing Touches
- Embroider a small triangular or teardrop-shaped nose in brown/tan floss just below the eyes.
- Add a simple curved mouth line beneath the nose if you’d like.
- Optional: brush a little pink blush (chalk pastel or light pink colored pencil) onto the cheeks for extra cuteness.
- Sew a small keychain ring securely to the top of the head, tucked just under the edge of the wool cap, or to the back of the body if you’d rather keep the head clean.
- Weave in all remaining ends.
Troubleshooting
- Loop stitch looks uneven: Try to keep your finger-loops a consistent size as you work each stitch — a loop-stitch gauge ring or just eyeballing the same finger-wrap each time helps a lot.
- Wool cap doesn’t cover enough of the head: Make it slightly larger (add one more increase round) next time, or simply position it further down toward the face when sewing it on.
- Ears look too stiff: Don’t stuff them — they should stay soft and flat so they naturally flop downward once attached.
- Lamb won’t stand up on its own: Make sure both legs are stuffed evenly and trim them flat at the bottom before sewing on, or simply let it sit rather than stand — either look is cute.
And there you have it — a soft, curly little crochet lamb keychain ready to clip onto a bag or keys. Once you’ve made one, try a whole flock in different outfit colors. If you enjoyed this one, our bunny & fox donut keychain pattern is another quick, giftable project worth trying next.
Reviews
There are no reviews yet. Be the first one to write one.
Happy crocheting! 🐑
— Sofia, Loop & Twine
Looking for another project? Try our Crochet Witch Hat Pattern for Amigurumi Animals (Free).
Looking for another cute crochet keychain to make? Try the Mini Denim Bag Keychain.
Selling these keychains at a market or online? Price them properly with our free materials + time pricing calculator.
Keep learning: New to a technique used here? See our beginner guide to crochet increases and decreases, an invisible fasten off and how to make a magic ring.