
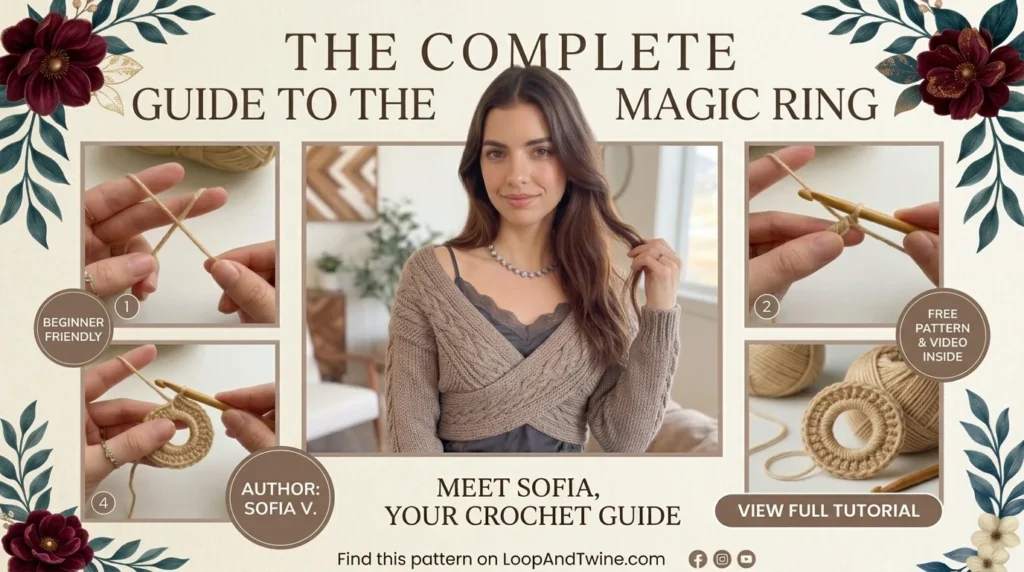
Almost every amigurumi pattern — including both crochet patterns on this blog — starts the exact same way: with a magic ring crochet start. If you’ve only ever started projects with a simple chain, the magic ring can feel fiddly the first few times, but it solves a real problem: it lets you close the center hole completely, so there’s no gap for stuffing to peek through.
Quick answer: A magic ring (also called a magic circle or adjustable ring) is a way to start crochet in the round that lets you pull the center closed completely, so there is no hole. You make a loop, crochet your first round into it, then pull the yarn tail to tighten the circle.
| Magic ring | Chain 2 start | |
|---|---|---|
| Center hole | None once you pull it closed | A small hole stays |
| Best for | Amigurumi, hats, anything stuffed | Flat items, or when you want an easy start |
| Difficulty | A little fiddly at first | Easier for a first project |
| Tail | Pull it tight, then weave it in to secure | Weave it in as usual |
Why Use a Magic Ring Instead of Chain 2?
An older method starts round 1 with “ch 2, 6 sc in 2nd ch from hook” — but this always leaves a small hole in the center, even after weaving in the tail. A magic ring (also called a magic circle or adjustable ring) lets you pull the starting loop closed tight after working your first stitches, closing that hole completely.
Magic Ring Crochet: Step-by-Step Instructions
- Cross the working yarn over the tail to form a loop, with the tail hanging behind.
- Insert your hook through the loop, yarn over, and pull up a loop (don’t pull it tight yet — this loop stays on your hook).
- Chain 1 (this does not count as a stitch).
- Work your first round of single crochet stitches directly into the ring, over both strands of yarn.
- Once you’ve worked all the stitches the pattern calls for, pull the short tail firmly to close the center hole.
- Join with a slip stitch to the first stitch of the round, as usual.
Video: How to Make a Magic Ring
Watching the loop and tail-pull in motion makes this much easier than following text alone. For a written, photo-based version of this magic ring crochet method, see the Craft Yarn Council’s stitch guide:
Troubleshooting a Magic Ring
- The ring won’t pull closed. Make sure you’re pulling the short tail, not the working yarn — pulling the wrong strand tightens the wrong loop.
- Stitches keep slipping off the ring. Keep tension on the loop with your fingers as you work each stitch, rather than letting it go slack between stitches.
- There’s still a tiny hole after pulling tight. This is normal for very small center holes — weave the tail through the last stitch once more before trimming to close it fully.
- Not comfortable with the magic ring yet? You can substitute “ch 2, 6 sc in 2nd ch from hook” in a pinch — just know you’ll need to close the small gap by hand when weaving in the tail.
A clean magic ring crochet start is what keeps the center of a round free of holes — every round of the Little Vampire Crochet Doll and the Teddy Bear Baby Bib patterns starts from a magic ring — it’s worth practicing a few times on scrap yarn until pulling it closed feels automatic.
Magic Ring Crochet: Common Questions
Is a magic ring the same as a magic circle?
Yes. Magic ring, magic circle and adjustable ring are different names for the same method.
Why does my magic ring come undone?
Usually the tail was not secured. After you pull the ring closed, weave the tail through the stitches of the first round and then fasten it off, so the ring cannot loosen.
Can I use chain 2 instead of a magic ring?
Yes. Chain 2 and work your first round into the second chain from the hook. It is easier, but it leaves a small hole in the center.
How many stitches go into the first round?
It depends on the pattern. For a flat circle in single crochet, 6 stitches in the ring is the most common start.
What yarn is best for learning?
A smooth, light-colored worsted yarn with a hook around 4 to 5 mm. You can see the loops clearly, and the yarn does not split.
Reviews
There are no reviews yet. Be the first one to write one.
Want cleaner finishes everywhere? See our guide to the invisible join and jogless color change.
Keep learning: New to a technique used here? See our beginner guide to crochet increases and decreases, an invisible fasten off and the basic crochet stitches.