
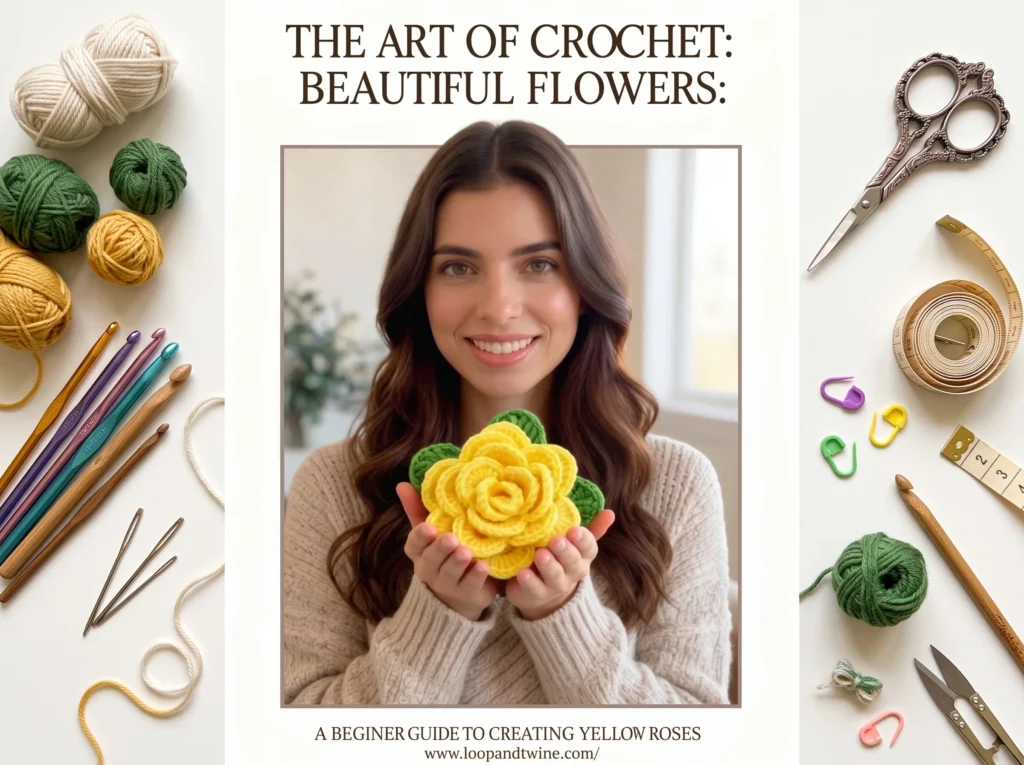
Hey, it’s Sofia from Loop & Twine! This 3D crochet rose is one of my favorite techniques to teach, because most crochet flowers are flat motifs — pretty, but a little one-dimensional. This one is different: it uses a clever “coiled petal ribbon” technique where you crochet a long, scalloped strip first, then roll it up into a dense, realistic spiral. The result looks like something you’d find in a florist’s window, not a craft basket.
Like most crochet flowers, this rose starts with a magic ring — see our step-by-step guide if you’re new to it.
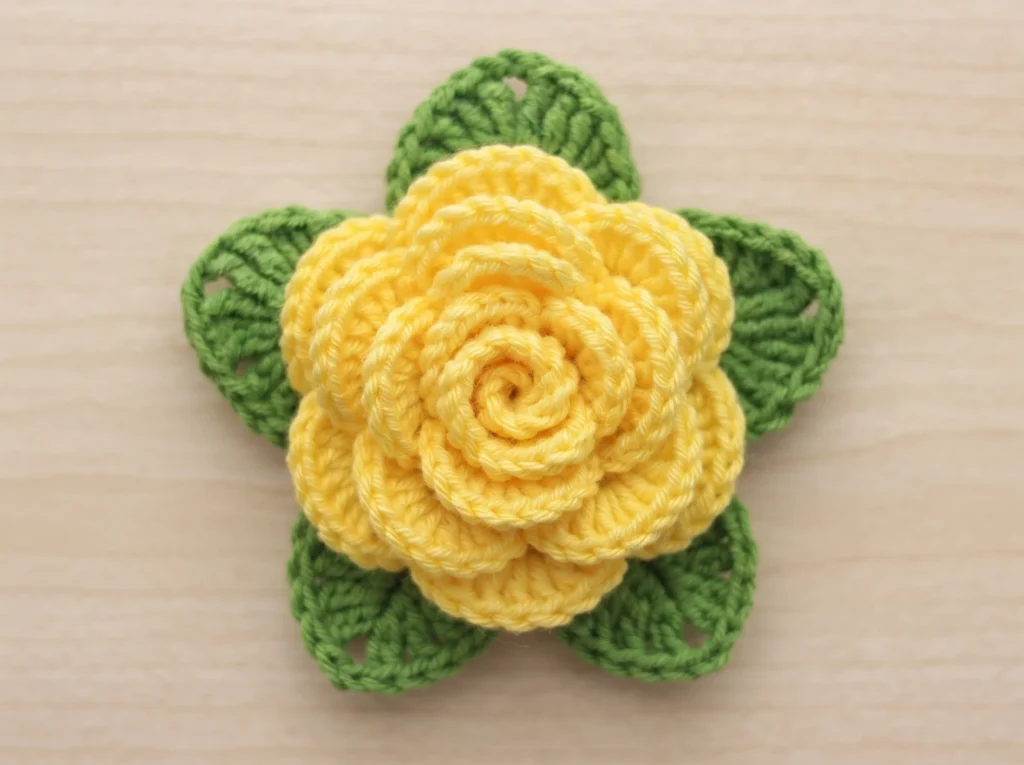
Unlike flat crochet motifs, a 3D multi-layered rose adds striking depth and realism to any project — hair ties, brooches, blanket appliques, structured yarn bouquets, you name it. This pattern delivers a dense, professional finish that holds its shape on its own, no wire or stiffener needed.
Materials & Tools Needed
- Yarn: Sport or DK weight cotton yarn in bright yellow and leaf green.
- Crochet Hook: 2.5 mm or 3.0 mm — a smaller hook than you might expect, but it keeps the stitches tight so the petals actually hold their structural shape once rolled.
- Notions: Tapestry needle for sewing, sharp scissors, and stitch markers (optional, but handy for marking where each petal section starts).
Crochet Abbreviations (US Terms)
ch chain · sc single crochet · hdc half double crochet · dc double crochet · tr treble/triple crochet · st stitch · sl st slip stitch · MR magic ring
Need a refresher on any of these? Our crochet basics reference guide covers every abbreviation with a full breakdown, and our magic ring guide has step-by-step photos for the technique you’ll use in Part 2. For an official stitch reference while you work on this 3D crochet rose, the Craft Yarn Council’s stitch guide is a solid free resource.
Part 1: The Yellow Rose Petals
This part forms one long scalloped lace ribbon. It won’t look like a rose yet — it’ll look like a wavy, lettuce-edged strip. That’s exactly right. Once finished, you’ll roll it from one end to the other to shape the actual 3D rose, so don’t worry about the flat appearance at this stage.
- Foundation Chain: Ch 68.
- Row 1 (Base Setup): Starting in the 2nd chain from your hook, work 1 sc into each chain space across. (67 sc total.)
- Row 2 (The Mesh Arches): Ch 3 (this counts as your first dc), turn. Skip 2 stitches, then work (1 dc, ch 2, 1 dc) all into that same stitch. Repeat this same sequence all the way across the row — this builds the arched framework each petal will grow from.
- Row 3 (Building the Petals): Ch 2, turn.
- For the first several ch-2 loop spaces (the ones that will become the tight center of the rose), work (2 dc, ch 2, 2 dc) into each loop — these smaller stitch groups form the tight, compact inner rosebud layers.
- As you move toward the middle and end of the row, switch to larger petals: work 8 dc directly into each remaining ch-2 space, then 1 sc into the small gap between loops to separate one petal from the next. These bigger petals will end up as the wide outer layers once the ribbon is rolled.
- Finish: Slip stitch into the final stitch. Leave a very long tail — about 15–20 inches — since you’ll need it for sewing the whole rose together in Part 4. Fasten off.
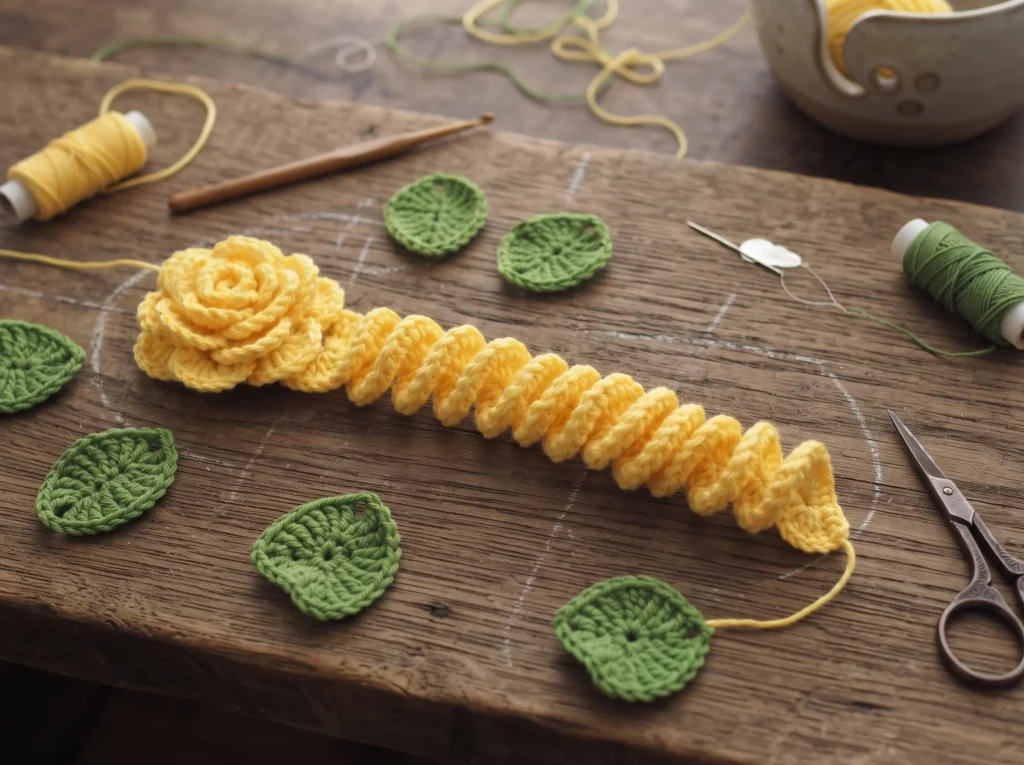
Take a moment to look at your ribbon before moving on: one end should have noticeably smaller, tighter petal groups, and the other end should have the larger 8-dc petals. That size gradient is what gives the finished rose its realistic, gradually-opening bloom shape.
Part 2: The Green Sepals (Backing)
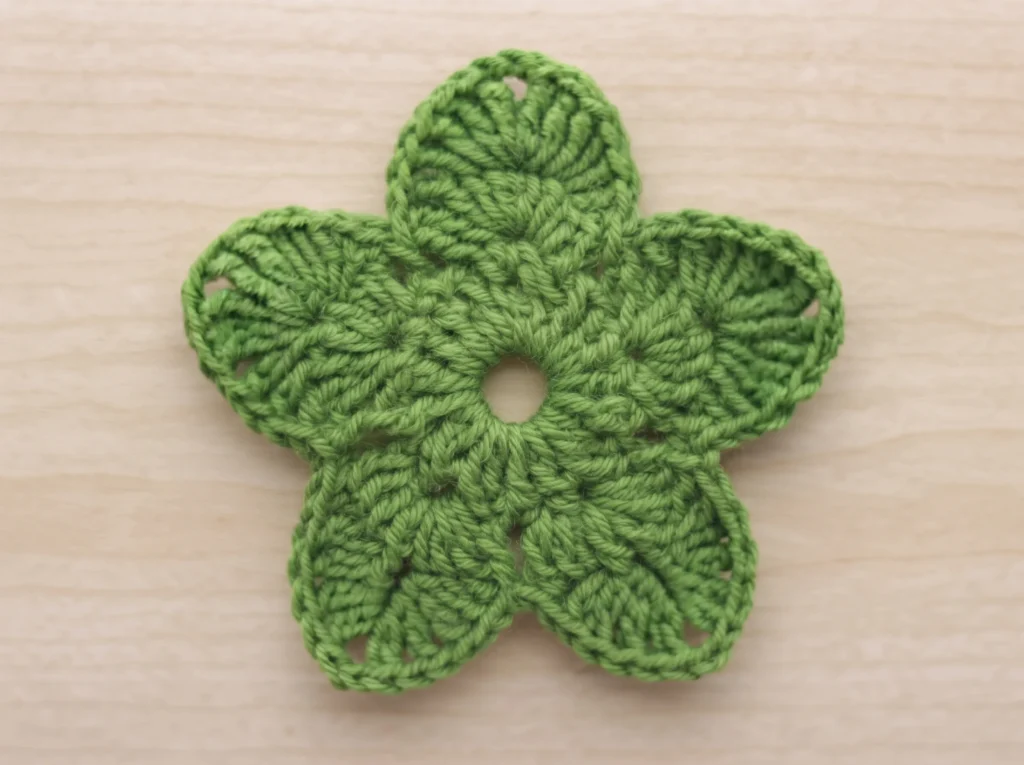
The sepal is the five-pointed green base that sits directly behind your finished rose, the way a real rose’s calyx cups the flower head.
- Round 1: Make a magic ring. Work 10 hdc inside the ring, slip stitch to join, then ch 2.
- Round 2: Work an hdc increase in every stitch around (2 hdc in each of the 10 stitches), giving you 20 hdc total.
The 5 Sepal Points — each point is worked as its own short, turned mini-triangle directly off Round 2:
- Work 4 hdc, ch 2, and turn your work.
- Work 3 hdc, ch 2, and turn your work.
- Work 2 hdc, ch 2, and turn your work.
- Work 1 hdc, ch 1, and cut the yarn.
Re-attach your green yarn to the next open stitch on Round 2 and repeat those same 4 steps to form each new point. Do this a total of 5 times evenly around the circle so you end up with 5 matching sepal points.
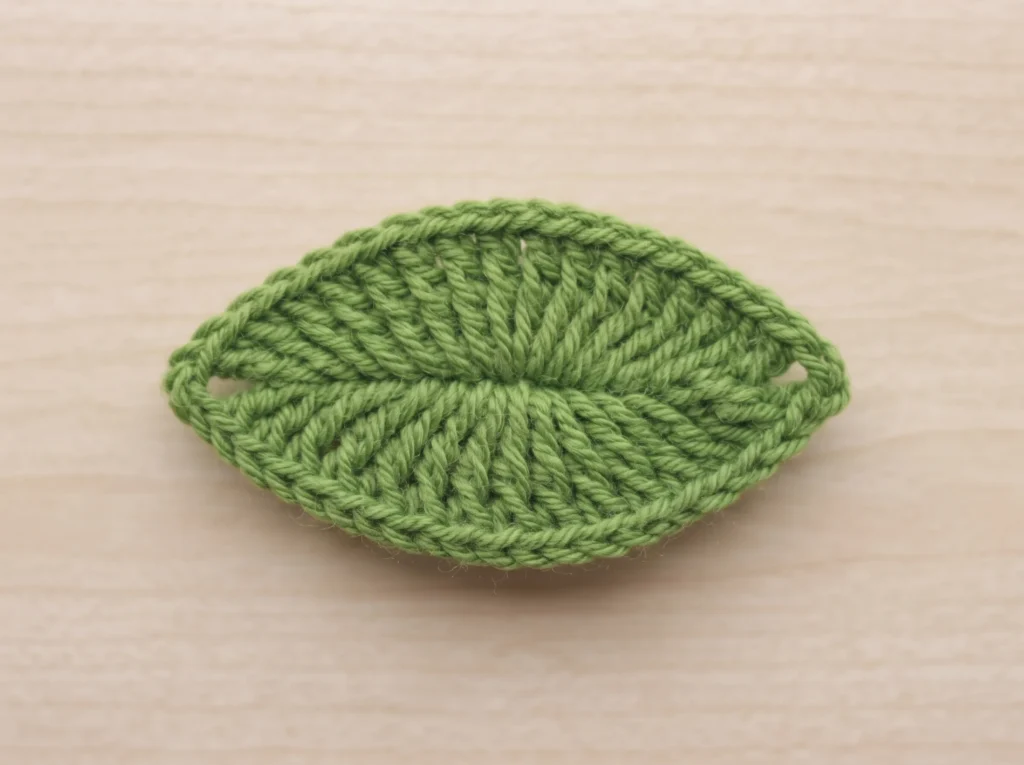
Part 3: The Leaf Pattern
Make 2 or 3 separate leaves to frame the finished flower — an odd number tends to look more natural and less symmetrical-to-a-fault than an even number.
- Foundation: Ch 12.
- Side 1: Starting in the 2nd chain from your hook and working down one side: 1 sc, 1 hdc, 1 dc, 5 tr, 1 dc, 1 hdc.
- The Tip Turn: In the very last chain stitch, work 2 sc, ch 1, 1 sc — this little cluster is what turns the corner cleanly at the leaf’s pointed tip instead of leaving a gap or a bulky corner.
- Side 2: Mirror your stitches back down the opposite side of the same foundation chain: 1 hdc, 1 dc, 5 tr, 1 dc, 1 hdc, 1 sc. Slip stitch to finish and fasten off.
Part 4: Assembly & Shaping
This is where the flat ribbon actually becomes a rose — and it’s simpler than it looks once you get the first full turn coiled.
- Roll the Rose: Take your yellow petal ribbon and find the tightest, smallest end — that’s your starting point. Begin rolling it inward horizontally into a tight cylinder, like rolling up a small rug.
- Align the Bottom: As you roll, keep the bottom flat edge of your stitches completely flush and level. If the base gets uneven, the finished rose will lean or wobble instead of sitting flat.
Pro tip: Don’t roll too loosely, or the flower will lose its signature 3D structure and flop open. Keep a firm grip on the base as you coil, and check every half-turn that the petals are staying snug against each other.
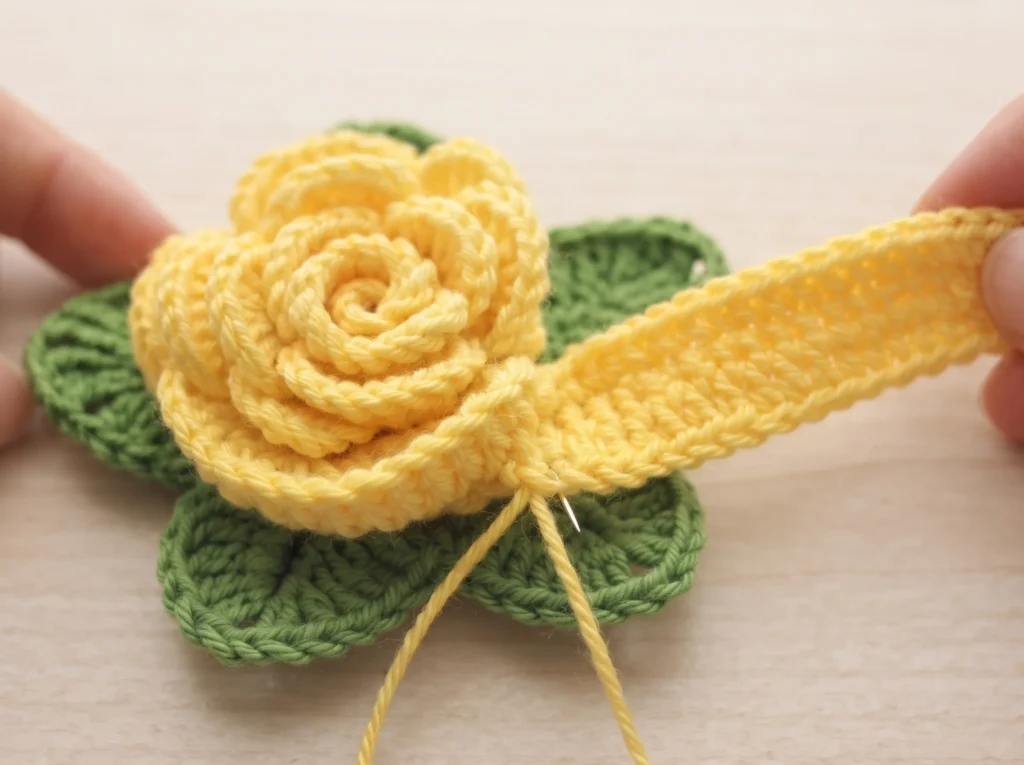
- Sew the Base: Thread your long yellow tail onto a tapestry needle. Pass the needle straight through all the coiled bottom layers, back and forth, multiple times — this is what locks the spiral in place permanently, so don’t be shy about going through it 6–8 times.
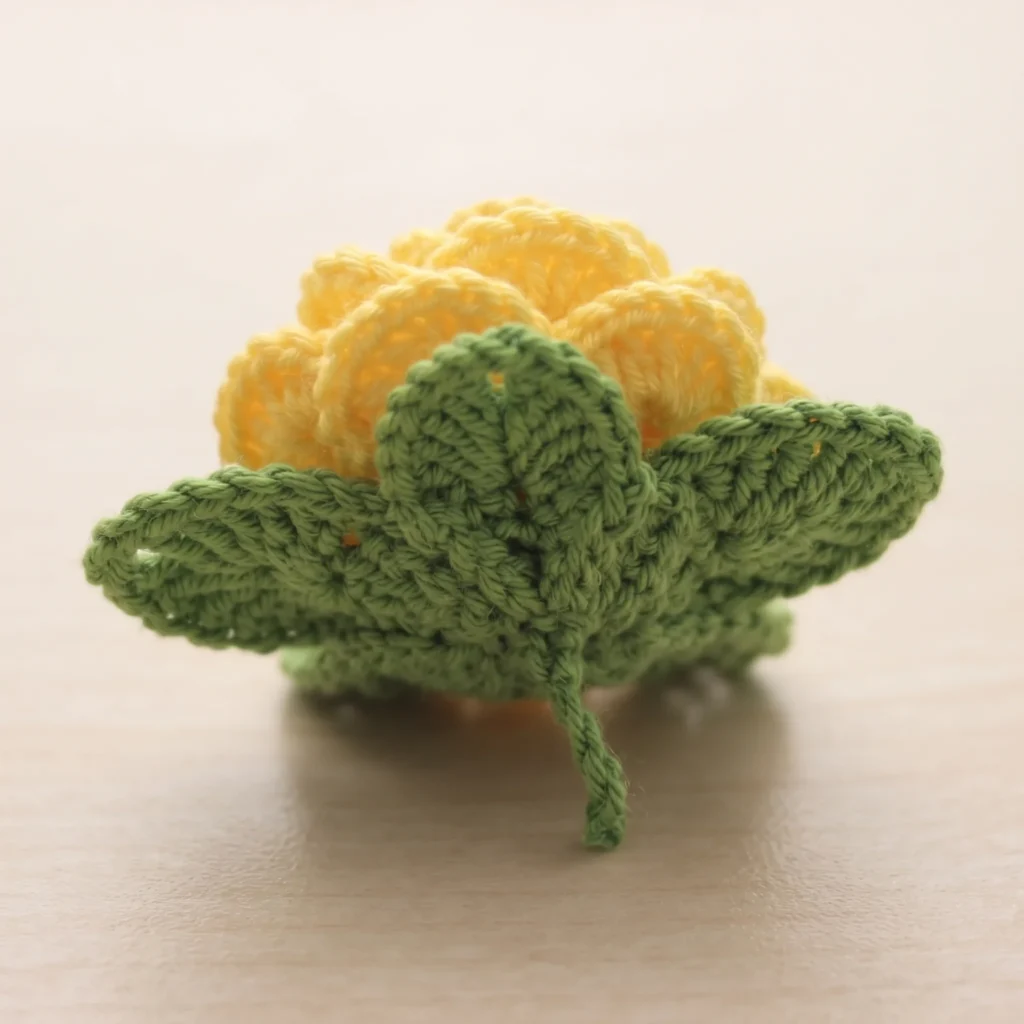
- Final Attachment: Sew the green sepal piece flat against the bottom of your finished yellow rose. Tuck your leaves slightly underneath the sepal points as you stitch them on, so they peek out naturally from the sides rather than sitting flush on top.
Troubleshooting Your 3D Crochet Rose
- Rose looks flat instead of domed: The roll was likely too loose. Unroll and re-coil with firmer tension, checking that each layer sits snugly against the last before sewing.
- Petals gap open at the base: This usually means the bottom edge drifted out of alignment while rolling. Keep one hand pinching the base flush as you coil with the other.
- Rose leans to one side: Your sewing stitches through the base may only be catching one side of the coil. Make sure your needle passes through the full depth of the spiral on every pass.
And there you have it — a fully dimensional 3D crochet rose with no wire, glue, or stiffener required, just clever construction. Once you’ve made one, try experimenting with different yarn weights, ombré color changes, or a longer foundation chain for an even bigger, more dramatic bloom. This technique also pairs well with the increases and decreases used in our crochet bunny backpack and teddy bear baby bib patterns, if you’re looking for your next project.
Watch the Full Video Tutorial
Prefer to watch it come together step by step? Here’s the full tutorial from start to finish:
Reviews
There are no reviews yet. Be the first one to write one.
Happy crocheting! 🌹
— Sofia, Loop & Twine
Keep learning: New to a technique used here? See our beginner guide to crochet increases and decreases and the basic crochet stitches.