
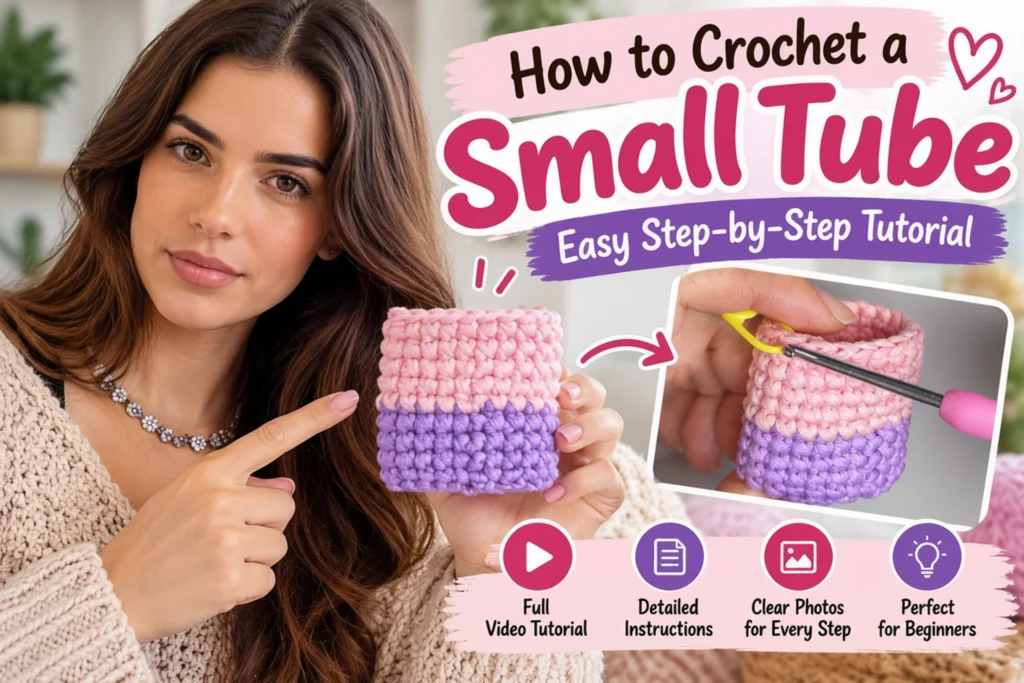
Invisible join crochet is the fix for the ugly stair-step bump at the end of your single crochet rounds — and paired with a jogless color change, it’s also the fix for jagged amigurumi stripes. Both take seconds once you know them, and both are the difference between a project that looks handmade-messy and one that looks handmade-professional.
Why your joins and color changes look messy right now
Working in the round with single crochet creates a spiral, not a flat circle — so where one round ends and the next begins, the stitches naturally step up and to the side. Slip-stitch your way out of a round the normal way, or switch colors with a regular stitch, and that step becomes a visible bump or a diagonal “jog.” On an amigurumi, a hat brim, or anywhere the join sits in plain sight, it’s the first thing people notice.
The fix isn’t a different stitch — it’s changing how you finish the round or switch yarn. Here’s the side-by-side difference:
Invisible Join Crochet, Step by Step
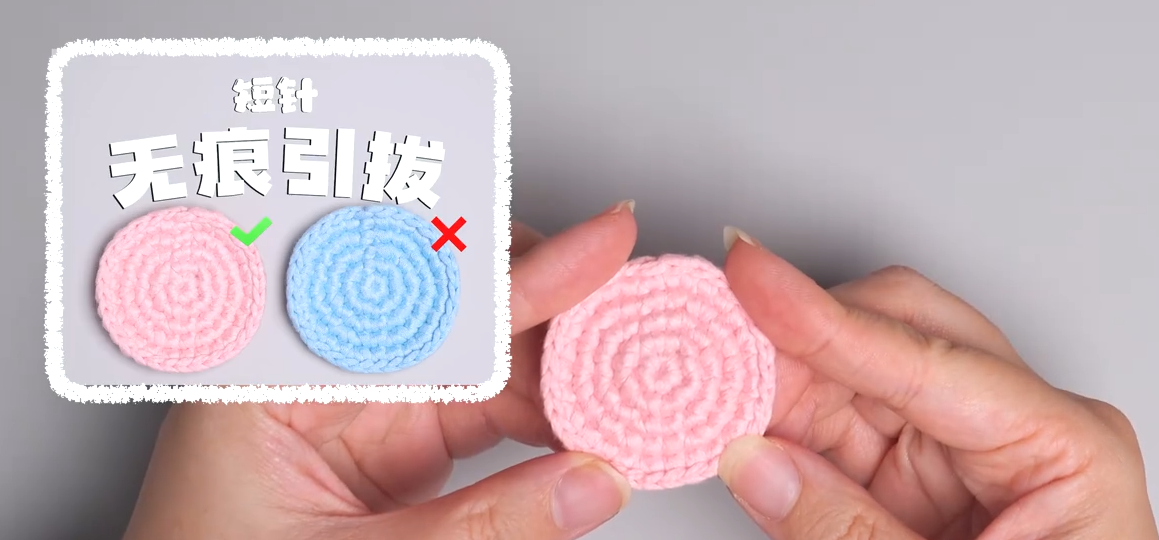
Invisible join crochet works on the very last round of anything worked in single crochet in the round or in a spiral — amigurumi heads, hat crowns, coasters, anything where the last stitch needs to disappear instead of stand out.
- Work your last stitch of the final round as normal, but don’t slip stitch to close it. Cut your yarn, leaving a 6–8 inch tail.
- Pull the hook up and draw the tail all the way through the last loop, so it can’t unravel.
- Thread the tail onto a tapestry needle.
- Skip the first stitch of the round (the one your yarn is already coming out of) and insert the needle under both loops of the next stitch, front to back.
- Bring the needle back down into the center of the “V” of your very last stitch, and pull through to the wrong side.
- Weave in the tail and trim. That’s it — no bump, no visible stitch where the round closed.
This is the same move used for an invisible fasten off — if you already know that technique, this will feel familiar.
The jogless color change, step by step
This is for switching yarn colors mid-project — stripes, color-blocked amigurumi, or any spot where two colors meet in the round. Instead of finishing a stitch in the old color and starting fresh in the new one (which creates that visible diagonal jog), you swap colors inside the last stitch of the old color.
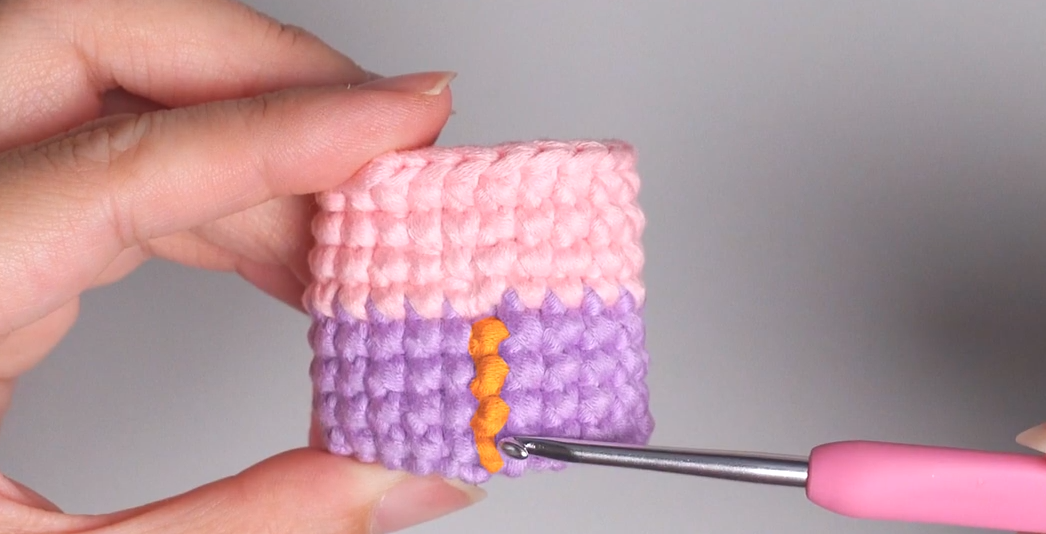
- Work up to the last stitch before your color change, right up to the final pull-through.
- Instead of finishing that stitch in the old color, drop it and pick up the new color.
- Pull the new color through the last two loops to complete the stitch — your old color is now tucked inside, and the new color has already started.
- Continue the round in the new color as normal.
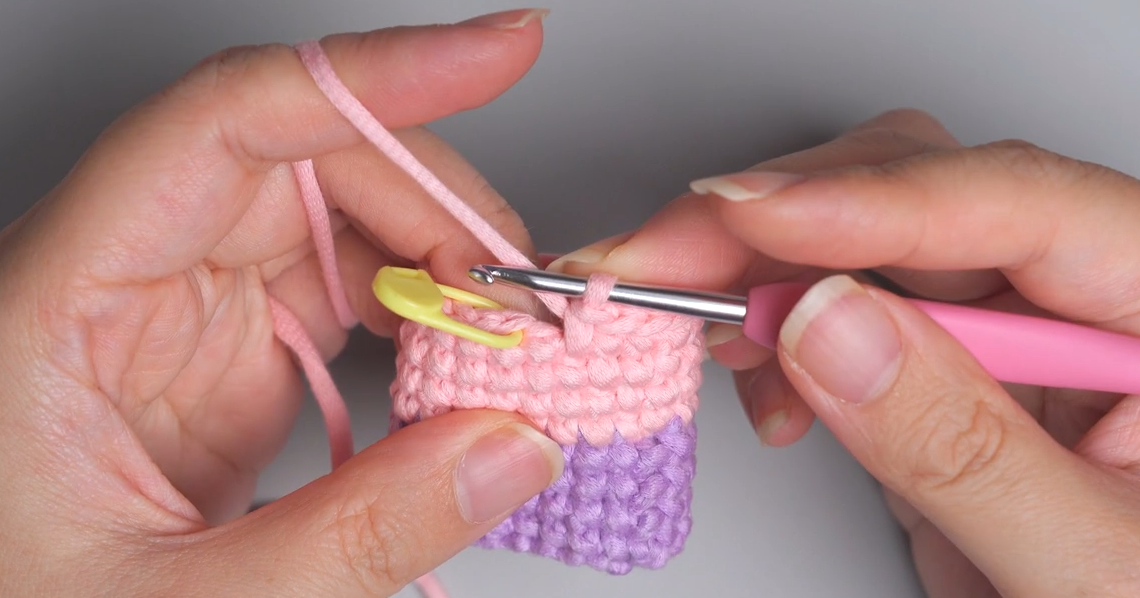
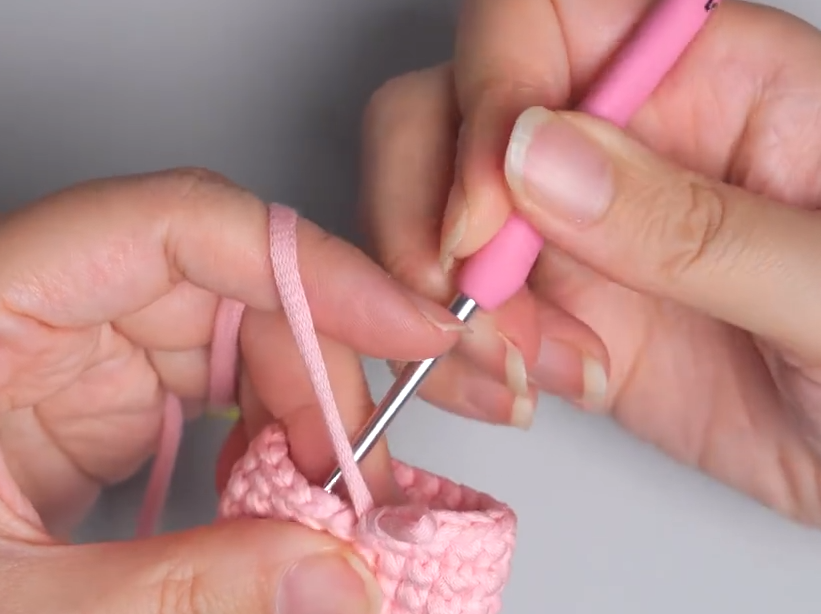
Keep working the round in your new color. When you get back around to where the colors meet, the transition should sit in a clean vertical line instead of a visible step.
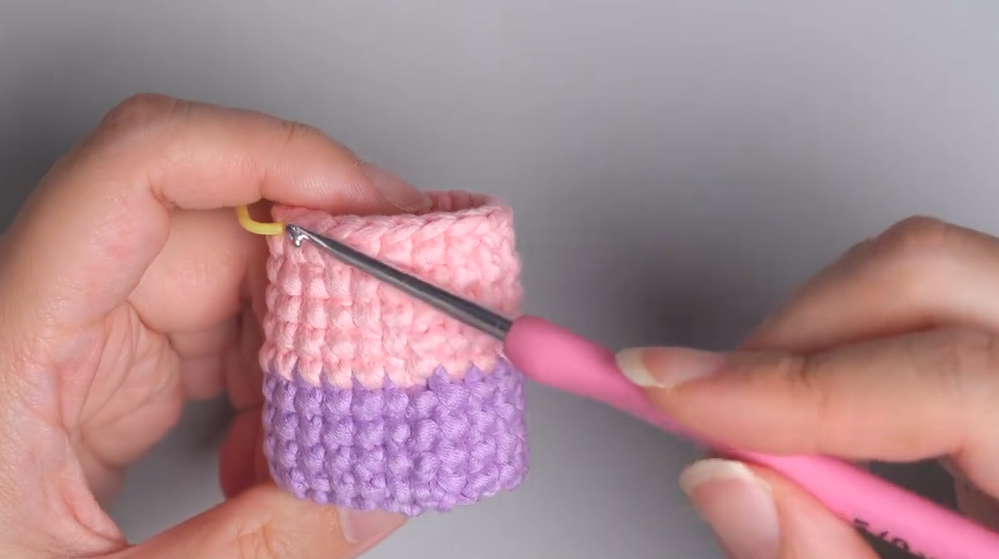
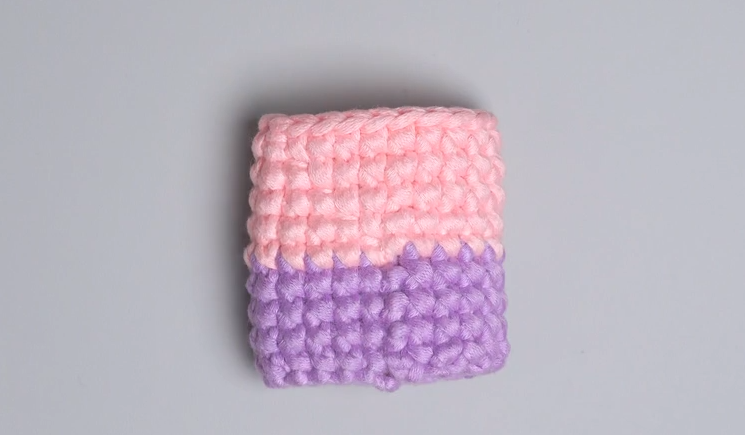
Video: Invisible Join & Jogless Color Change
Watch both techniques worked in real time on the pink-and-purple cube from the photos above. For a deeper photo breakdown of the join itself, Oombawka Design Crochet’s invisible join tutorial is a great companion read.
Where This Usually Goes Wrong
- My invisible join crochet finish still shows a small hole. Make sure you’re going under both loops of the stitch, not just the front loop, and pull the tail snug (not tight) before weaving in.
- My color change still has a visible jog. Double-check you dropped the old color before the final pull-through of the last stitch, not after. The swap has to happen inside the stitch, not between stitches.
- Which rows need this? Only the very last round of a piece needs the invisible join. Every color change in the round benefits from the jogless method, especially on amigurumi and hats where it’s clearly visible.
Questions I Get About This Technique
Does the invisible join work for taller stitches, not just single crochet?
Yes. The same under-both-loops technique works for half double crochet, double crochet, and taller stitches — you’re always targeting the stitch two over from your last one and the center of your final stitch.
Do I need a yarn needle for the jogless color change?
No — the jogless color change happens entirely on the hook, mid-stitch. You only need a yarn needle for the invisible join at the very end.
Can I use this on a project that isn’t worked in the round?
The jogless color change is specifically for rounds/spirals, where the jog problem exists. If you’re working flat, back-and-forth rows naturally line colors up already, so you won’t need it there.
Once these two techniques are automatic, pair them with a clean magic ring start and you’ve got a clean, gap-free project from the very first stitch to the very last.
Reviews
There are no reviews yet. Be the first one to write one.
Keep learning: New to a technique used here? See our beginner guide to crochet increases and decreases.